

Wix Events: Creating a Single Event
7 min
In this article
- Step 1 | Create an event draft
- Step 2 | Create tickets (ticketed events only)
- Step 3 | Customize your settings
- Step 4 | (Optional) Add features
- Step 5 | Publish the event
- FAQs
Start by creating and customizing your event draft. When everything is ready, publish the event to share it with the world.
You can create RSVP events such as weddings and birthday parties or ticketed events such as concerts, conferences, or online classes. Learn more about the differences between RSVP and Ticketed events.

Step 1 | Create an event draft
Begin by adding the essential event details and saving your event as a draft. If you want to duplicate an existing draft, you can do so, allowing you to create a new event with the same settings and details.
Tip:
If you hold the same type of event again and again, save time by creating a recurring event.
To create an event draft:
- Go to Events in your site's dashboard.
- Click + Add Event.
- Select a type of event (this can't be changed after you click Create Draft):
- Ticketed event: Sell event tickets (can include free tickets).
- RSVP event: Guests register for the event.
- Add your event details:
General info

Date and time

Location
"About the event" description
5. When ready, click Create Draft at the top right.
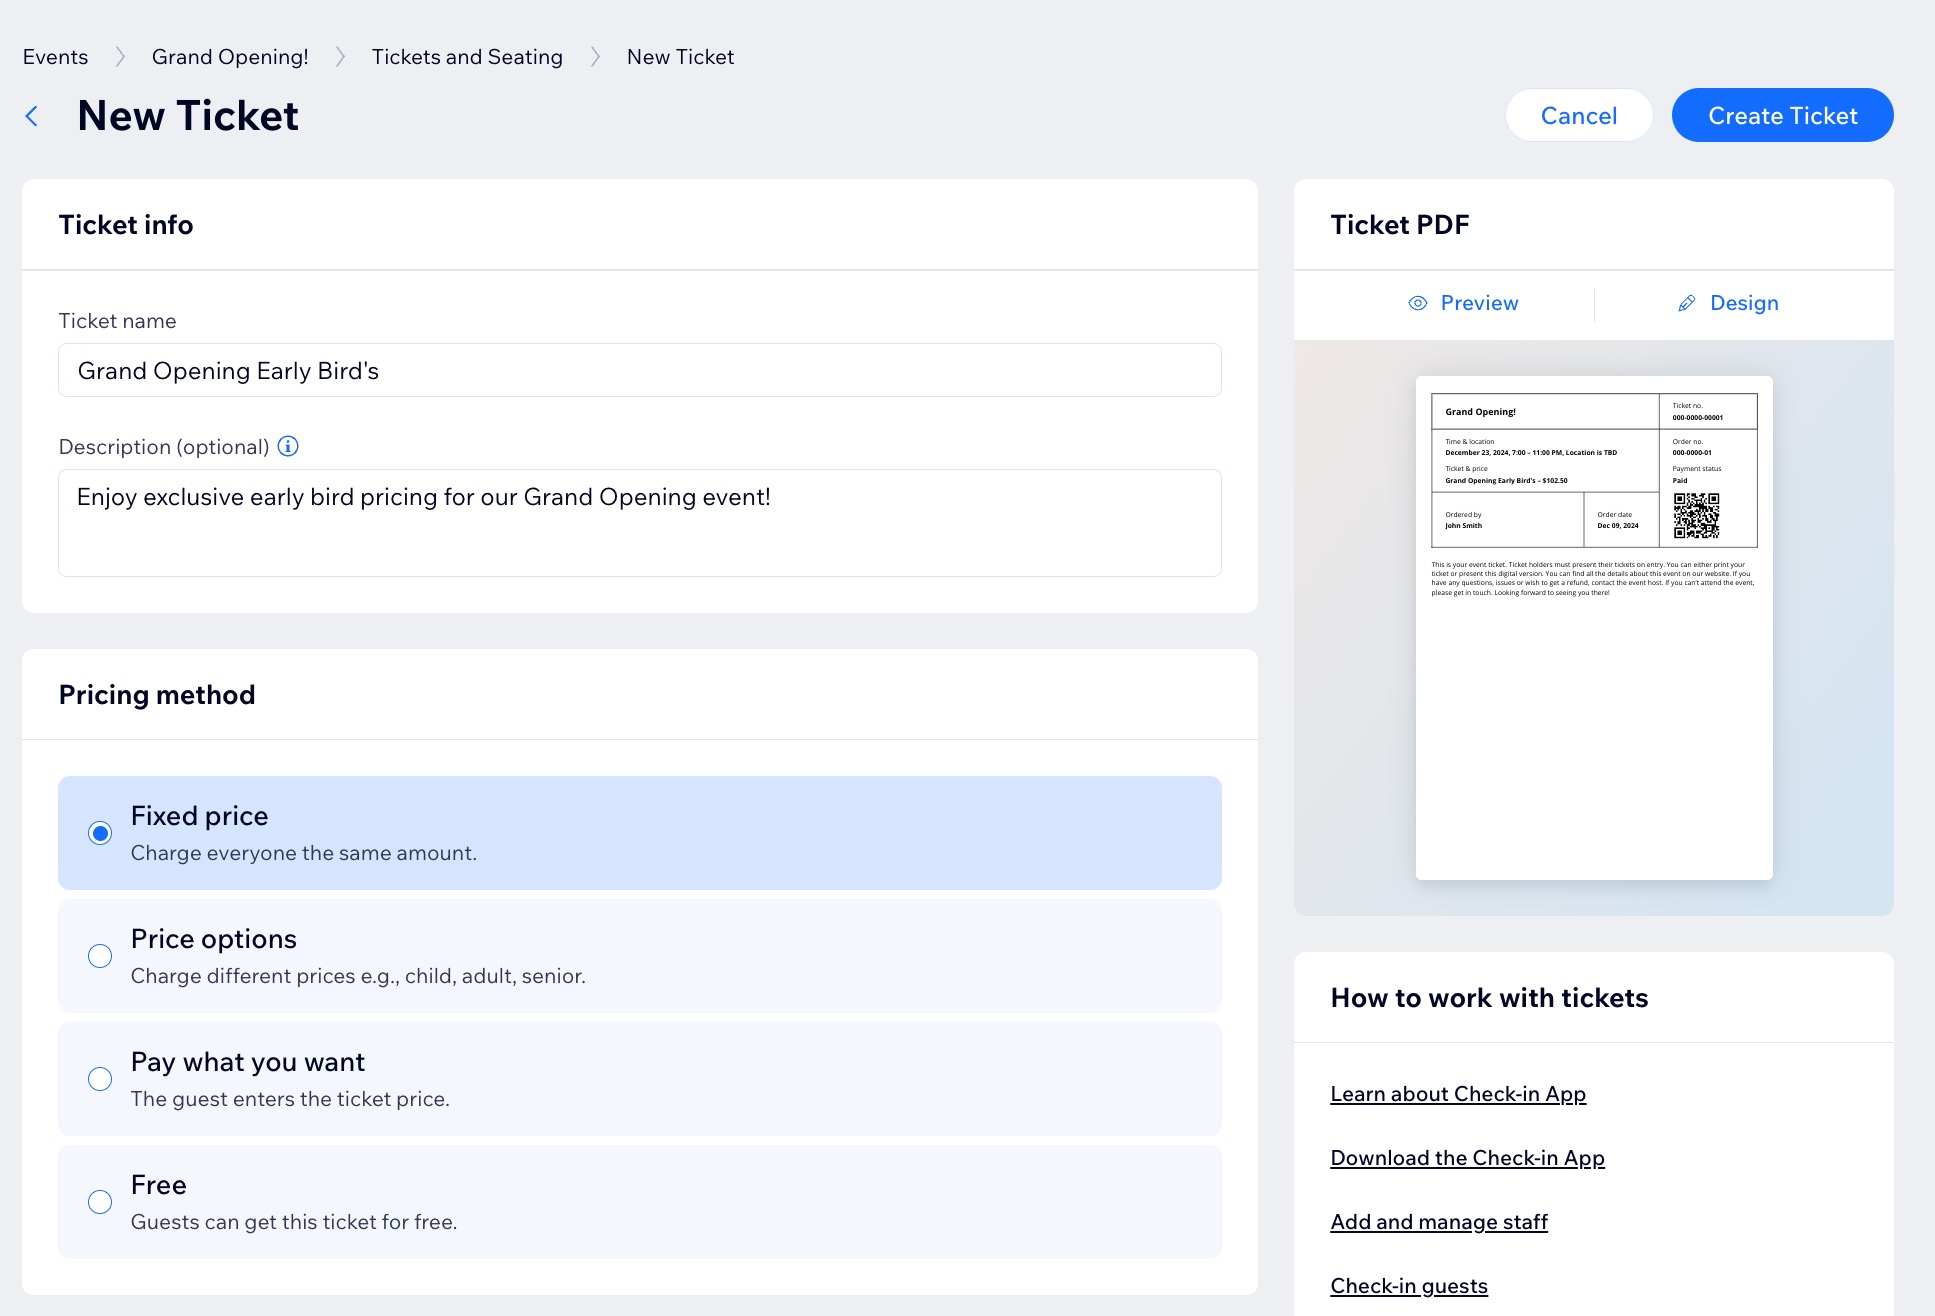
Step 2 | Create tickets (ticketed events only)
If your event is a ticketed event, you can now go ahead and create one or more ticket types. Select your event in the dashboard, then go to the Tickets and Seating tab to get started.
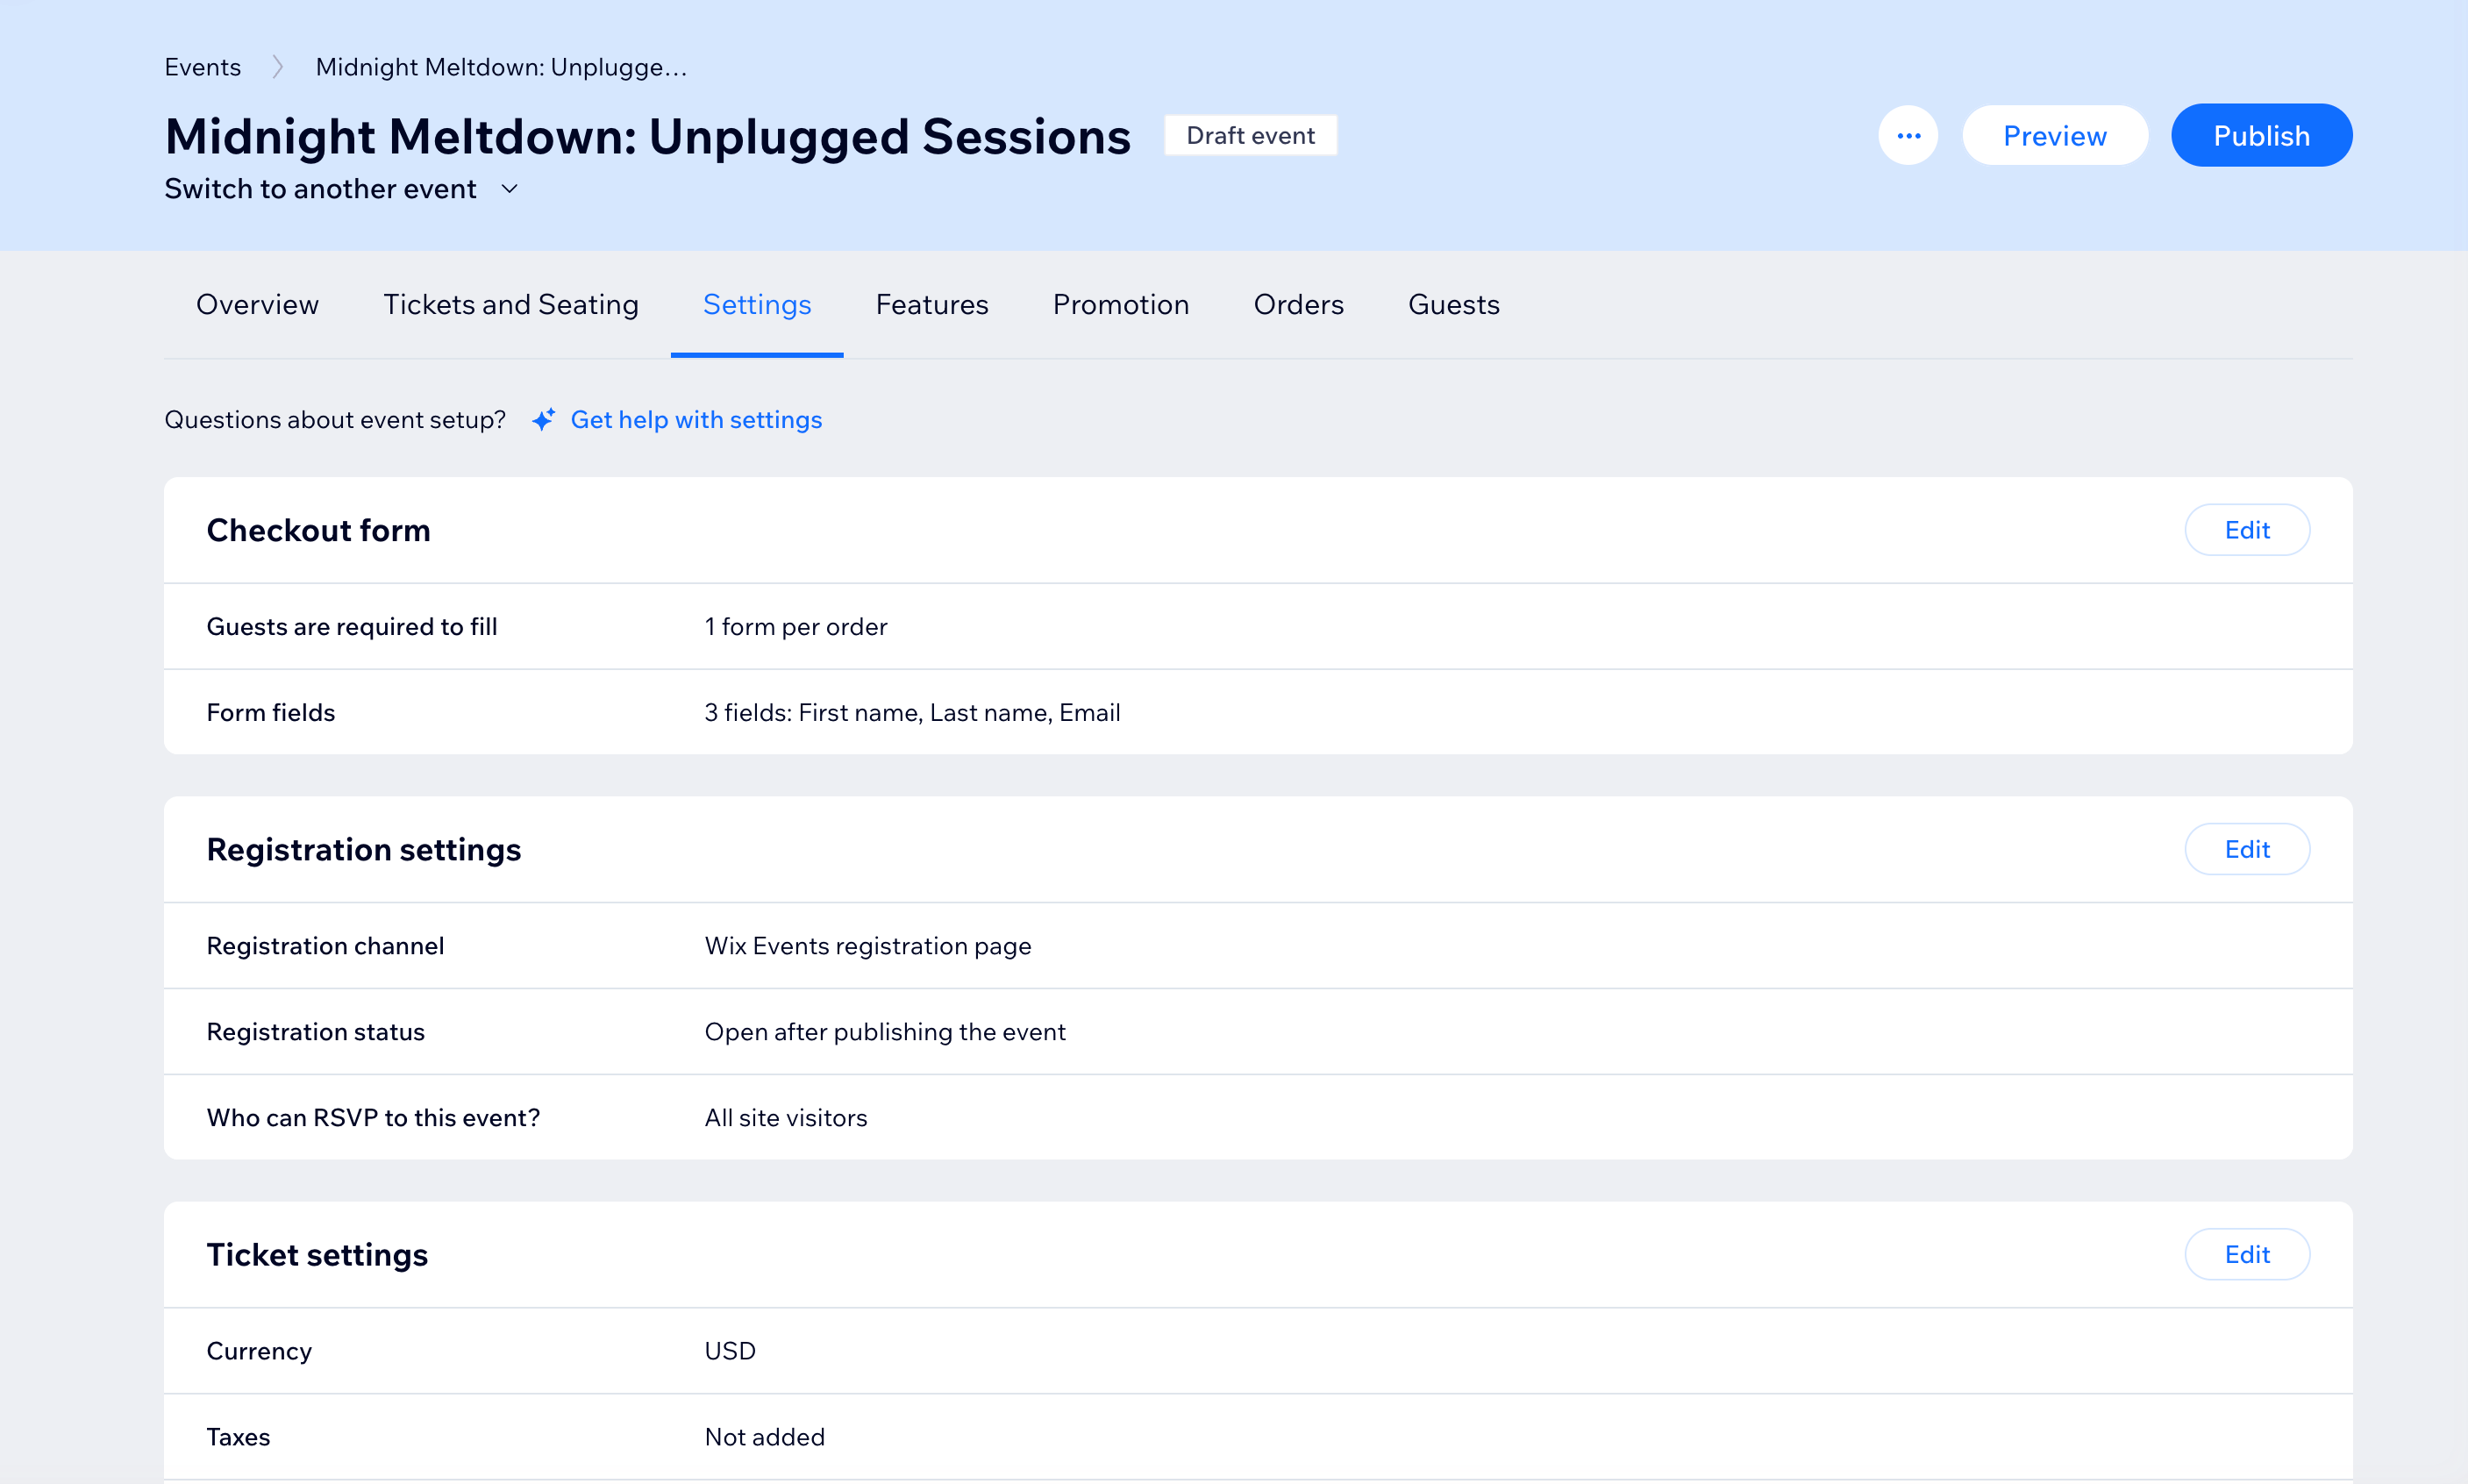
Step 3 | Customize your settings
Next, go to the Settings tab of your event in the dashboard. There you can customize any of the following:
- Registration settings: Set where, when, and who can register and edit registration messages.
- Registration form / Checkout form: Customize the fields that appear on the form:
- Event policies: Add a policy checkbox that guests can check when they register.
- Emails: Manage emails you send and receive.
If you have a ticketed event, you can also customize:
- Ticket settings: Set your currency, taxation, and ticket limit per order.
- Invoices: Create invoices for ticket purchases.
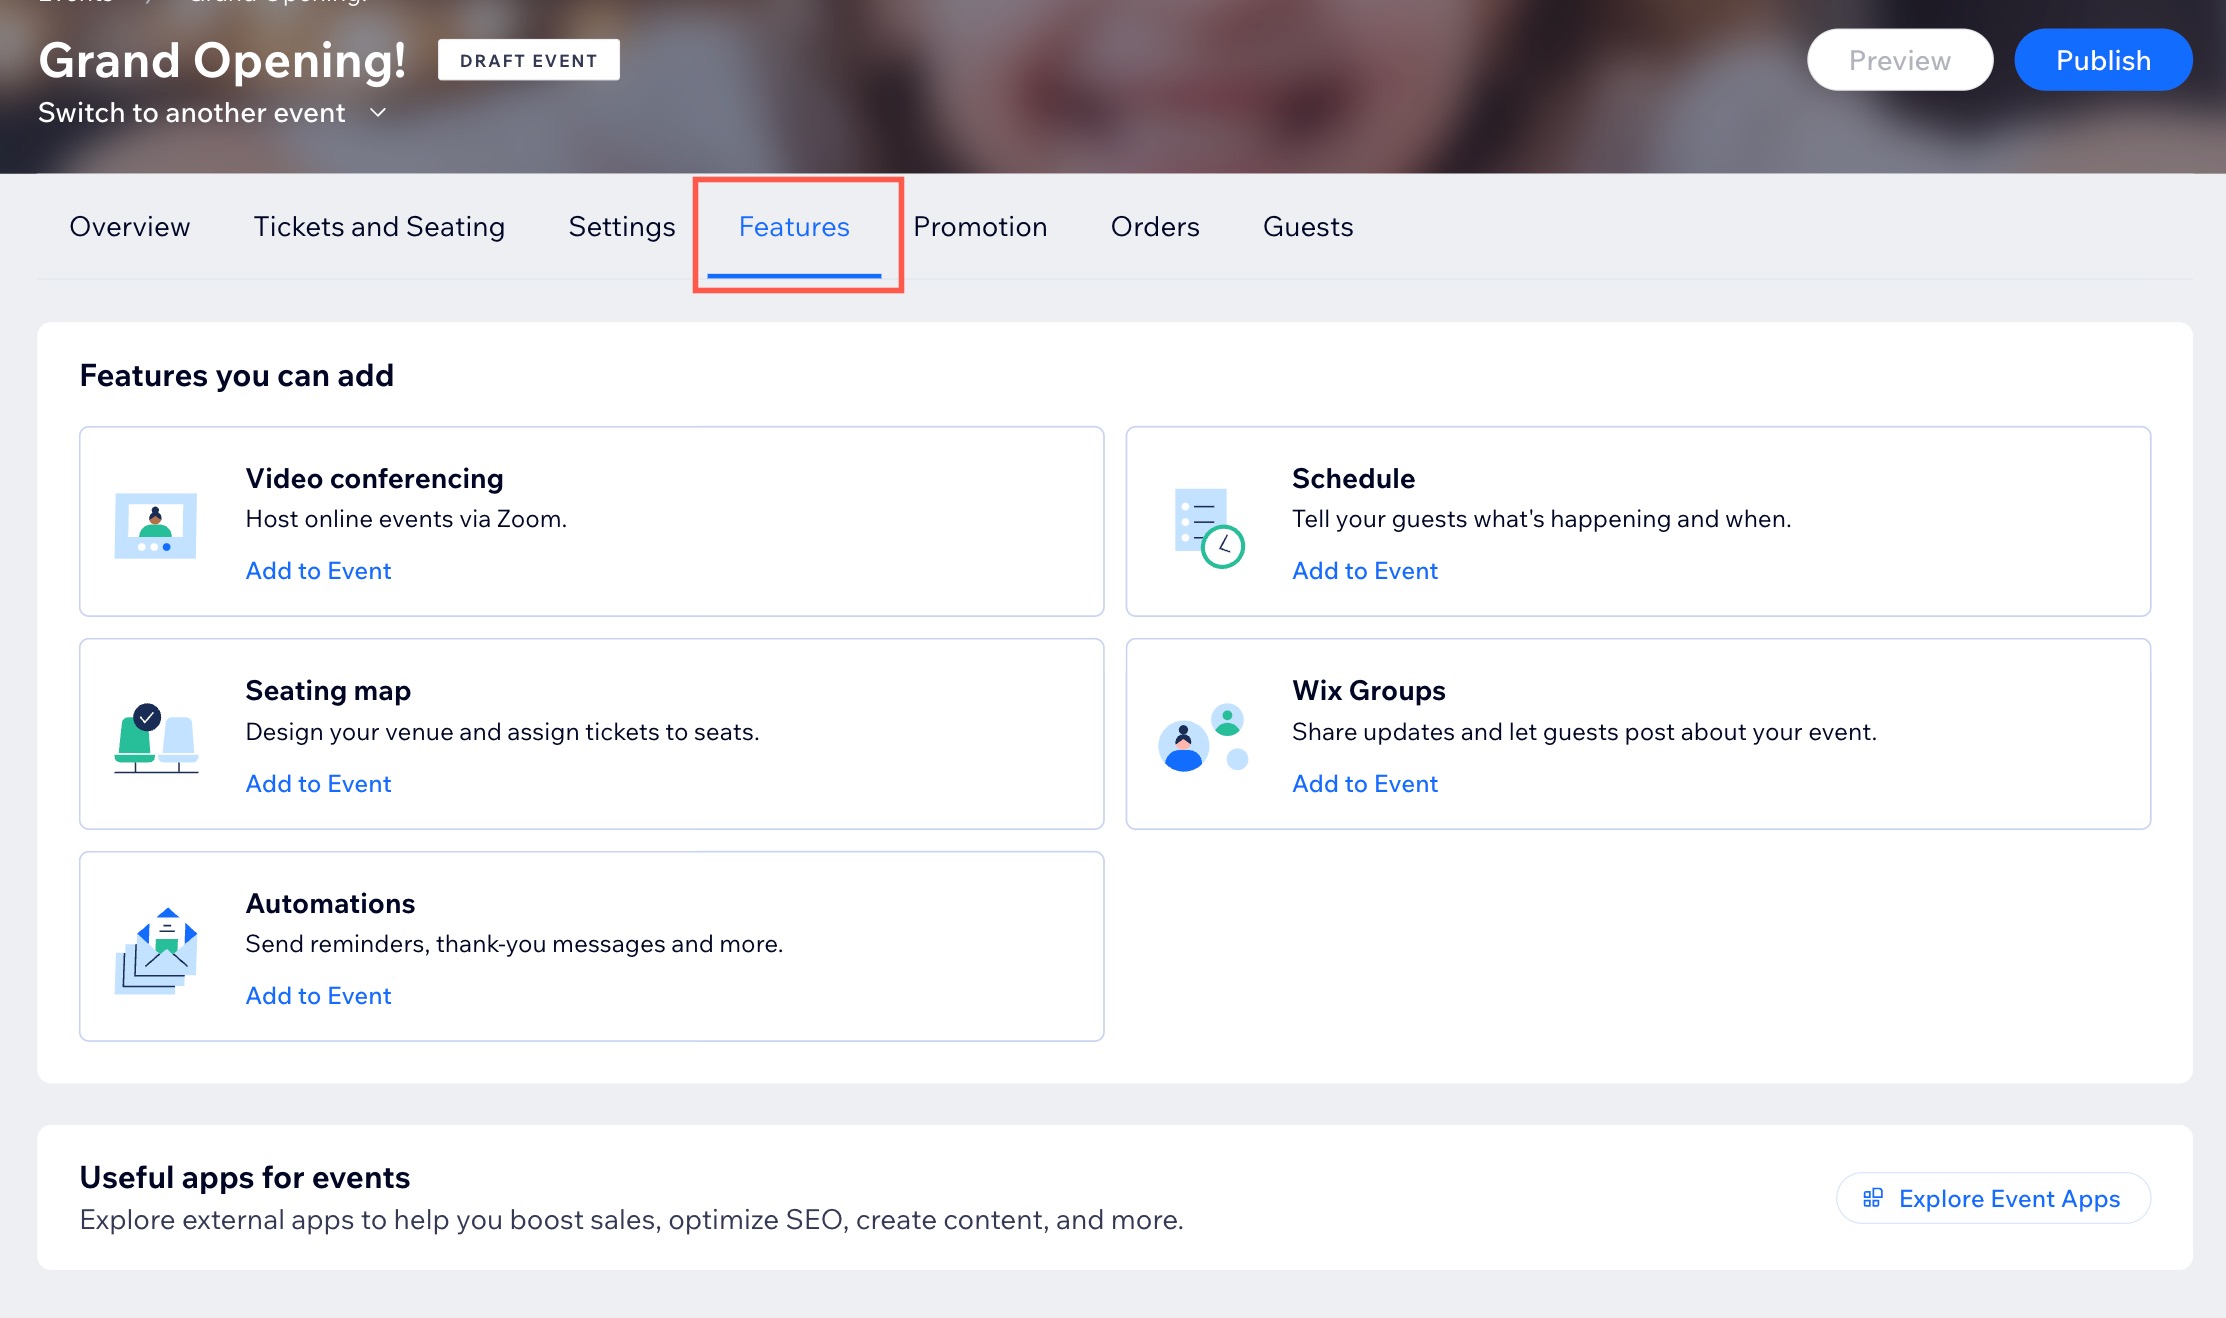
Step 4 | (Optional) Add features
In the Features tab of your event in the dashboard, you can find more features to enhance your events. The available features are:
- Video conferencing: Turn your event into an online event using Zoom.
- Schedule: Create an event schedule to let guests know what is happening at your event at different times and in different locations.
- Seating map (ticketed events only): Let guests select tickets for specific seats by creating a seating map.
- Groups: Wix Groups lets you create a place for members to post updates, share images and more. Learn how to connect an event to a group.
- Automations: Use Wix Automations to create automated actions triggered by specific actions.
Step 5 | Publish the event
When you're ready, publish your event. It's now available to be displayed on your site.
To publish your event:
- Go to Events in your site's dashboard.
- Click the Drafts tab.
- Select the relevant event.
- Click Publish.
- Click Publish to confirm.
What's next?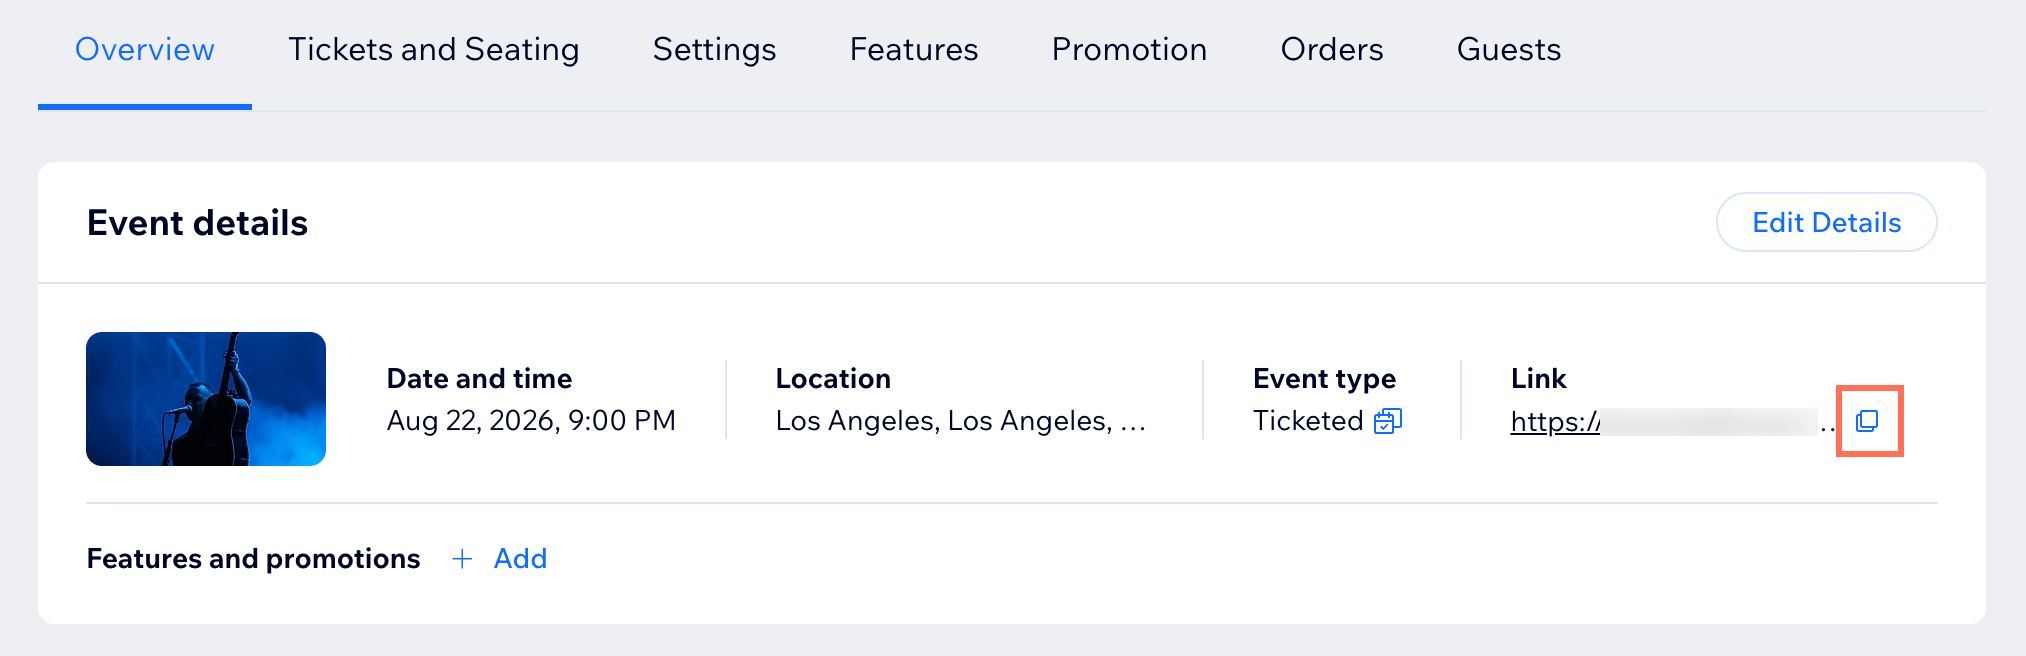
After publishing your event, you can access the event link on the Overview tab of the relevant event.
FAQs
Click a question below to learn more about creating a single event.
Can I duplicate an event?
 next to the relevant event.
Why isn't my event showing up automatically on my site?

What location do I chose for a hybrid event (in person and online)?
How can I access the drafts I created?

Can I change a published event back into a draft?
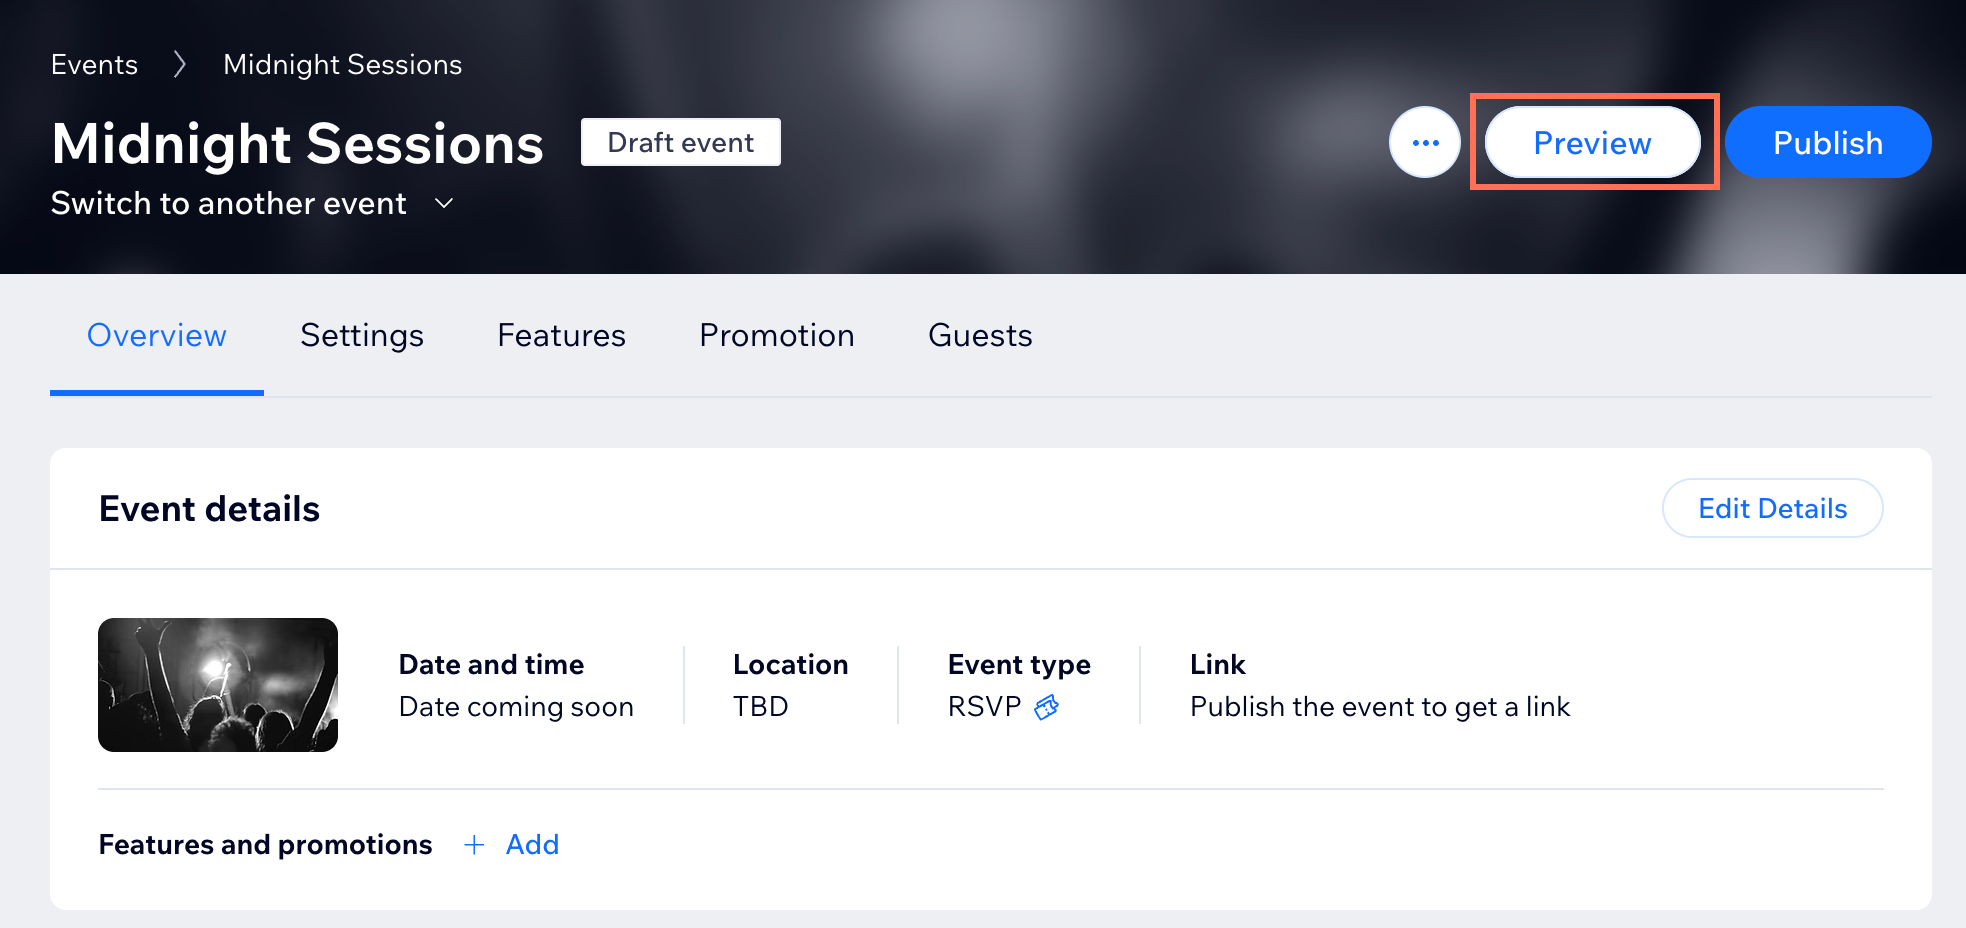
Can I preview my event before I publish it?
What kinds of online events can I create?
