

Wix Events: Hosting a Live Streaming Event
9 min
In this article
- Step 1 | Set up a live stream page
- Step 2 | Set permission levels
- Step 3 | Add and set up Wix Video
- Step 4 | Download, install, and set up the live stream encoder
- Step 5 | Create your event in Wix Events
- Step 6 | Inform guests how to access the live stream
- Step 7 | (Recommended) Hold a test live streaming event
- Step 8 | Hold your live streaming event
Use Wix Video to live stream your event to all your guests - as it happens. When the live stream is over, choose whether you want to display a video of the event on your site. You can charge visitors to view past events or offer them for free.
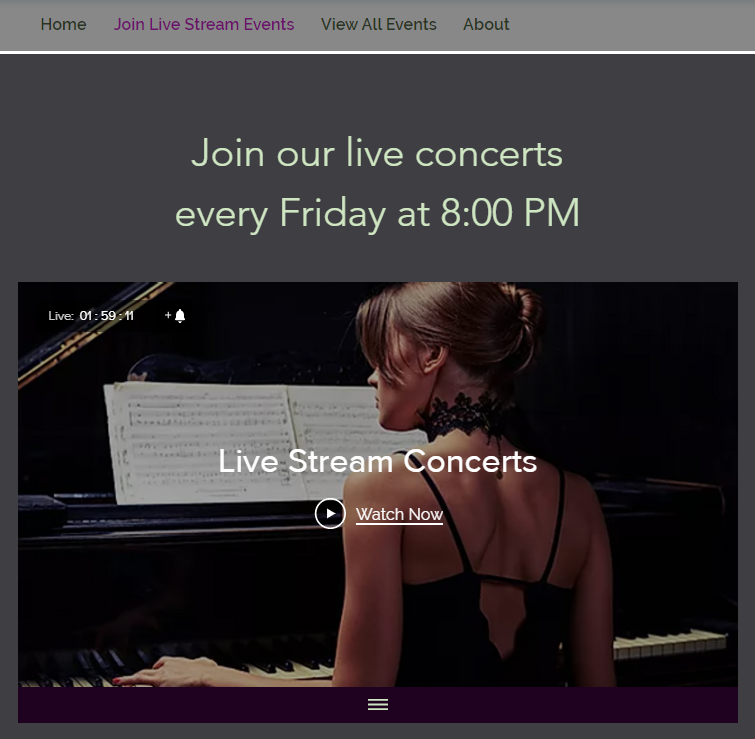
Step 1 | Set up a live stream page
To get started, decide where on your site guests can view your live streaming event. To do so, you can add a new page to your site or edit an existing page.
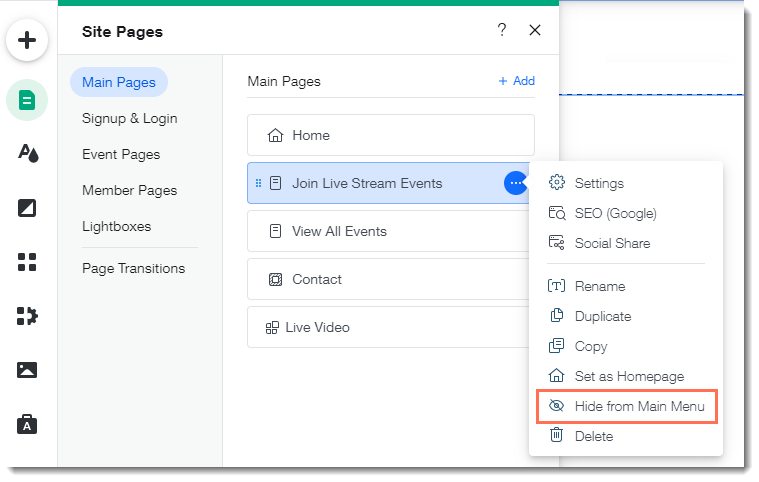
Step 2 | Set permission levels
Now that you know where the live stream videos will go, decide who has access to the page. You can choose to let any site visitor click through to the page, restrict access to password holders, or let visitors have access only after they log in to your site.
Show me how
 on the left side of the Editor.
 .
.

Step 3 | Add and set up Wix Video
To live stream an event, add Wix Video to the page you prepared in step one. Next, create a Wix Video channel for all your live stream events.
Show me how
 on the left side of the Editor.
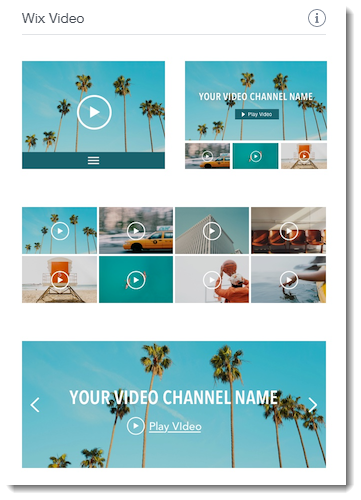
Step 4 | Download, install, and set up the live stream encoder
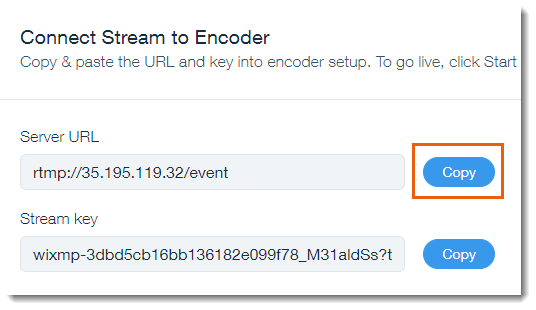
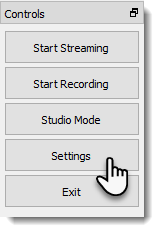
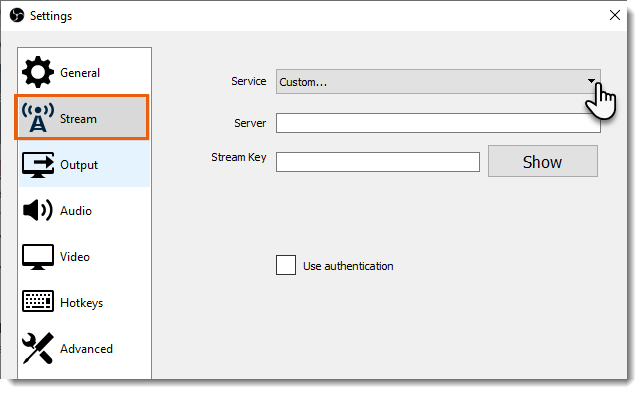
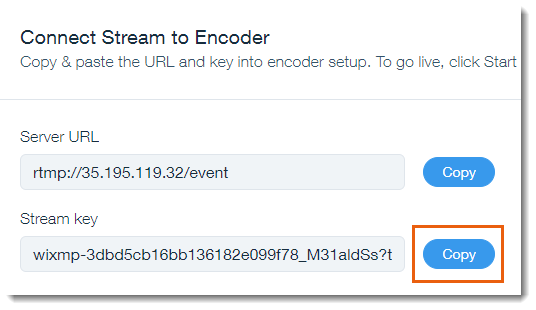
An encoder is software used to connect your computer's camera to a live stream. To create a live stream event using your computer, you need to download the OBS encoder, install it, and connect it to your computer's camera. Once that's done, you can customize the settings. For complete instructions, click here.
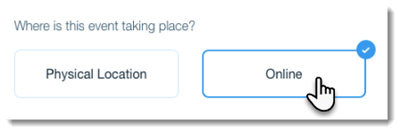
Step 5 | Create your event in Wix Events
Now you can go to the Events tab in your site's dashboard and create your event. Select "Online" as the location. After creating the event, you have the option of creating tickets to monetize your live stream.
Show me how
Step 6 | Inform guests how to access the live stream
Make sure you give guests the information they need to access the live stream page. This includes:
- The URL of the site page where your events are broadcast
- The page password, if you made the page accessible only to password holders
Note:
If you made the page accessible only to members, and set it so you must give approval before guests become members, make sure to approve their requests as they try to access the page.
To inform guests how to access the live stream, add the access information to any of the following:
- Confirmation emails
- Reminder emails
- Email marketing campaign
- The Wix app on your mobile device:
Step 7 | (Recommended) Hold a test live streaming event
To set your live stream event in motion when the day comes, you need to follow a few steps. Usually they need to be done about 60 minutes before the event starts, but it's recommended to familiarize yourself with the process before your first live stream.
We recommend you follow the instructions in Step 8 below a day or more before your actual event, and make sure others are able to view the live stream.
Step 8 | Hold your live streaming event
When it's time to hold your event, go to the Live Stream tab in your site's dashboard and set up the live stream. You have two options:
- You can schedule the event in advance and go back to the event when it's time to go live to complete the last steps.
- You can create the live stream close to your event.
Show me how to schedule a live stream in advance


Show me how to go live now

