

Wix Video: Downloading a Live Stream Encoder
3 min
In order to stream videos live from your computer you'll need an encoder. An encoder is the software that connects your computer's camera to the stream.
Important:
- The output needs to be set to 'Simple'. If it set to 'Advanced' it can cause issues with the live stream.
- In this article, we discuss downloading the OBS encoder, but you can choose to download any one you want as long as it supports custom keys.
Step 1 | Download the Installer from OBS Studio
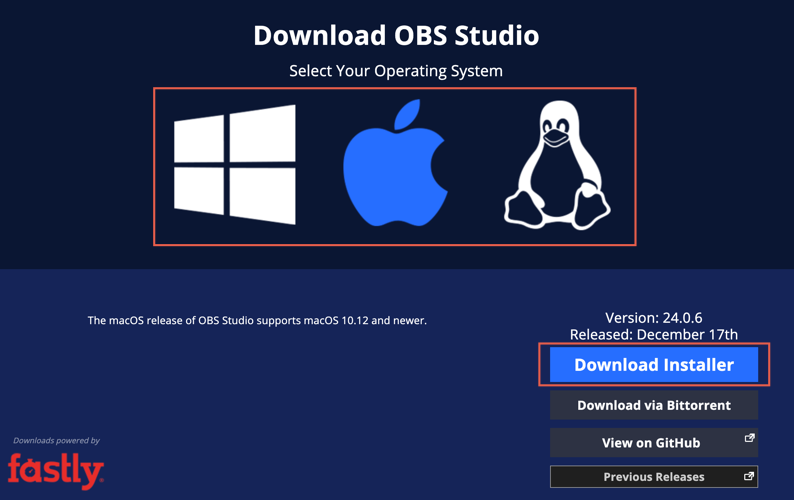
- Go to the OBS Studio downloading page.
- On the download page, select your computer's operating system.
- Scroll down and click Download Installer.
Step 2 | Install the Encoder on Your Computer
- On your computer, open the OBS Installer.
Note: If you see a verification window, click Install anyway. - Click Next.
- Click I Agree.
- Choose where the file should go and click Next.
- Review the components and click Install.
- Click Finish.
Step 3 | Connect Your Camera to the Encoder
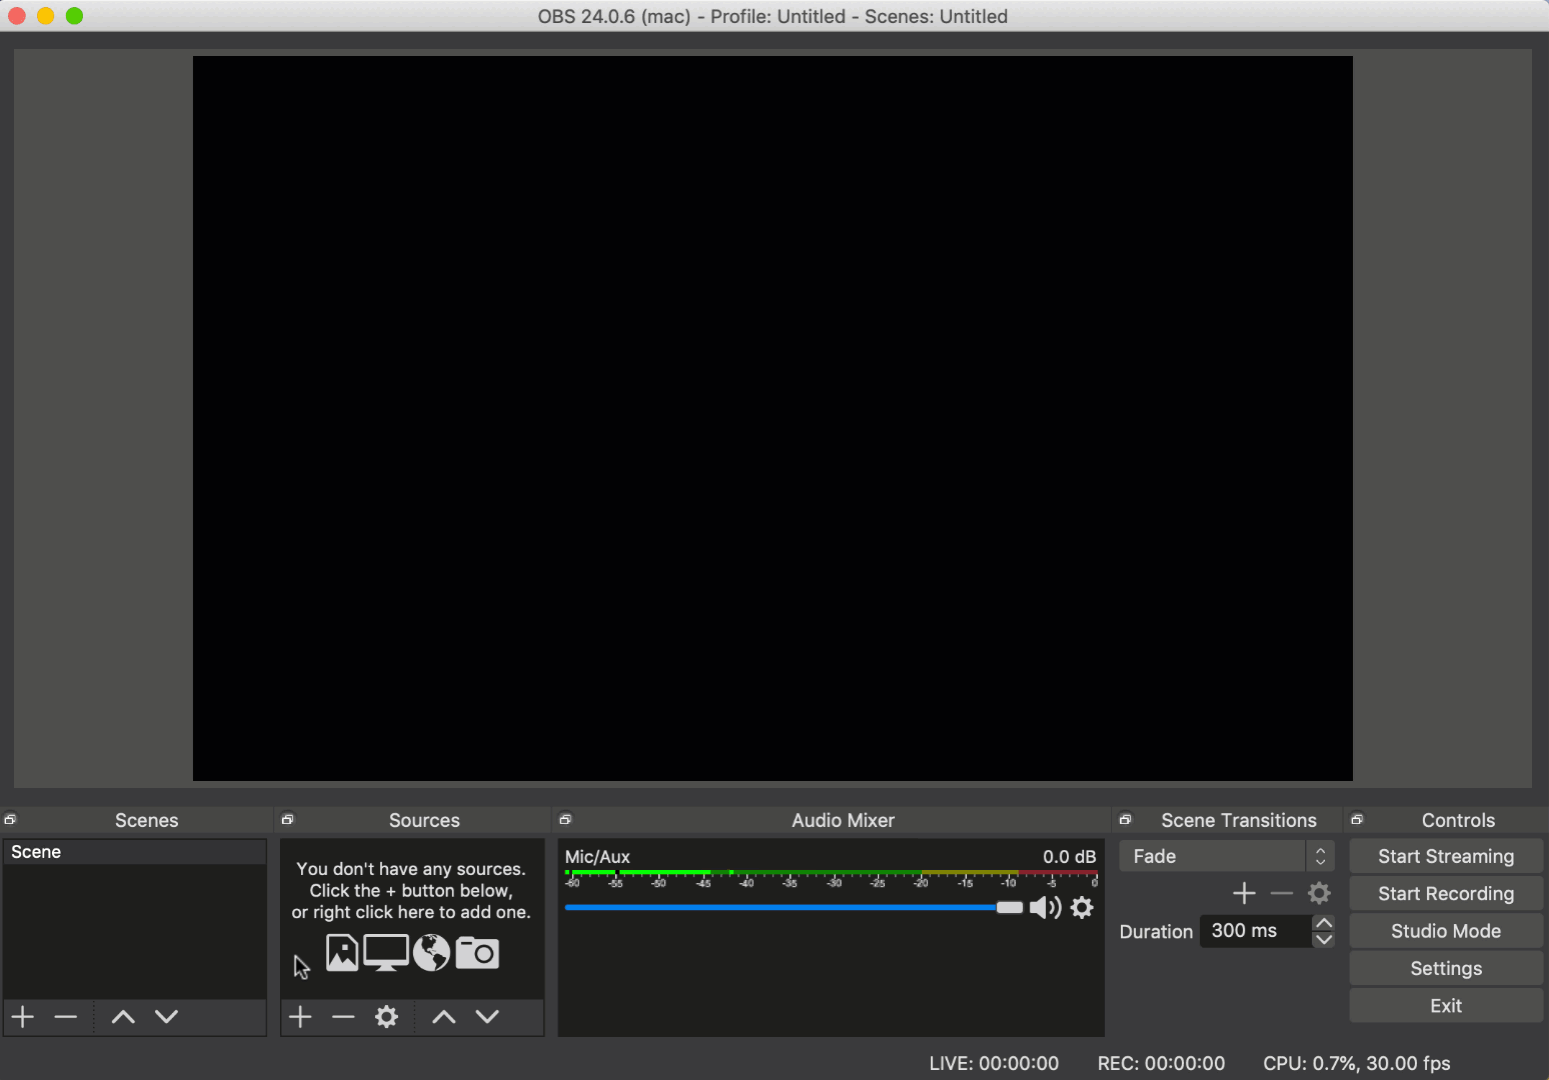
- On your computer, open the OBS Studio Encoder. This is what the icon looks like:

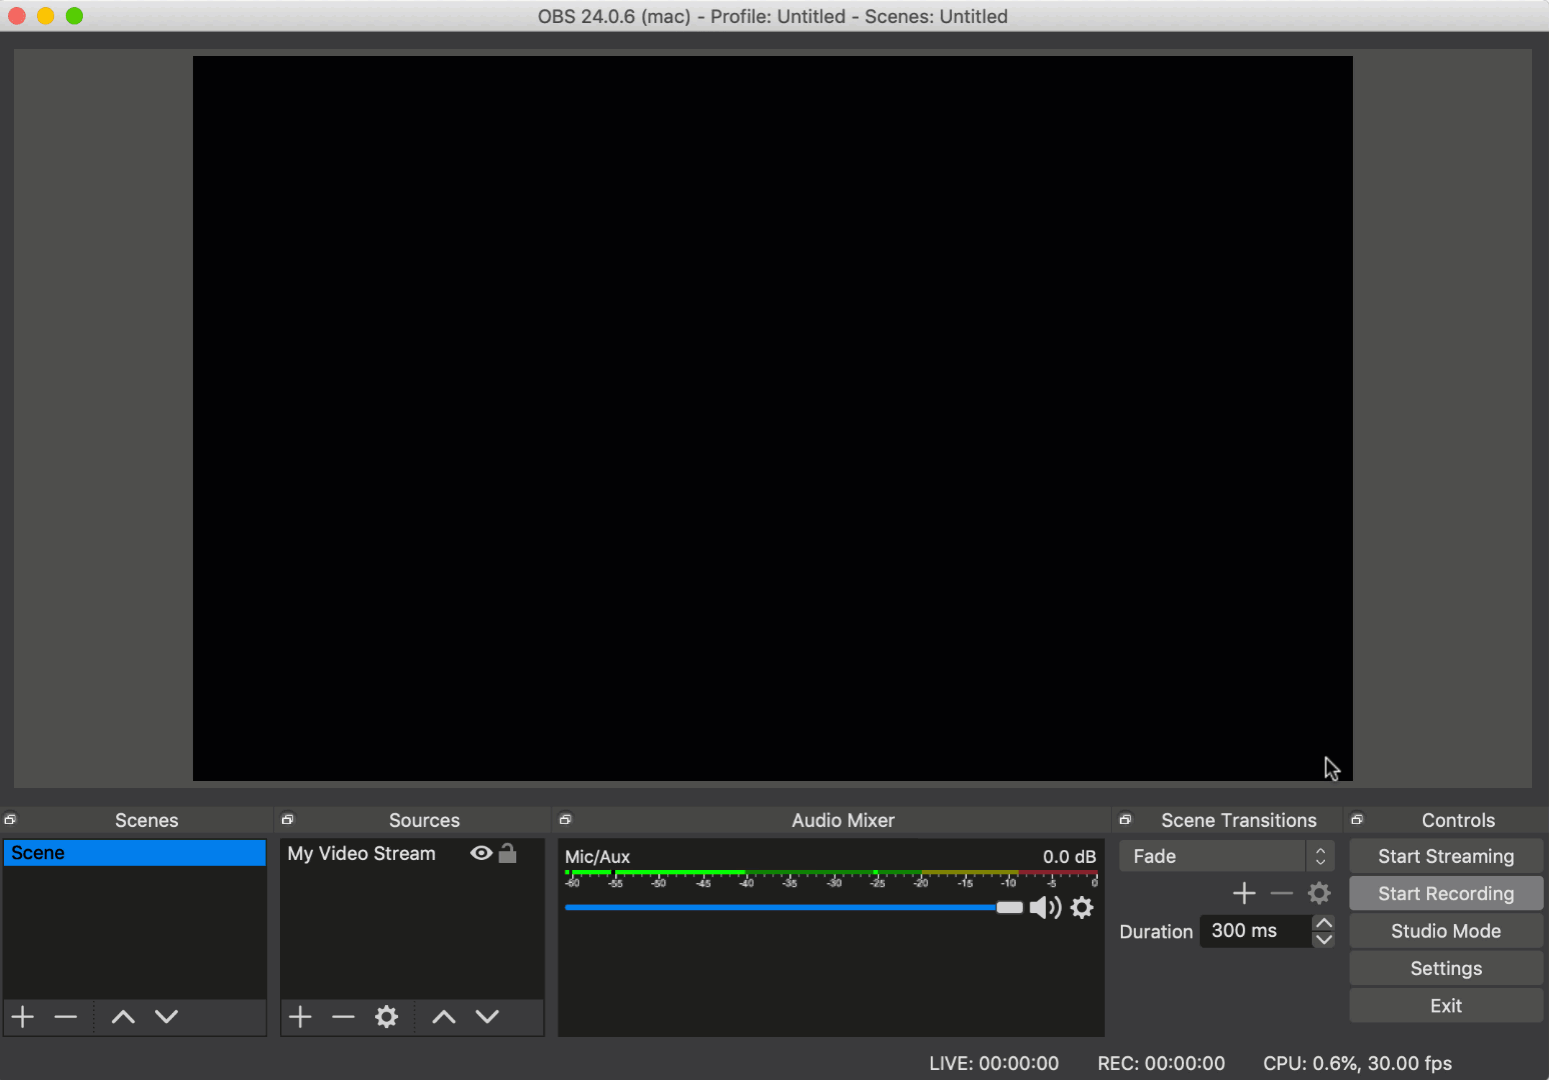
2. On the bottom left, under Sources, click Add  .
.
.3. From the list, select Video Capture Device.
4. Select Create New and name your camera and click OK.
5. From the Device drop-down list, select your computer's integrated camera and click OK.
Step 4 | Change Your Streaming Settings
- Open the OBS Studio Encoder on your computer.
- Click Settings on the bottom right.
- Select the Output tab to change the codec, audio and video bitrates.
- Select the Video tab to change the video resolution.
Note: To get the best results, make sure you don't exceed the following settings:
- Video Resolution: 720p (1280x720)
- Codec: x264
- Video bitrate: ~2500 kbps
- Audio bitrate: AAC 44.1kHz ~128kbps
Finished these steps and ready to go live?
Note:
Currently, Wix Video only offers support and troubleshooting for the OBS Studio encoder - other encoders may not connect with Wix Video. If you want to use a different encoder, make sure you know where to enter the Server URL and the stream key.
