


Wix Events: Customizing the Registration Form for RSVP Events
In this article
- Customizing the registration form of an RSVP event
- Allowing guests to add others when registering
- FAQs
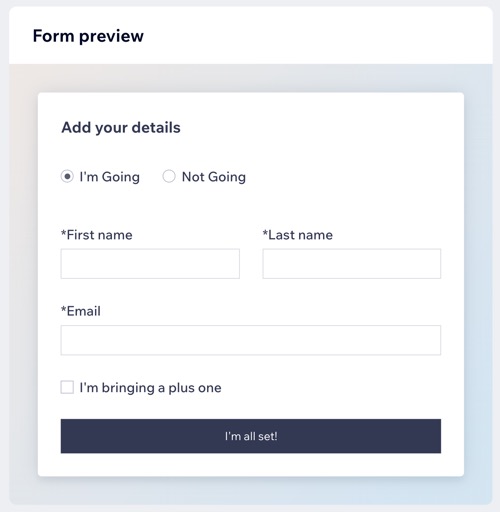
When guests join your event, they complete a registration form to provide essential details. For non-ticketed events, such as weddings or private gatherings, they fill out their information when they RSVP.
You can customize the form to gather preferences, handle special requests, or allow guests to bring additional attendees.
Customizing the registration form of an RSVP event
Customize your registration form to gather the details you need from guests. Edit existing fields to your own voice and tone, or introduce new ones to collect additional info. You also decide whether or not guests need to RSVP if they don't plan on attending.
Note:
First name, last name, and email are required fields on the registration form. It is not possible to remove them.
To customize event registration:
- Go to Events in your site's dashboard.
- Hover over the relevant event and click Manage.
- Click the Settings tab.
- Click Edit next to Registration form.
- Click the Guests can RSVP "No" toggle:
- Enabled: Guests need to indicate on the form whether or not they plan to attend. You can customize the text to your needs (e.g. replace "Yes" and "No" with "I'm Going" and "Not Going").
- Disabled: Guests only need to RSVP if they are attending.
- Hover over any the text fields and click the Edit icon
 :
:
Form title

What info do you need?
7. Click
Save at the top right.
Allowing guests to add others when registering
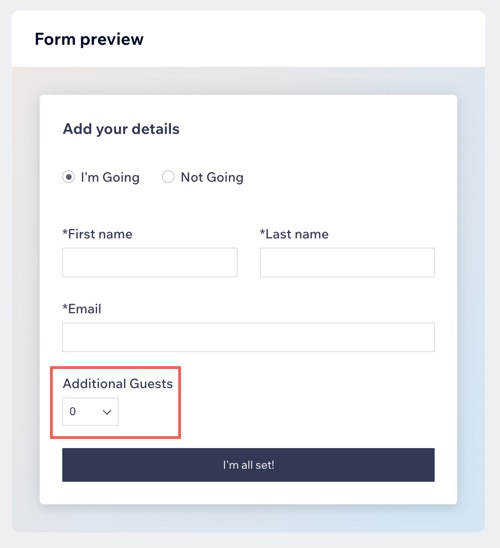
Let guests bring an additional guest to your event, such as a "plus one". You can allow guest to add up to 10 additional guest when they are filling out the registration form.
To allow guests to bring a friend:
- Go to Events in your site's dashboard.
- Click Manage next to the relevant event.
- Click the Settings tab.
- Click Edit next to Registration form.
- Click + Add Fields under What info do you need?.
- Select Additional Guests.
- Select how many guests are allowed to attend the event:
- Single Guest: Guests may bring one additional guest.
- Multiple Guests: Select the number of additional guests (up to 10).
- Edit the Additional guest text field.
- (Optional) Select the Guest names are required checkbox to require guests to enter the names of additional guests.
- Click the Checkmark icon
 to confirm.
 - Click Save at the top right.
FAQs
Click a question below to learn more about customizing the registration form.
Can I delete an RSVP?

How can I read responses to registration form questions?
Can I customize the "Thank you" and "Registration closed" messages?
How can I customize the design of the registration form?