

Wix Restaurants: Setting Up Additional Restaurant Locations
9 min
In this article
- Step 1 | Add a new restaurant location(s)
- Step 2 | Add menus to your new restaurant location(s)
- Step 3 | Set up online ordering for each location
- Step 4 | Start accepting orders in the new location
- FAQs
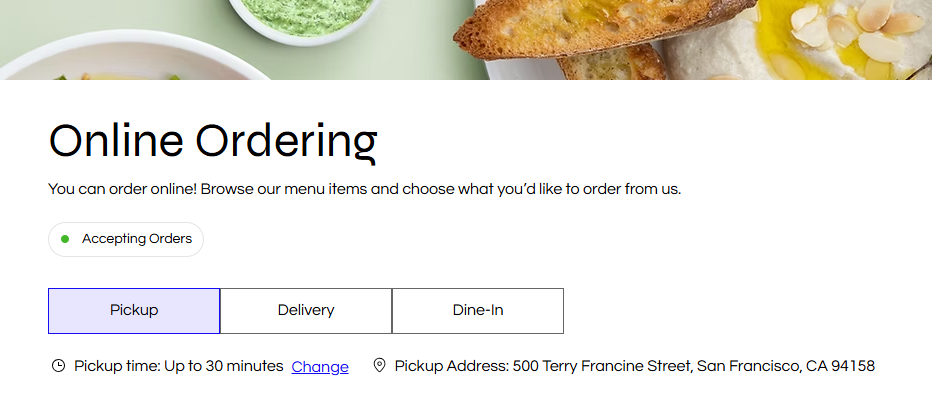
A restaurant with multiple locations needs a way to manage orders and reservations. With the Wix Restaurants Orders app, each location can have its own menu, online ordering settings, and contact details.
When customers visit your site, they can choose their preferred location to dine-in, or place an order for pickup or delivery.
Step 1 | Add a new restaurant location(s)
Start by adding your restaurant locations to customize their menus and set up online ordering for each one.
To add a restaurant location:
- Go to Business Info in your site's dashboard.
- Click + Add a Second Location next to Location and contact info.
Tip: If you've already added a second location, click + Add New Location. - Enter your location details:
- Address: Start typing your restaurant's street address and select it from the drop-down list.
- Location name: Enter a name for this restaurant location.
Tip: The default location name is based on your address, but you can always change it here. - Address description (optional): Enter an address description to help customers find you (e.g. side entrance).
- Enter the Contact info for your new location (email, phone, fax).
- (Optional) Click the Time zone drop-down and select the relevant option.
- Click Save.

Step 2 | Add menus to your new restaurant location(s)
Create location-specific menus and display them on your live site based on where they're offered. For special menus, you can choose its online availability by limiting it to specific weekdays, times, or special dates.
To add menus to a restaurant location:
- Go to Restaurant Menus in your site's dashboard.
- Choose the relevant option:
Create a new menu for a location

Duplicate an existing menu
 next to the relevant menu.

Tip:
Click the Locations drop-down to filter your menus by location.
Step 3 | Set up online ordering for each location
Now that each location is assigned to its respective menu, it’s time to customize the online ordering settings and align the Pickup, Delivery & Dine-In settings for each. Customers will only be able to place orders during the times you’ve specified for these services.
To set up online ordering for a location:
- Go to Restaurant Orders Settings in your site's dashboard.
- (If you have an additional ordering page) Click the drop-down under Restaurant Orders Settings and select the relevant page.
- Edit the relevant settings:
Order scheduling and prep time
 under Order scheduling or Prep time.

Fulfillment methods

Step 4 | Start accepting orders in the new location
You can now start taking orders for your new location through your site, or enter them manually.
Click below to learn more.
Enter orders manually
Manage orders per location


What's next?
- Boost online orders by setting up 'Order with Google'.
- Start selling restaurant items at a Mobile Point of Sale - currently available for your default restaurant location.
- Manage outgoing notifications using pre-installed email and SMS notifications for your customers - SMS quota is applied per site, not per location.
- Invite people to manage your restaurant and assign them to specific locations.
FAQs
Click a question to learn more about setting up a restaurant with multiple locations.
Can my customers visit a specific location instead of the default page?
Can I delete a restaurant location?


Can I customize the “Order Now” bar?
Can I assign a menu to more than one location?
Can I change the location of a menu?
Can I hide or show a location on my live site?


Can I assign a menu to a location from my Restaurant Orders Settings page?
Can I design the page of each location?
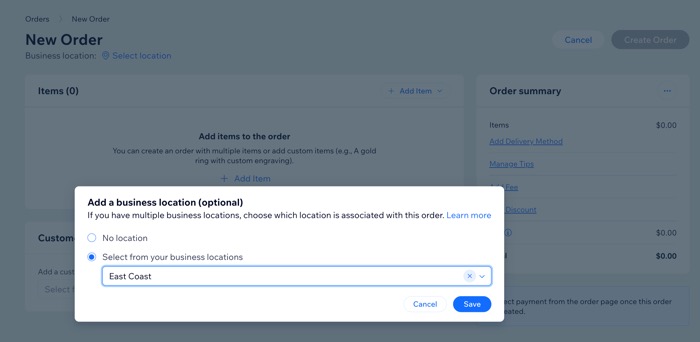
Can I assign a location to a past order?
