

Wix Restaurants: Creating Additional Online Ordering Pages
6 min
In this article
- Step 1 | Add the new ordering page
- Step 2 | Customize page settings
- Step 3 | Assign menus to ordering pages
- Step 4 | Add the page to your editor
- FAQs
Separating online ordering pages allow you to take orders for your different business operations, like a restaurant and catering service. Each page appears individually on your site so customers can choose what they need.
You can show up to 5 ordering pages in your site, each with their own settings, menus, notice periods, hours, and fees.
Step 1 | Add the new ordering page
Access the online ordering settings to create and manage your ordering pages. Enter a name for the new ordering page and decide which location(s) to associate with it. If your restaurant has multiple locations, the new page will appear in all of your locations.
To add the page:
- Go to Restaurant Orders Settings in your site's dashboard.
- Click More Actions at the top right and select Add ordering page.
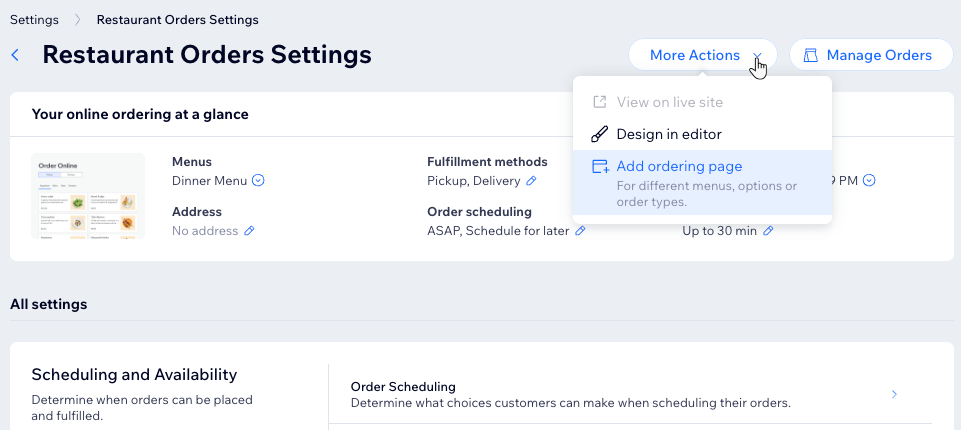
- Enter a name for your new page.
- Choose the relevant restaurant location(s).
- Click Add Page.
What's next?
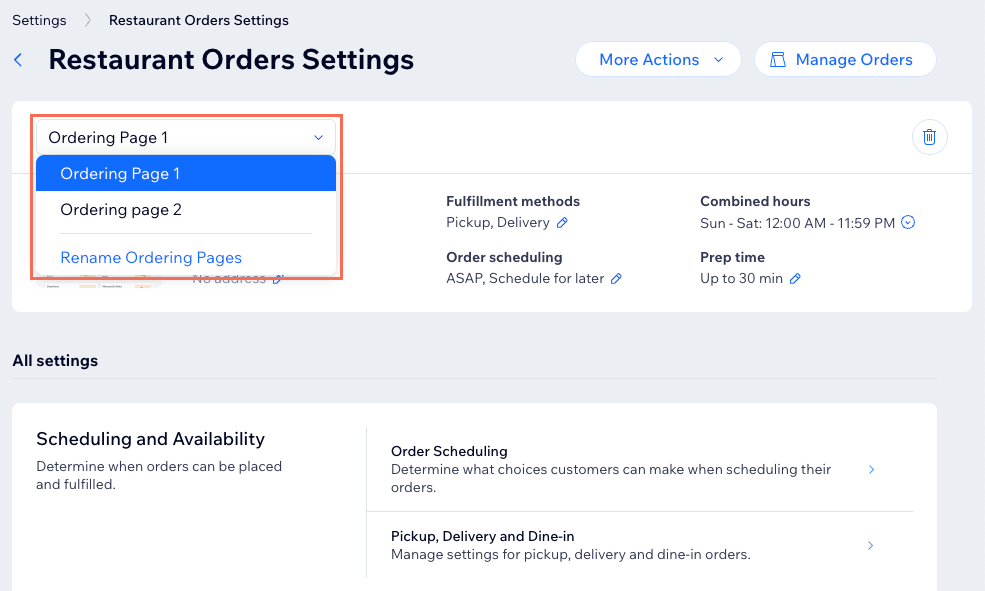
The new page now appears in the dropdown under Restaurant Orders Settings. Select the ordering page from the dropdown to customize it.
Step 2 | Customize page settings
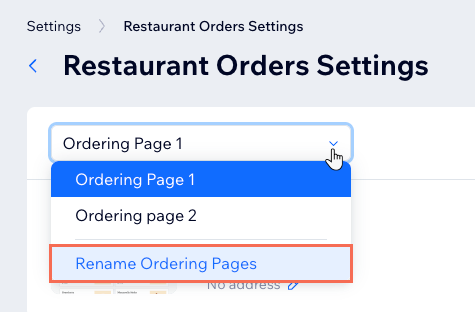
Each ordering page can have unique menus and settings, including scheduling rules, pickup and delivery times, and fees. When customizing your page settings, you can also rename these pages.
To customize page settings:
- Go to Restaurant Orders Settings in your site's dashboard.
- Select the relevant page from the dropdown under Restaurant Orders Settings.
- Edit the ordering page's settings:
Order scheduling
 under Order scheduling / Prep time.
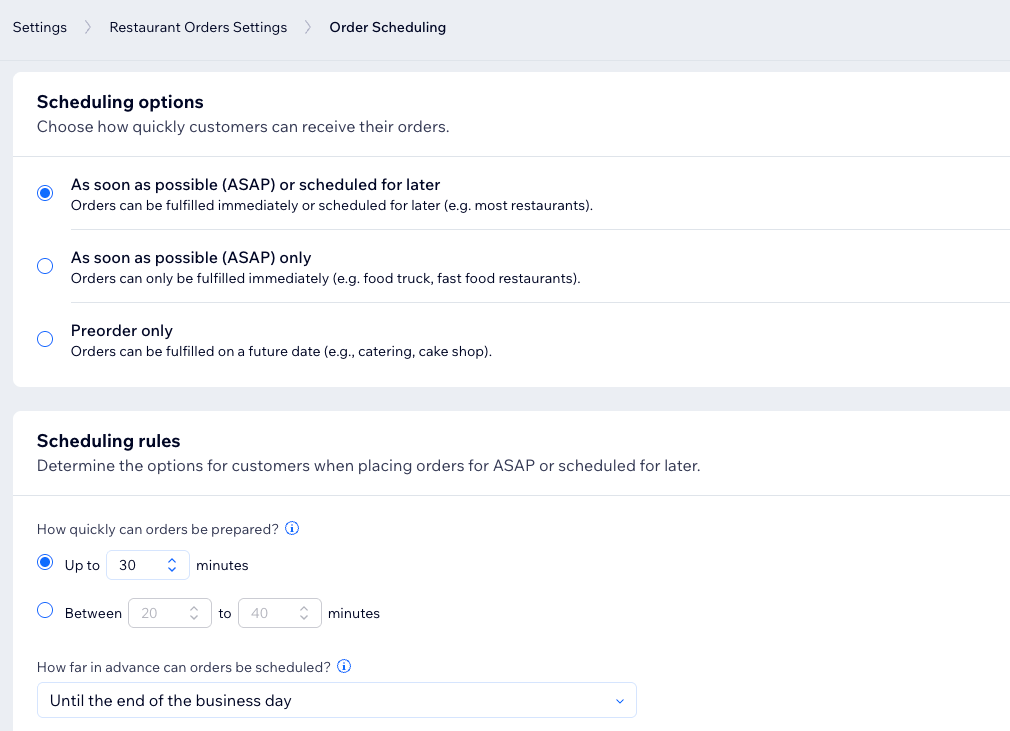
Fulfillment settings
 under Pickup.
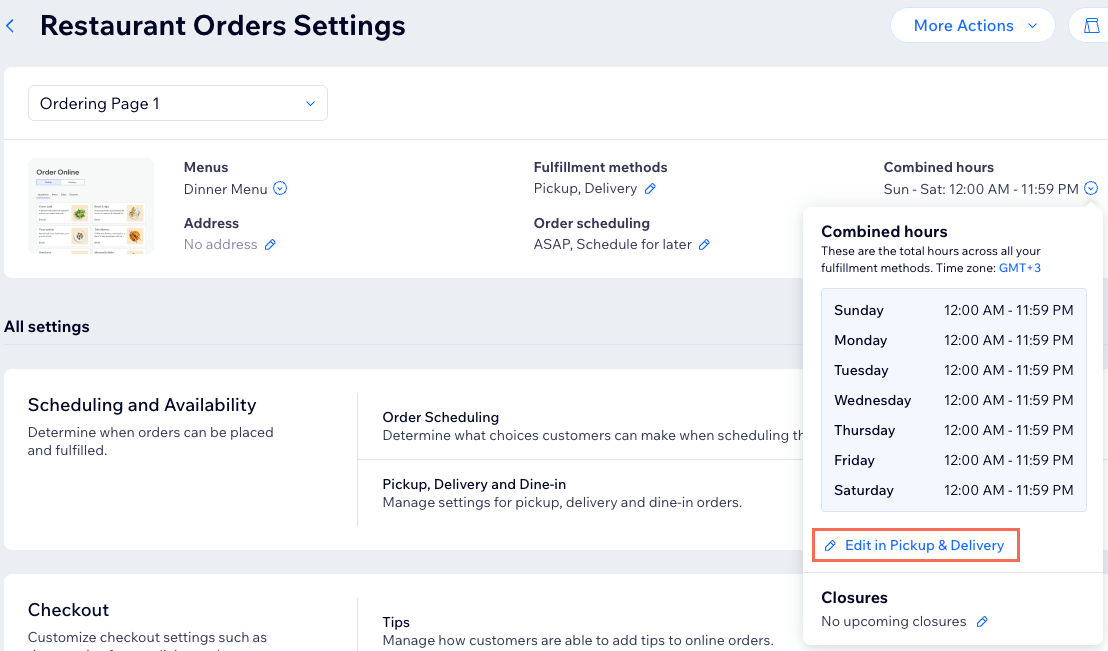
Change the page name
Step 3 | Assign menus to ordering pages
Assign menus to each ordering page to ensure customers order appropriately. On your live site, customers can check out from 1 ordering page at a time (e.g. separate transactions for restaurant and catering orders).
Before you begin:
A menu can only belong to 1 ordering page at a time. If you want to offer the same menu in each page, duplicate the menu first.
To assign menus:
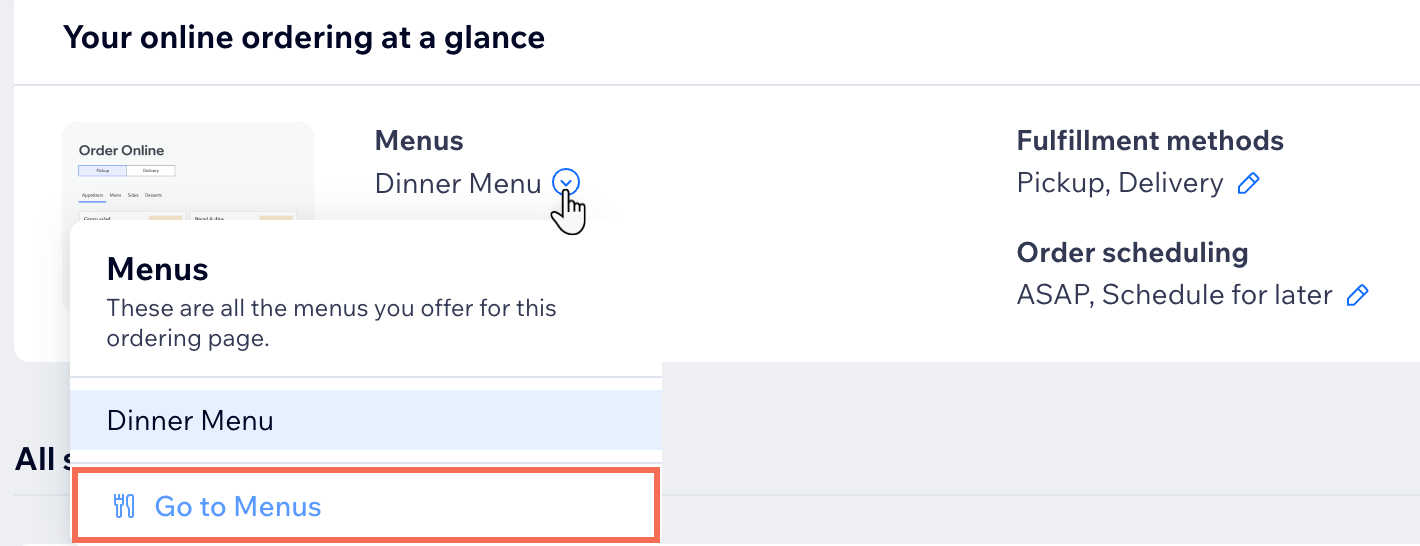
- Go to Restaurant Orders Settings in your site's dashboard.
- Click the Menus dropdown and select Go to Menus.
Tip: This redirects you to the Restaurant Menus page in your dashboard.
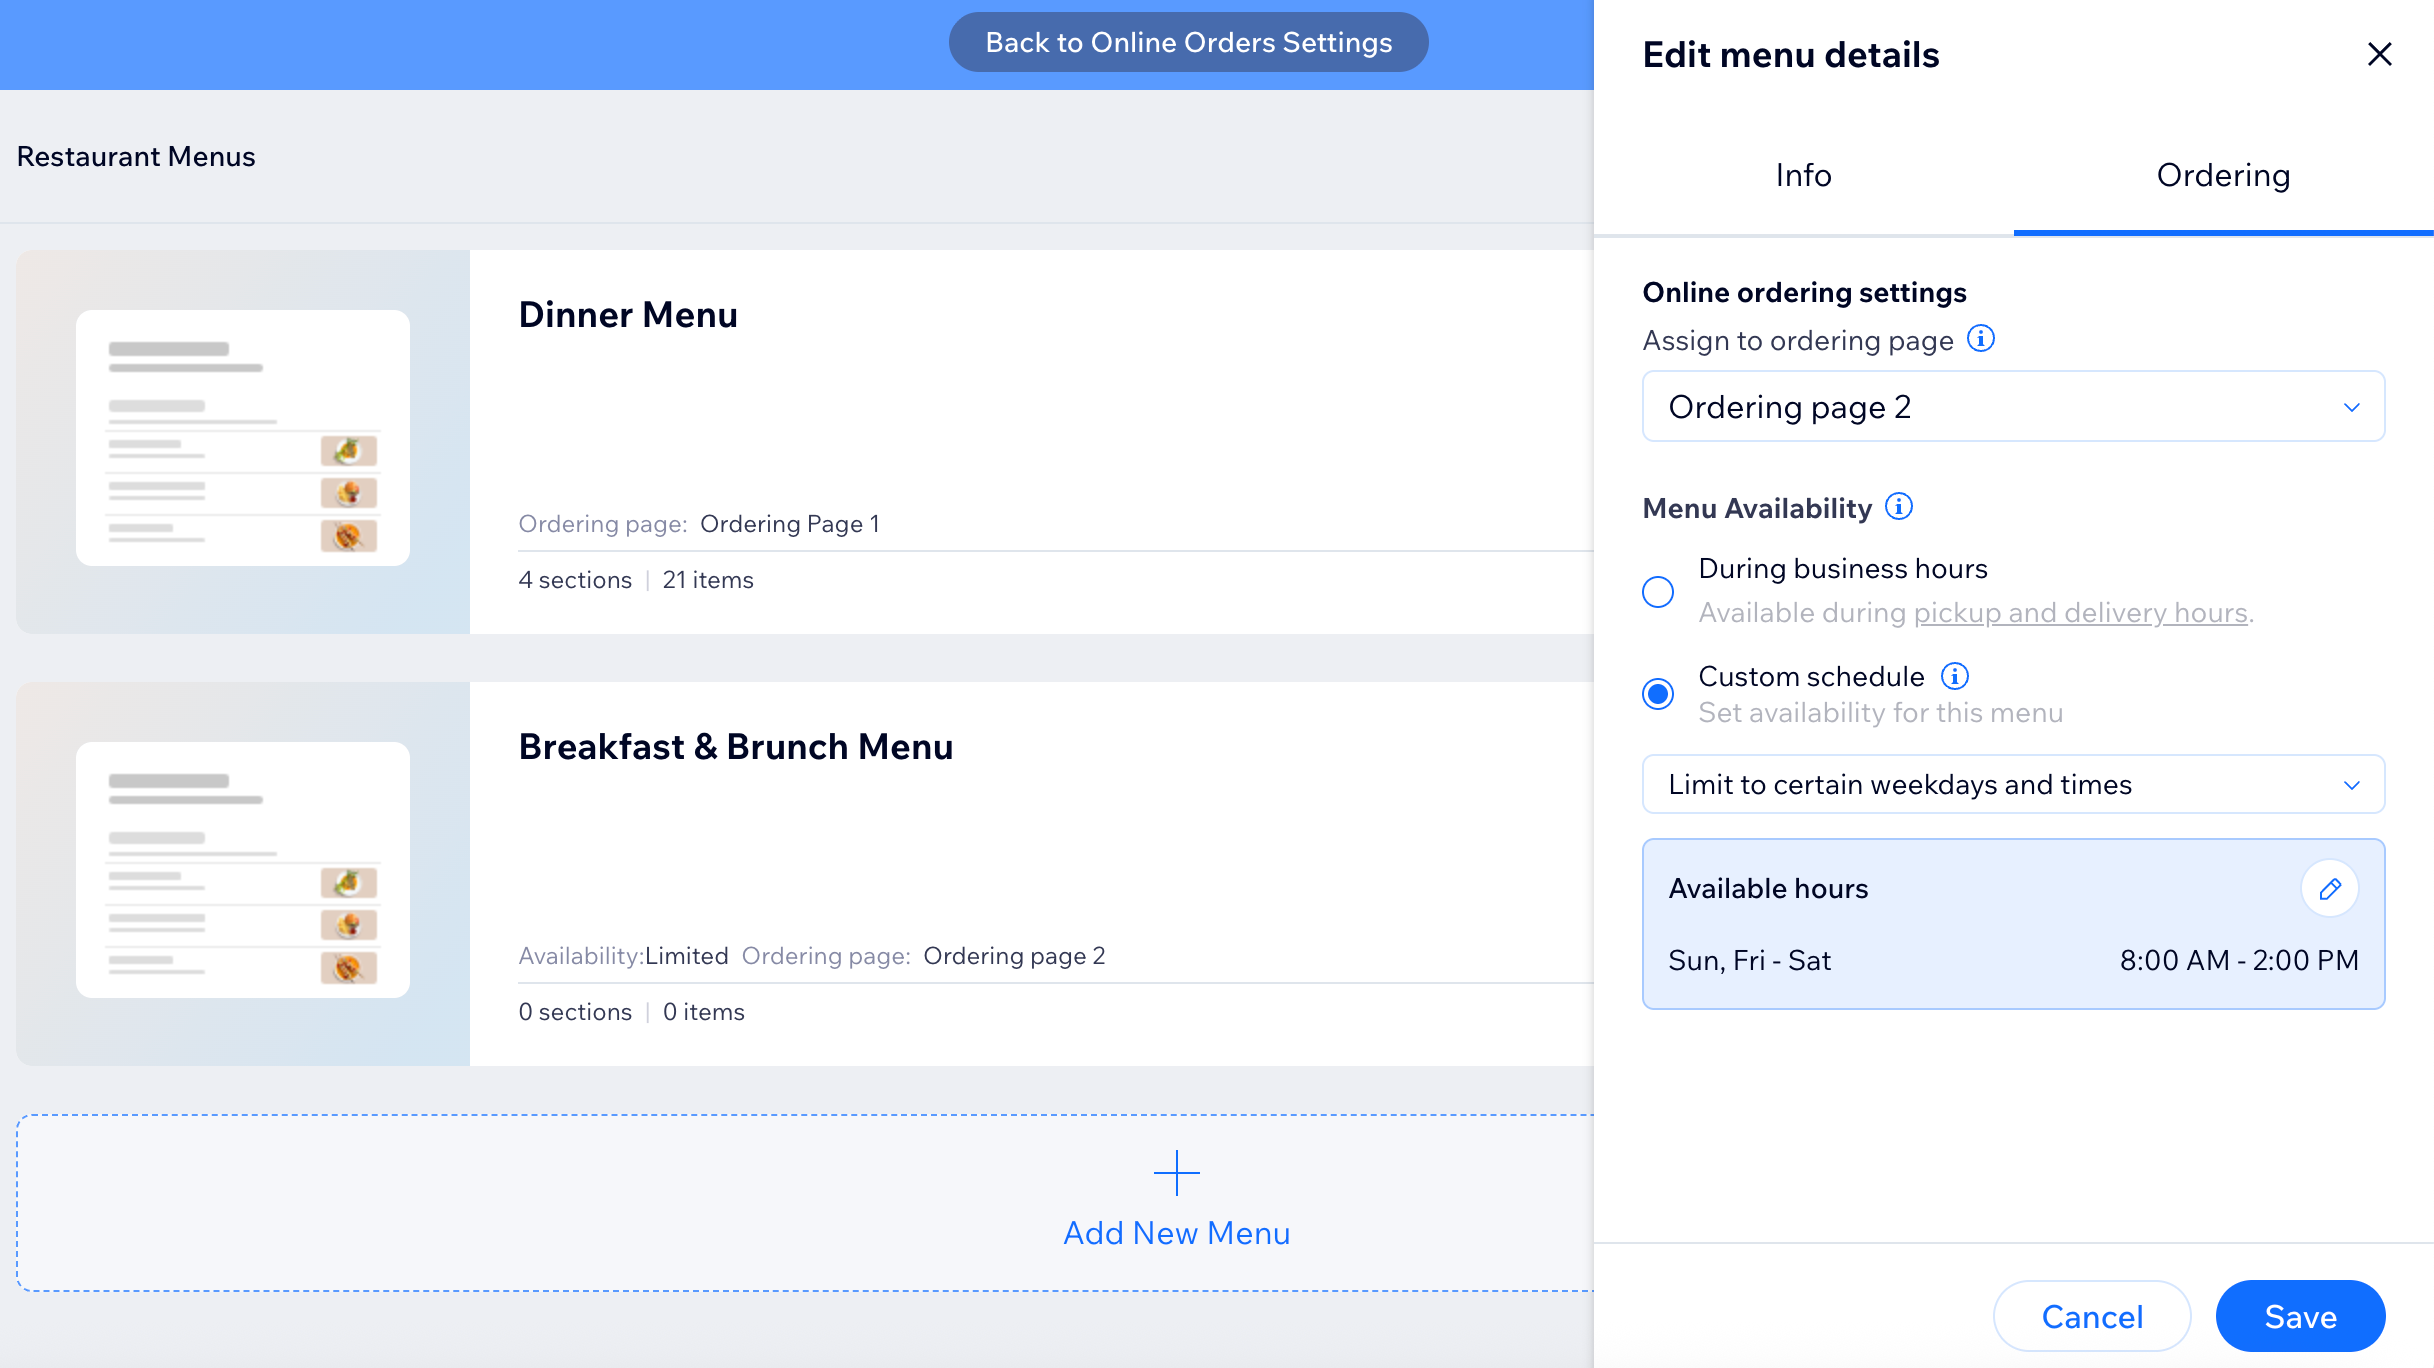
- Click Edit Menu Details next to the relevant menu.
- Click the Ordering tab.
- Click the Assign to ordering page dropdown.
- Select the relevant ordering page.
- Choose the Menu Availability: During business hours or a Custom schedule.
- Click Save.
- Click Back to Online Orders Settings at the top.
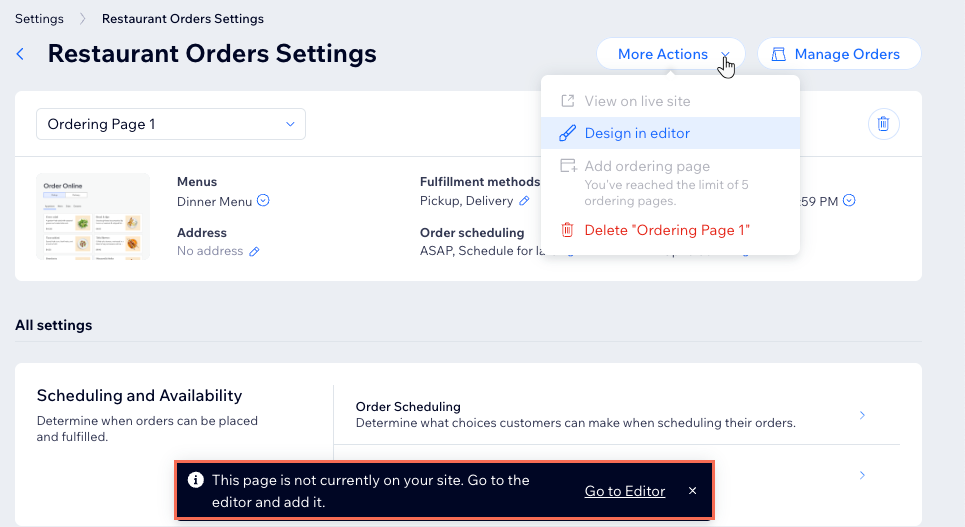
Step 4 | Add the page to your editor
Once your new ordering page is set up in the dashboard, manually add it to your editor. Then, make sure you publish the changes so that the new ordering page appears on your live site.
To add the new ordering page:
- Go to Restaurant Orders Settings in your site's dashboard.
- Select the relevant page from the dropdown under Restaurant Orders Settings.
- Click More Actions at the top right.
- Select Design in editor.
- (Optional) Customize the new page in your editor to fit your preferred layout and design.
- When ready, click Publish at the top right.
Tip:
You can also click Go to Editor if you just want to add the page without designing it for now.
FAQs
Click a question to learn more about creating separate pages.
How many ordering pages can I add to my site?
Is adding another online ordering page the same as having another location?
Can I unassign a menu from an ordering page?
How can I hide my menu from the online ordering page if it's not ready?
Can I customize the design of my ordering pages?
If I change the hours on 1 ordering page, will it affect the other?
Can I delete a page?
