

Wix Online Programs: Creating a New Program
5 min
In this article
- Step 1 | Choose how to start your program
- Step 2 | Edit your program details
- Step 3 | Publish your program and invite participants
Create an online program to inspire, teach, and engage your audience with your business. Use our templates for courses, fitness challenges, nutrition plans, or personal coaching, or build your own program from scratch. Once your program is set up, fill it with content and start inviting people to join.
Before you begin:
- Add Online Programs to your site. Some Wix templates already include Online Programs, making it easier for you to get started.
- Upgrade your site to allow people to join your program.
Step 1 | Choose how to start your program
After adding Online Programs to your site, you can now create a program. Choose an existing template to customize or start fresh and build your own program. You can also let AI build your program for you according to your exact requirements.
Dashboard
Wix app
- Go to Online Programs in your site's dashboard.
- Click + Create New (or Create with AI).
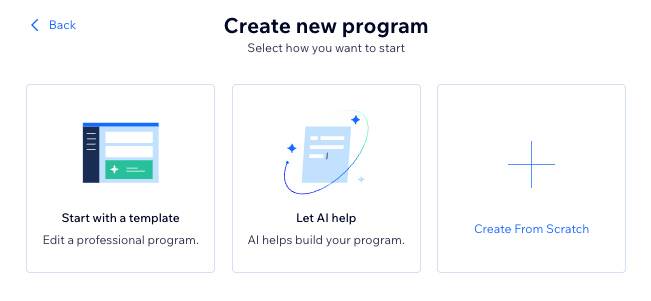
- Click the type of program you want to create:
- Start with a template: Choose a program template from and click Edit.
- Let AI help: Build your program's structure and content using AI.
- Create from scratch: If none of the templates suit your needs, you can create a program from scratch. You can change these details later on if you change your mind.
- Enter a name and click Next.
- Set the pace and click Next.
- Set the duration and click Create.
Step 2 | Edit your program details
Your new program is saved as a draft and ready for you to customize. Introduce the program to your members, set the pricing, and choose between a self-paced structure or a scheduled one. You can also connect groups and assign badges or certificates to participants.
Dashboard
Wix app
- Go to Online Programs in your site's dashboard.
- Click the relevant program.
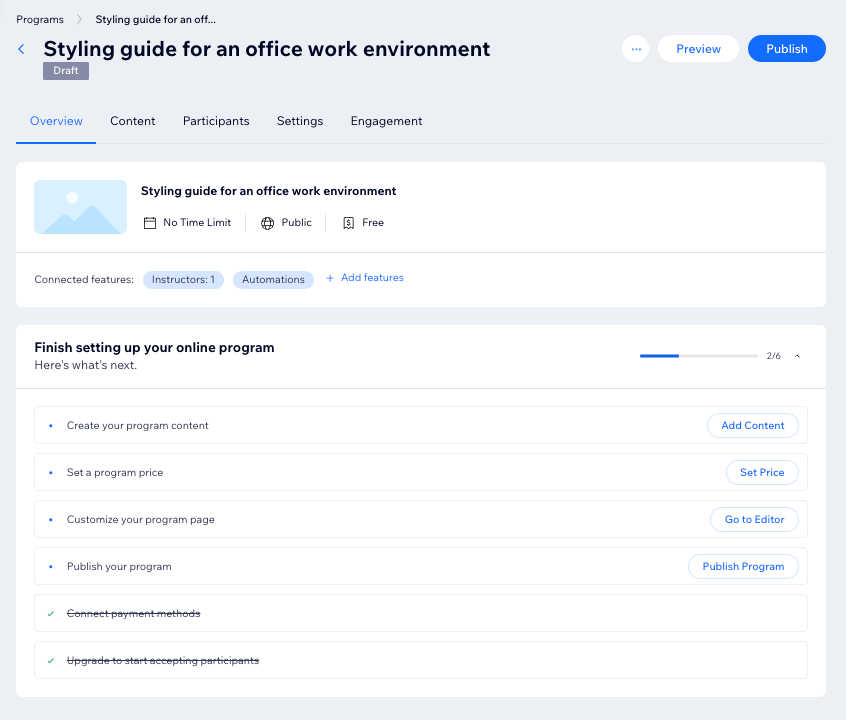
- Finish setting up your online program:
- Click Add content to create your program content.
- Click Set price to change the price of your program.
- Click Go to editor to customize your program pages.
- Click the Settings tab to edit your program details.
- Click the Engagement tab to edit your program's community and reward settings.
Step 3 | Publish your program and invite participants
After setting up your program, you’re ready to make it go live. Publish it and invite participants to join.
Dashboard
Wix app
- Go to Online Programs in your site's dashboard.
- Click the relevant program.
- Preview your program before publishing:
- Click Preview.
- Choose how you want to view of your program:
- Visitor View: People who have not joined your program can see program details such as program name, program duration, number of steps and price (if any).
- Participant View: Participants can click the steps to expand and view the details. They can also view the discussion tab in your group to see what everyone is talking about.
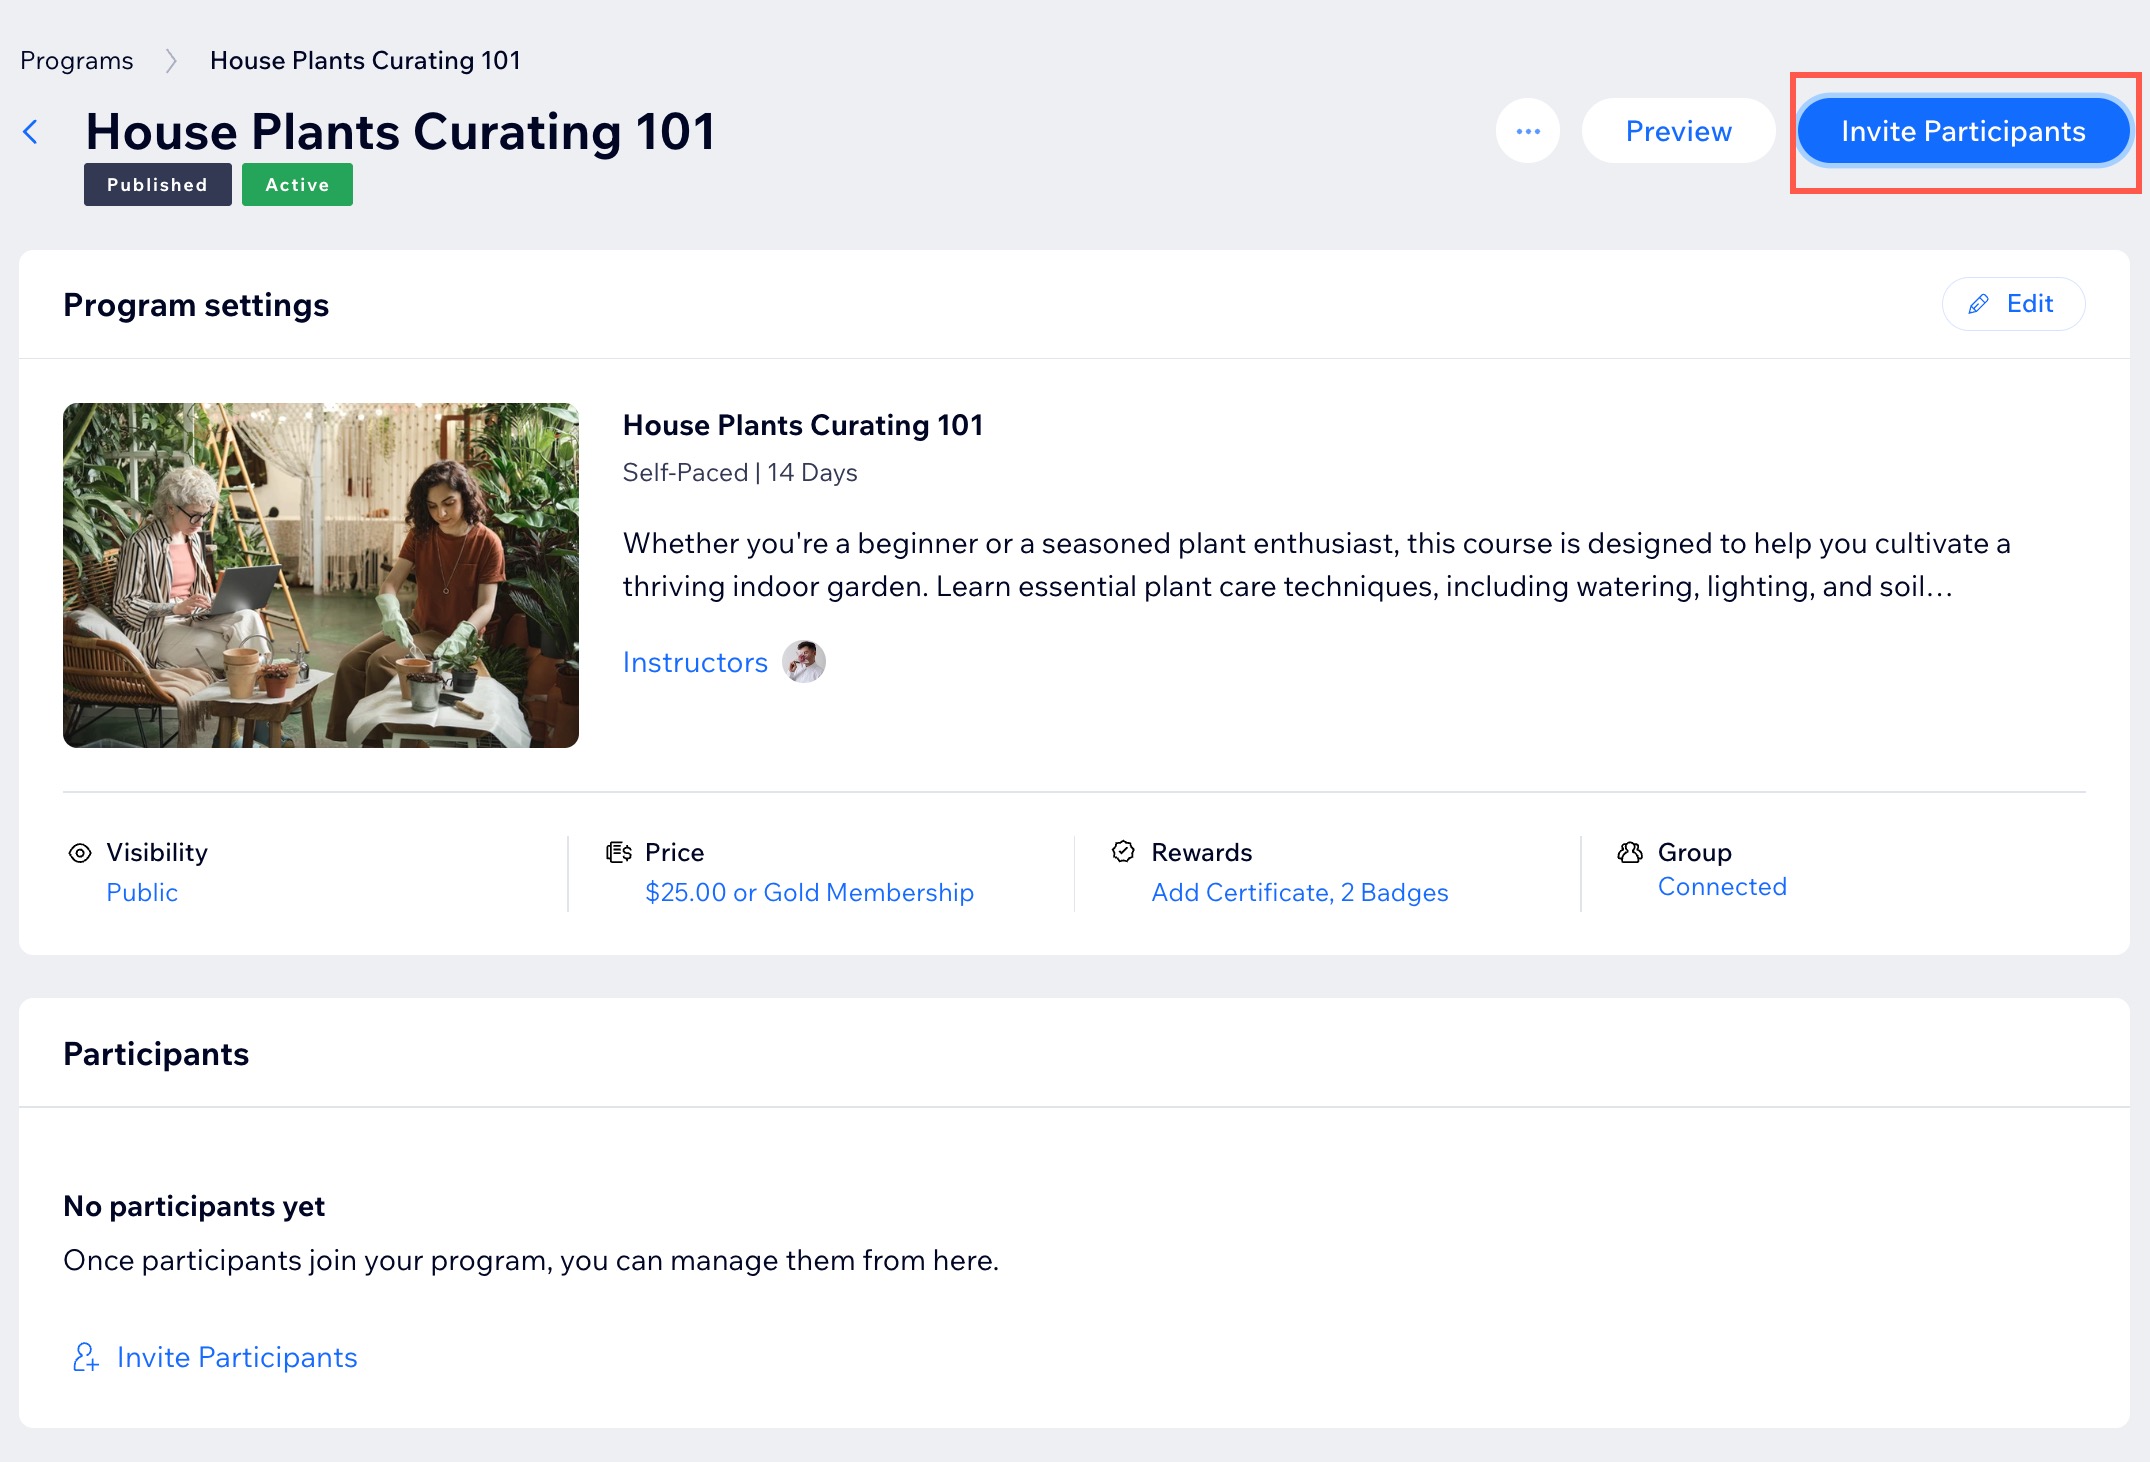
- Click Publish at the top right.
- Click Publish to confirm.
- (Optional) Invite people to join your program.
Tip:
Want to help more clients reach their goals? Build a coaching website with our life coach website builder and share your programs online.
