

Wix Groups: Creating a New Group
4 min
In this article
- Creating a new group
- FAQs
Create places for members with shared interests to connect. You can personalize each group and build a more engaged community on your site. For example, if you run a fitness blog, you can create a “Health and Wellness” group. Members can share tips, ask questions, and support each other on their wellness journey.
Before you begin:
Make sure you have added Wix Groups to your site.
Creating a new group
Create a new group from your site's dashboard or the Wix app. You can choose from a set of templates or create a custom design for your group. You can also use AI to name the group, write a description, create a cover image, and set privacy preferences.
Dashboard
Wix app
- Go to Groups in your site's dashboard.
- Click + Create Group.
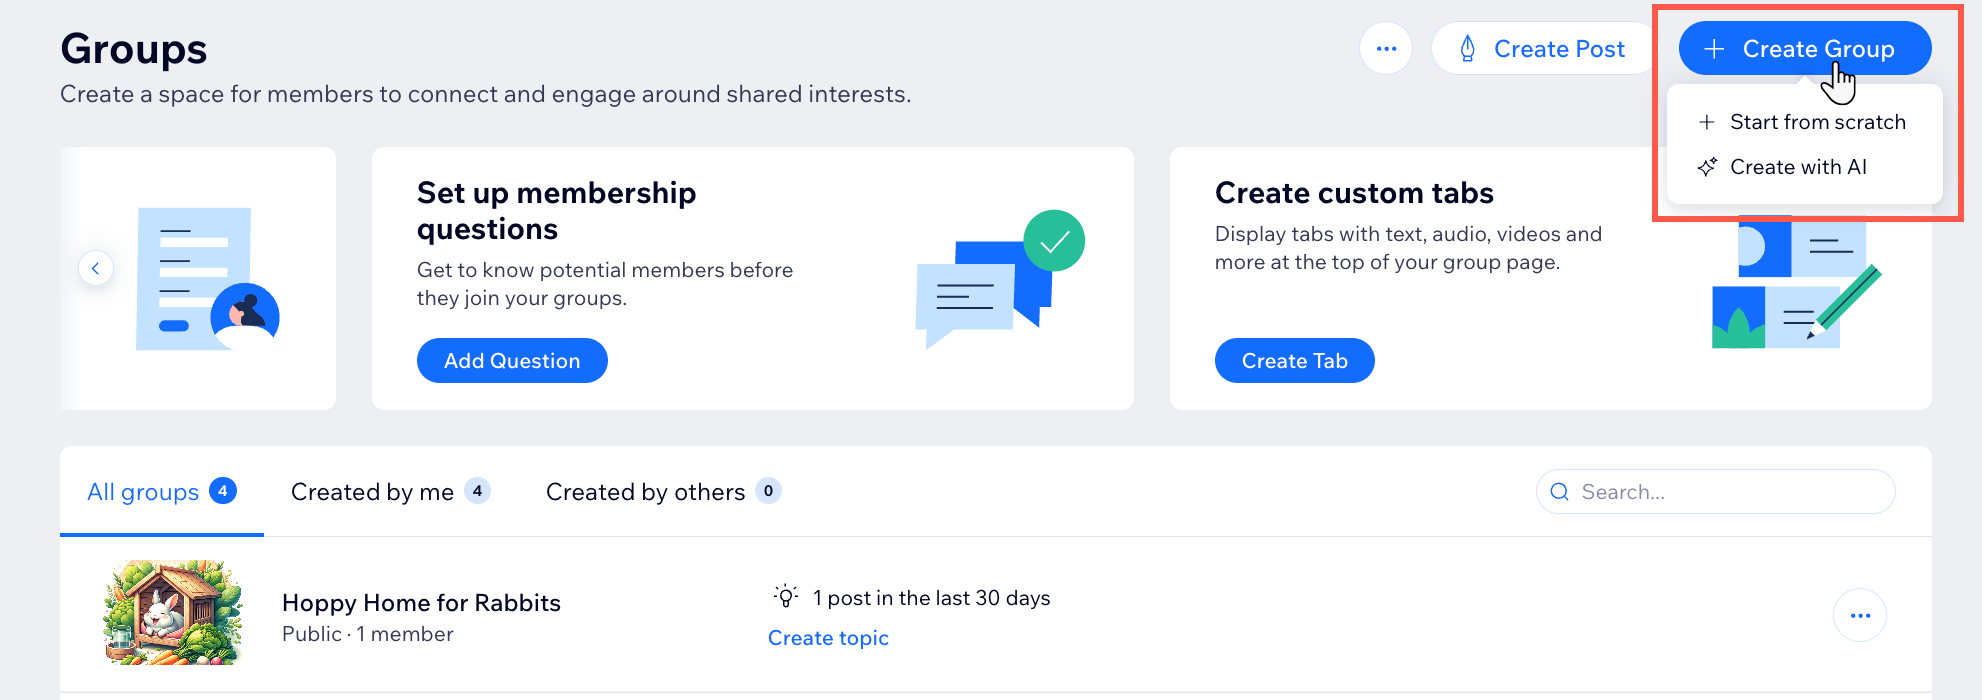
- Choose the type of group you want to create:
Start from scratch or choose a template
 to add a cover image.
Create with AI

FAQs
Click a question below to learn more about groups.
How can site members join my groups?
What can I do in my group after I add members?
Is there a limit to how many groups I can create?
