Wix Automations: Creating an Automation
11 min
In this article
- Step 1 | Create a new automation
- Step 2 | Choose a trigger
- Step 3 | Add steps to your automation
- Step 4 | Choose an action
- Step 5 | Activate the automation
Create an automation to grow or manage your business. Choose to create one from scratch or start with a suggested automation.
All automations consist of a trigger and at least one action. An automation's trigger is the event that causes the sequence of steps to be performed. The action is the response to the trigger. An action can take place immediately after the trigger, after a predefined number of hours or days, or if certain criteria are met.
Example:
Joan has a monthly newsletter. She creates a newsletter subscription form to grow her mailing list. She wants to thank each subscriber as they sign up, but manually sending these emails would be impossible. Instead, she sets up an automation that automatically sends a 'thank you' message every time a new person subscribes.
Step 1 | Create a new automation
Any automations you create appear under Automations in your site's dashboard. Make sure to choose a name that's memorable and can be understood by all of your site collaborators.
Create with AI:
Use the automation agent to describe the automation you want, then review and edit the draft it creates.
To create a new automation:
- Go to Automations in your site's dashboard.
- Click + Create Automation at the top right.
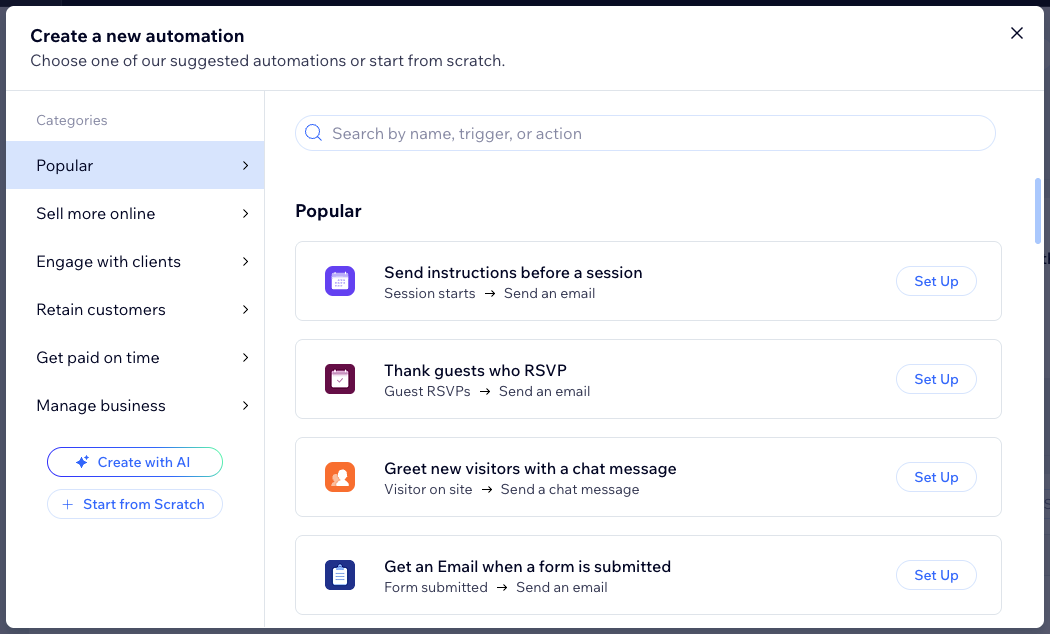
- Choose how you want to start creating your automation:
- From Scratch: Click Start from Scratch to begin from a blank automation template.
- Suggested automation: Use the categories or search bar to find the suggested automation you want to edit. Then click Set Up next to the automation.
- Click the title to give your automation a name.
Step 2 | Choose a trigger
To get started, select the trigger you wish to initiate the automation. This may be something that a visitor does on your site (for example, purchasing a product), or something you or your collaborators do (e.g. creating an invoice).
Note:
The triggers you'll see listed differ depending on which apps are installed on your site (e.g. Wix Forms, Wix Stores).
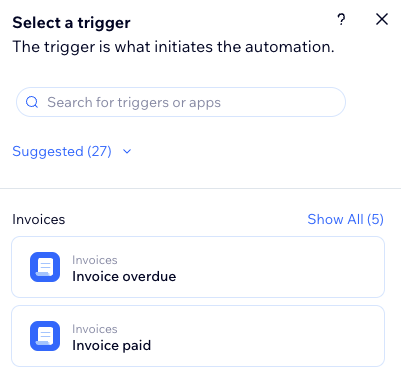
To choose a trigger:
- Choose a trigger in the trigger selection panel from the available options under the relevant app.
- Set up the trigger.
Note: Based on the trigger you choose, you will see different settings to finish configuring the trigger. - (Optional) Enable the Trigger once per person toggle to limit trigger frequency:
- Select the person from the trigger data: Decide how often the automation can be triggered for the same person (e.g. Contact ID, Post Author Contact ID, Visitor ID).
Tip: This is useful for triggers that might occur repeatedly. - Trigger once per person every: Select this checkbox if you want to set a specific amount of time that should pass before the automation can be triggered again for the same person.
- Select the person from the trigger data: Decide how often the automation can be triggered for the same person (e.g. Contact ID, Post Author Contact ID, Visitor ID).
Step 3 | Add steps to your automation
After selecting a trigger, continue setting up your automation using any of the available steps: Delay, Condition, Split, Local variable, Global storage item. These steps can be added anywhere in your automation sequence depending on the logic you are trying to implement.
Customize your automation by adding these steps:
- Delay: Pause your automation between steps by adding a delay. This lets you wait a specific amount of time before continuing to the next step.
Tip: If you don't add a delay, the action is performed immediately. - Condition: Conditions let you create complex automation flows by defining criteria for continuing the flow. In the ‘THEN’ path, the automation flow continues only if the condition is met. You can set an 'ELSE' path to define what happens if it isn’t.
- Split: Add multiple paths to your automation so that multiple actions can occur at the same time.
- Local variable: Create a placeholder for information you use repeatedly in your automation. This gives you the flexibility to manipulate your data and reuse it in conditions or actions.
- Global storage item: Create a dynamic global value that can be read, and updated across all your automations. This gives your automations the ability to remember and update shared information as they run.
Tips:
- You can add notes to your automation to leave short explanations, reminders, or tasks on the canvas for you and your team. Click the Add notes icon
 and drag it to the relevant place.
 - You can move these steps around your automation by holding the Reorder icon
 and dragging it to the relevant place.
 - Once you’ve added a step, select it to rename, duplicate, skip, delete, or view its data.
- You can use the Undo
 or Redo
  arrows to reverse or reapply your recent changes.
Step 4 | Choose an action
Actions are what the automation performs. For example, if your trigger is 'Form submitted', you might want to send that visitor an automatic thank you email. In the Select an action panel, you can find the action offering relevant to the selected trigger, which can be customized to suit your needs.
Did you know?
- You can add multiple actions if needed, at any point throughout your flow.
- You can rename an action to fit your needs.
To choose an action:
- Click the Add Step icon
 .
. - Click Action.
- Choose an action from the panel.
Note: The actions available will differ based on your trigger choice.
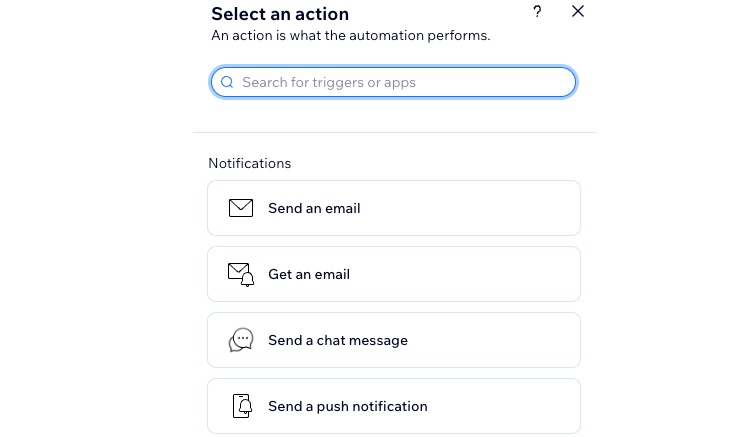
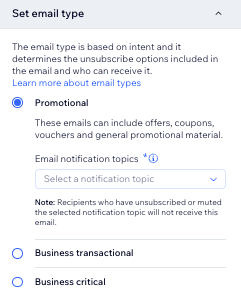
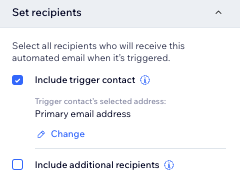
- Set up the action using the available settings. Click the relevant action below to learn how:
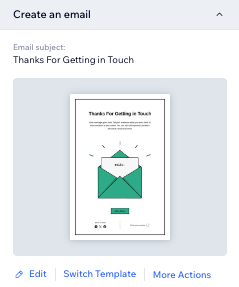
Send an email
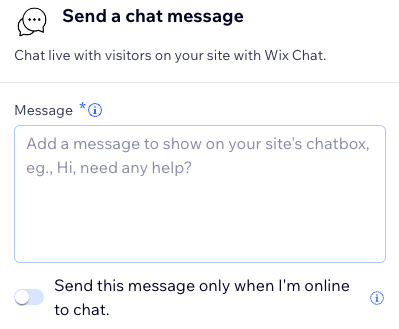
Send a chat message
Send a push notification
Send an SMS
Create a task

Assign a badge

Add a coupon

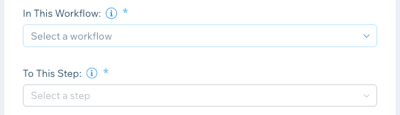
Move card in a workflow
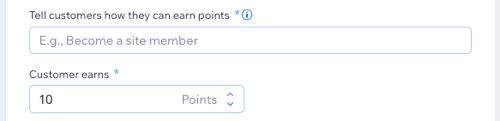
Give loyalty points
Add a label

Publish site
Send HTTP request
Update Google Sheets
Invite to a group
Wix CMS
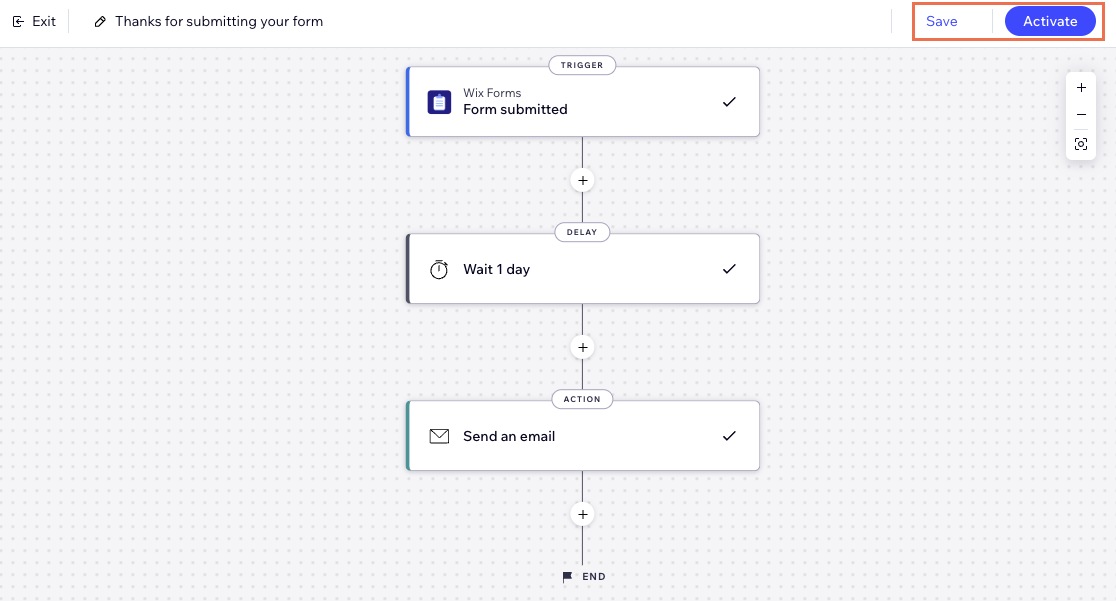
Step 5 | Activate the automation
At the top right, click Save to save as a draft and come back later. Alternatively, click Activate to turn the automation on immediately. It now appears on your Automations page where you can monitor, edit, deactivate, or delete automations according to your needs.