

Wix Groups: Managing Your Group
4 min
Manage your group so it truly reflects your community's vision and goals. You can personalize every aspect, from the group's basic information and privacy settings to its posts, members, tabs, and topics. Update these settings at any point as your group evolves.
Dashboard
Wix app
- Go to Groups in your site's dashboard.
- Click the More Actions icon
 next to the relevant group.
 - Select Manage.
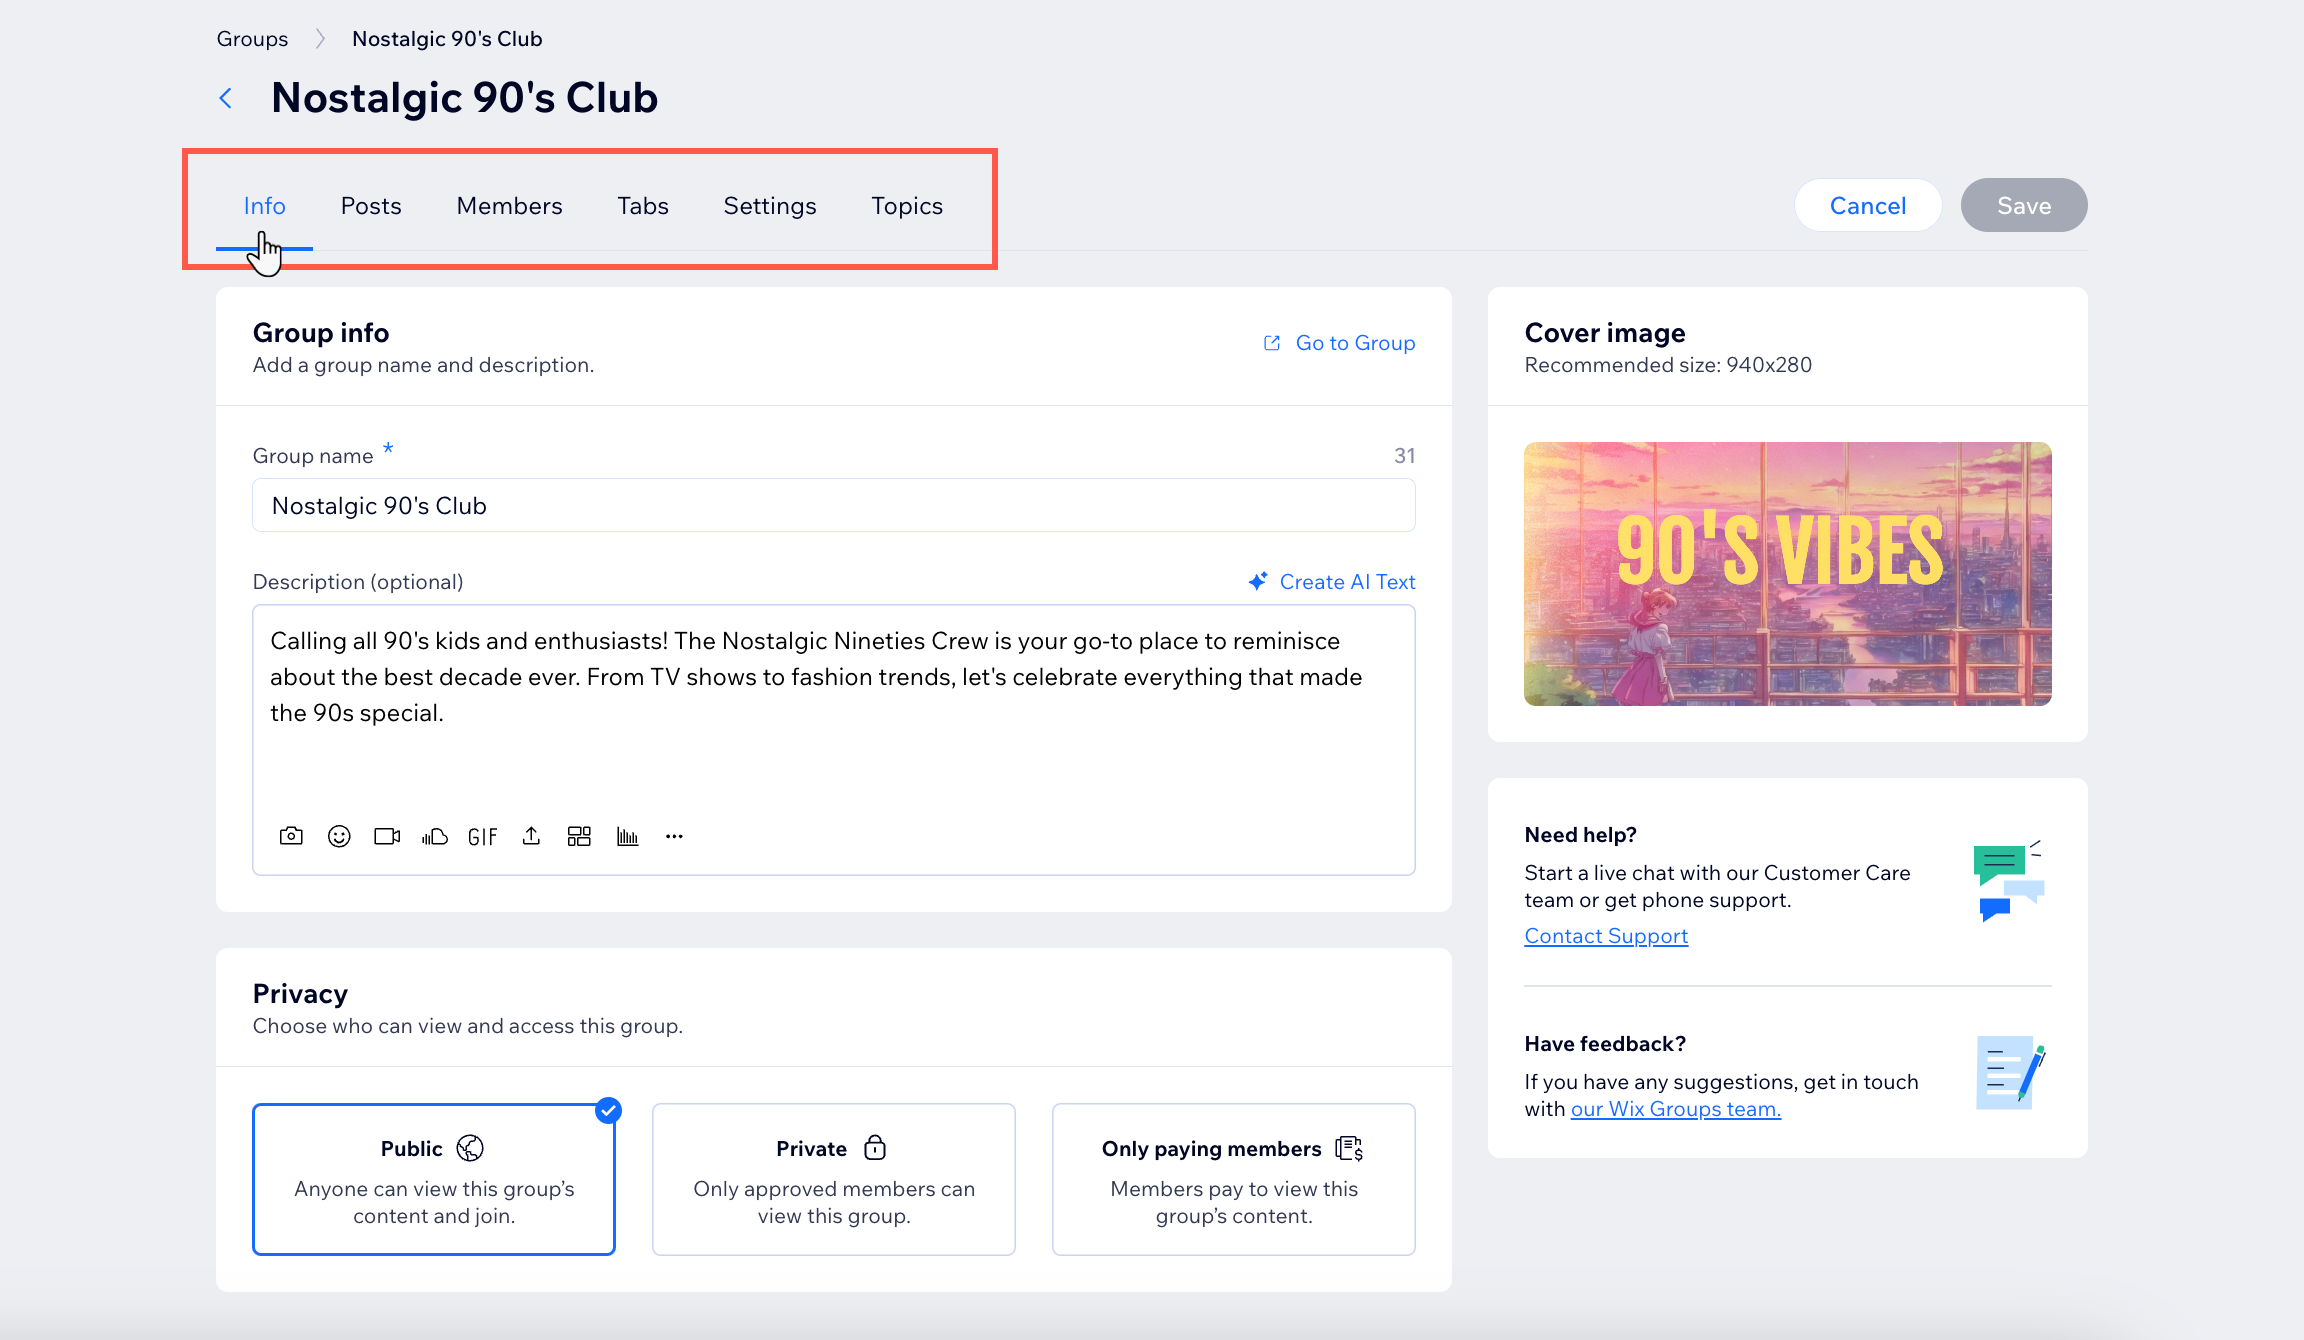
- Select the relevant tabs to manage your group:
Info

Posts

Members

Tabs

Settings

Topics

What's next?
Design your group to reflect your content and site style.
Want to delete your group?
You can delete your group from the same location in your site's dashboard. Once you delete your group, all its content is lost and cannot be restored.
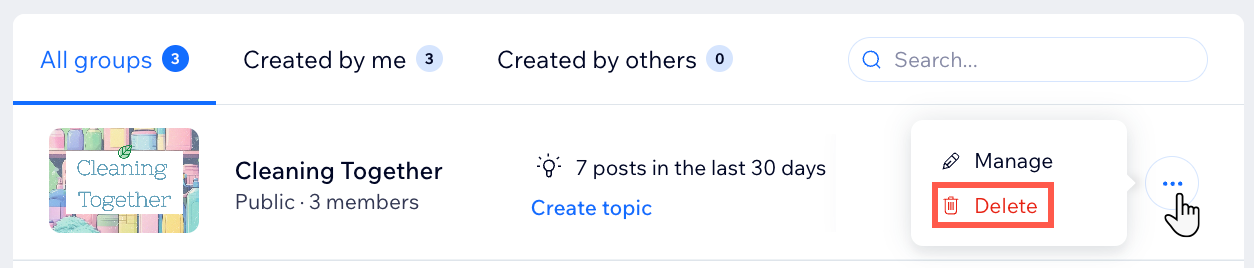
- Go to Groups in your site's dashboard.
- Click the More Actions icon next to the relevant group.
- Select Delete.
- Click Delete in the pop-up to confirm.
