Wix Bookings: Creating a Course
- Step 1 | Create a course
- Step 2 | Set the price and payment options for the course
- Step 3 | (Optional) Create add-ons
- Step 4 | Schedule when you offer the course
- Step 5 | (Optional) Add resources & rooms
- Step 6 | Set the location for the course
- Step 7 | Add images to showcase your course
- Step 8 | Customize your Booking preferences
- FAQs
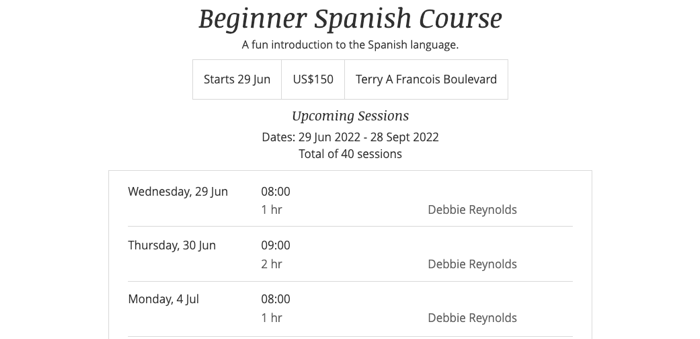
- Multi-session meetings: Clients sign up and pay for an entire course, for example, a five-week pottery course that meets once a week from March 1st to March 29th.
- One-time group services: For example, a Saturday meditation workshop held only once.
Wix Bookings offers three different types of services - classes, courses and appointments. Make sure you choose the right type of service for your business.
Step 1 | Create a course
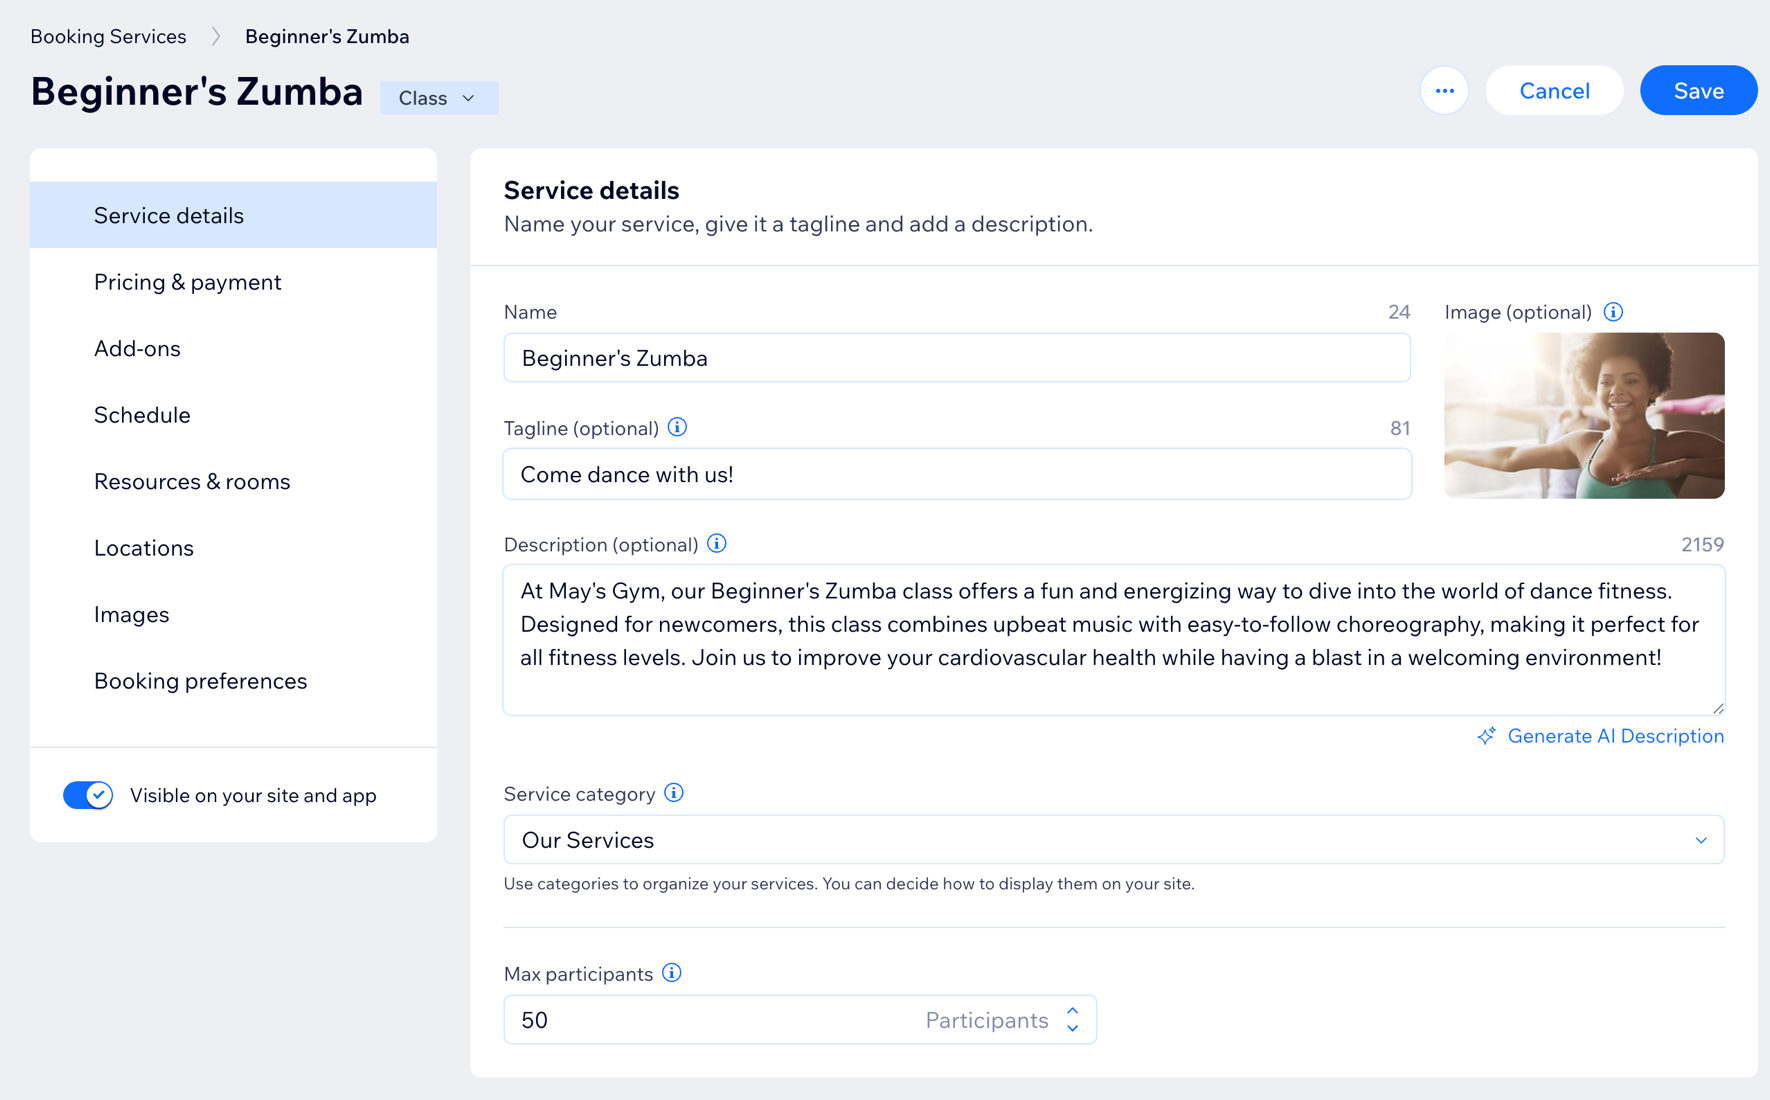
To create a course:
- Go to Booking Services in your site's dashboard.
- Click + Add a New Service in the top right.
- Scroll down to Courses and choose what you want to do:
- Click Edit below the relevant course template.
- Click + Start from Scratch to use a blank template.
- Fill out the Service details:
- Name: Enter the name of the course.
- Tagline (optional): Enter a tagline that will appear below the service name on your site.
- Description (optional): Enter a description that will appear on the service page of your site. Tip: Click Generate AI Description to let AI (Artificial Intelligence) help you create a description.
- Image (optional): Add an image for clients to see when they look through your list of services.
- Max participants: Enter the maximum number of course participants.
Step 2 | Set the price and payment options for the course
To set the price and payment options for your course:
- Click the Pricing & payment section.
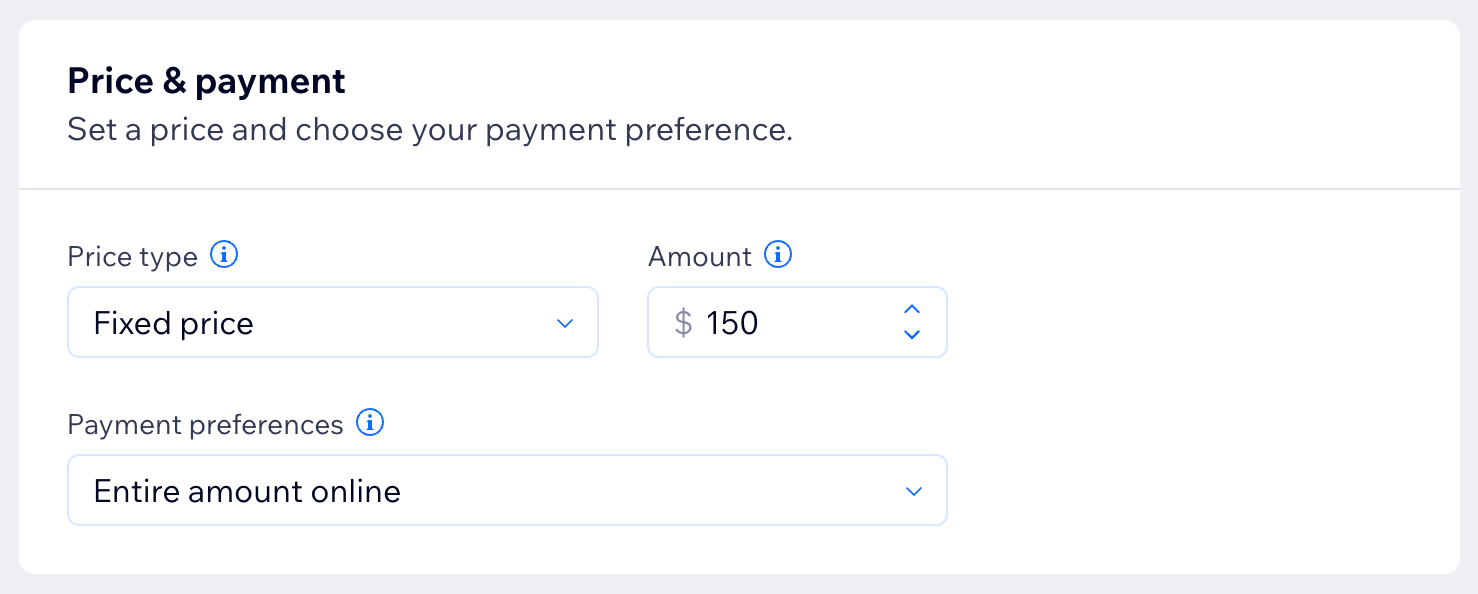
- Select the relevant pricing option from the Price type drop-down.
- Fixed price: A set amount you choose.
- Enter the price under Amount.
- Choose how clients pay under Payment preferences (e.g. entire amount online, online deposit, etc.)
- Monthly pricing: Set a fixed price to charge each month.
- Free: Offer this course for free.
- Varied pricing: Create different price options depending on the client type.
- Enter the Default amount for this course.
- Click + Add Variations or Manage Variations to edit your existing price options.
- Set your own pricing scheme:
- Add a descriptive title for your pricing under What's the title of your variations menu? (e.g. "By client age").
- Enter the different variation names and prices.
- Click + Add Variation to create additional price options.
- Click Save.
- Choose how clients pay you under Payment preferences (e.g. entire amount online, online deposit, etc.)
- Custom price: Enter a description of how you charge for courses. For example, "Starting from $25."
- Fixed price: A set amount you choose.
Step 3 | (Optional) Create add-ons
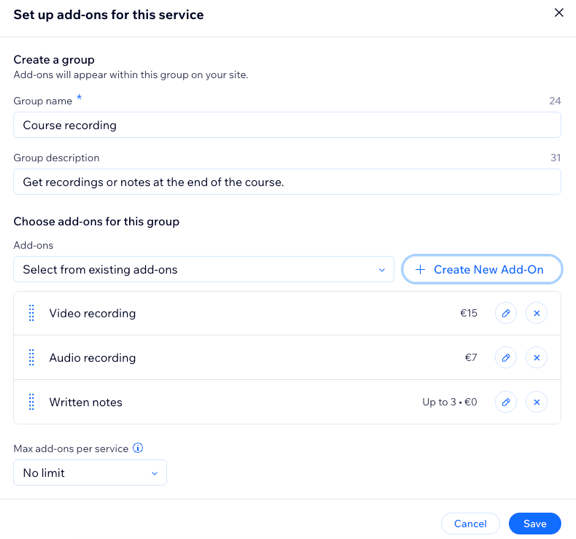
To create add-ons:
- Click the the Add-ons section.
- Click Get Started (first time only) or click Create New Group.
- Set up the group and add-ons for this service:
- Group name: Enter a name for the group.
- Group description: Add a description to help clients understand the add-ons in this group.
- Under Choose add-ons for this group:
- Click + Create New Add-On and enter the details:
- Add-on name: Give your add-on a name (e.g. 'Course notes').
- Price: Enter a price for the add-on, or leave as 0 if it's free.
- Additional settings: Select limits to your add-on:
- Additional time: Select this if the add-on adds extra minutes to the service (e.g. offer a 30-minute one-on-one coaching session after your group course ends).
- Quantity: Select this if you want clients to pick more than one unit (e.g. up to 2 bottles of water).
Note: You can set either additional time or quantity, not both.
- Click Create Add-on.
- Click + Create New Add-On and enter the details:
- (Optional) Repeat these steps to create more add-ons to this group. Then click the Max add-ons per service drop-down and set the number of add-ons a client can book per group. Select No limit or choose a specific number (e.g. 1).
- Click Save.
- Courses can have only 1 group of add-ons, and these add-ons can’t add extra duration.
- Add-ons are not available for the following services: Free services, courses with monthly pricing, and services that can only be booked with a pricing plan.
- Course add-ons apply to the entire course and not individual sessions.
Step 4 | Schedule when you offer the course
- Who teaches the course
- What day(s) and time you offer the course sessions
- How long each course session lasts
- The start and end dates
To schedule when you offer the course:
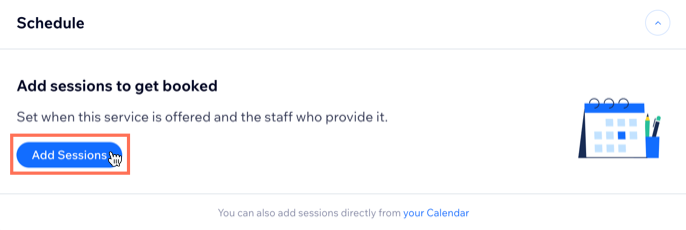
- Click the Schedule section.
- Click Add Sessions.
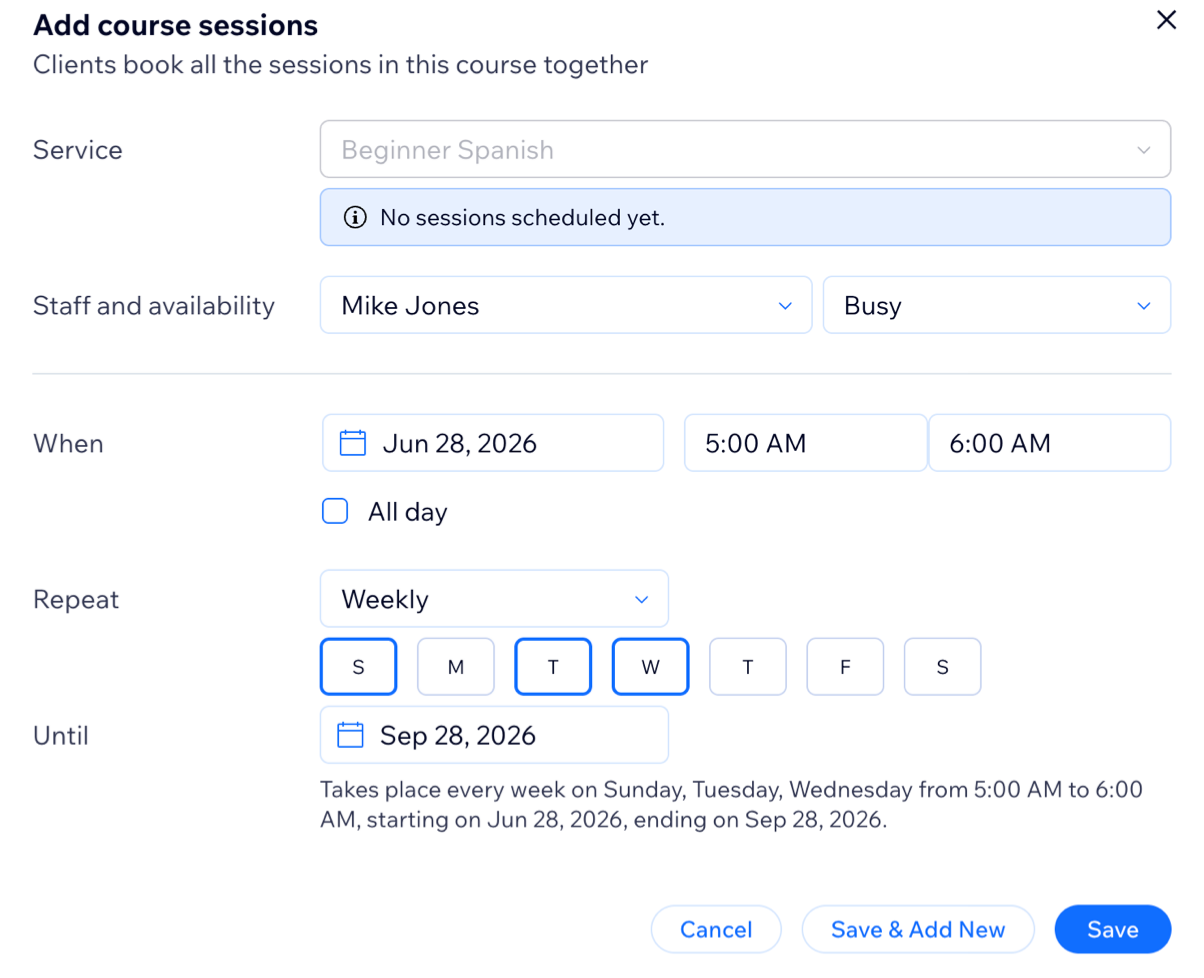
Set up the session details:
Staff and availability: Select the relevant staff member from the left dropdown. Then select their availability status from the right dropdown:
Busy: The staff member is unavailable for other bookings during this session.
Free: The staff member is still available for other bookings during this session.
When: Select the date, start time, and end time for the session.
All day (Optional): Select the checkbox to create a session that runs all day. This replaces the start and end time fields with Start date and End date fields.
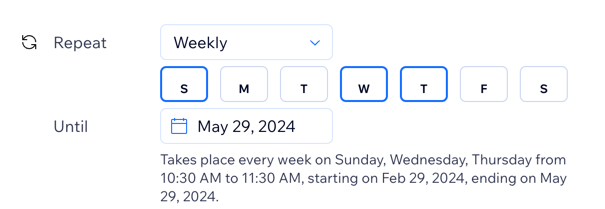
Repeat: Select how frequently you offer the class from the Repeat dropdown.
Tip: To create a session that doesn't repeat, schedule a class through your Booking Calendar.
(Optional) To create a one-time course, select Doesn't Repeat from the Repeat dropdown.
(Repeating courses only) Click to select any additional days on which you offer the service.
(Repeating courses only) Click the calendar next to Until to select when the course ends.
- (Optional) Click Save & Add New to add more sessions in the course that take place outside of the days and times you added in the previous step.
- Click Save.
Step 5 | (Optional) Add resources & rooms
To add resources & rooms:
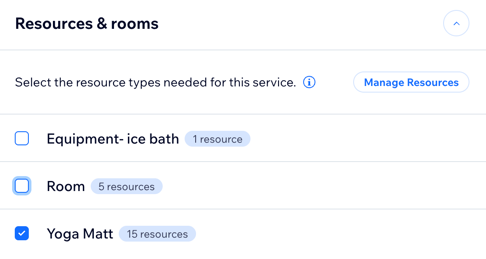
- Click the Resources & rooms section.
- Click the checkbox next to each resource type needed for your service.
Note: For clients to book this service, one resource from each selected resource type needs to be available.
Step 6 | Set the location for the course
To set the location for the course:
- Click the Locations section.
- Click Edit to add the relevant location for the course:
- Business location: Select any of the addresses you entered in the Business Info from the Choose locations drop-down.
Tip: Click + Add New Location to add a new location. - Custom Location: Enter a description of the location in the field (e.g. Online course).
- Business location: Select any of the addresses you entered in the Business Info from the Choose locations drop-down.
- Click Save.
- (Optional) Add video conferencing so the course can be offered online:
- Click Add next to Video conferencing.
Note: If you previously added video conferencing, click the toggle to enable it. - Select the relevant option and click Continue. Learn more about offering an course online.

- Click Add next to Video conferencing.
- Choose how to calculate tax for this service:
Note: Make sure to choose how your business collects tax in your site's tax settings.- Based on business location: Tax is calculated using your business address.
- Based on client’s billing address: Tax is calculated using your client’s billing address.
Step 7 | Add images to showcase your course
To add images to your course:
- Click the Images section.
- Add the following types of images to your appointment:
- Cover image: Select an image for the background of your service's header.
- Service gallery: Add more high-quality images to a gallery for your service page. You can customize the gallery's layout and design in your editor.
- (Optional) Click + Add alt text to add alt text to your images that describes them for search engines and screen readers.
Step 8 | Customize your Booking preferences
To customize your Booking preferences:
- Click the Booking preferences section.
- Select a Booking policy from the drop-down or choose what you want to do:
- Add new policy: Click + Add New Policy to create a new booking policy.
- Edit policy: Click Edit policy to make changes to an existing booking policy.
- (Optional) Allow online bookings:
- Enable the Online bookings toggle.
Note: Disable the Online bookings toggle to make the course view-only. - Choose which Booking form you want to use from the drop-down (only available if you enabled online bookings):
- Custom form: Click Custom booking form to create a new booking form for this service.
- Edit form: Click Edit Form to make any changes to your booking form.
- Enable the Online bookings toggle.
- Click Save.
FAQs


 next to Booking preferences.