

Wix Mobile POS: Setting Up a Point of Sale
9 min
In this article
- Step 1 | Download the Wix app
- Step 2 | Create a Wix Payments account
- Step 3 | (Optional) Order and connect a card reader
- Step 4 | (Optional) Set up Tap to Pay on your phone
- Step 5 | Selecting POS settings
- FAQs
Important:
- This article is about Wix Mobile POS for mobile phones.
- For info on Wix POS Register for brick-and-mortar businesses, click here.
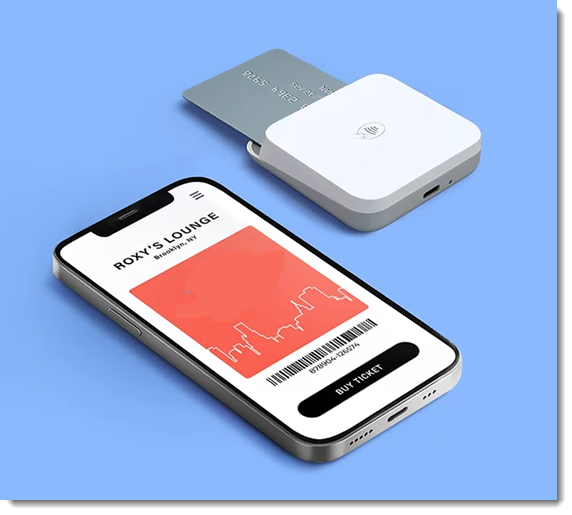
Setting up your phone as a point of sale (POS) turns your mobile device into a "mobile cash register". After setup, you can collect payments wherever you go.
The Wix POS solution outlined in this article is available only in the US and Canada. If you are located outside of the US, or want to use a 3rd-party integration, there are additional options.
Tell me more about 3rd-party integrations
Accepting cash payment at a POS is available in every region.
Step 1 | Download the Wix app
To start accepting payments from your mobile device, download the Wix app. You can accept cash right away, or proceed to the next step to set up credit card payments.
To download the Wix app:
- Go to the Apple App Store (on iPhone) or Google Play (on Android).
- Type 'Wix app' in the Search field.
- Click Get or Install to download the app.
Step 2 | Create a Wix Payments account
Credit card payment processing for Wix Mobile POS is done through Wix Payments. Start by creating your Wix Payments account so you can accept this payment method.
Notes:
- If you previously set up mobile POS through Square or SumUp, you must disconnect before creating a Wix Payments account.
- Your Wix Payments account must be approved before you can order a card reader (step 3) or set up your phone to receive tap payments (step 4). Learn more about the Wix Payments verification process.
Step 3 | (Optional) Order and connect a card reader
Notes:
- You can accept card payment with either a card reader or directly through your phone (tap to pay). If you plan to use only tap to pay, you can skip to the next step.
- You can set up both a card reader and Tap to Pay on iPhone, but you can only use one at a time.
Once your Wix Payments account is approved, order a card reader so you can accept chip, swipe and tap payments. The reader connects via Bluetooth to your phone. Two models of the card reader are available, one for US merchants and one for merchants in Canada.
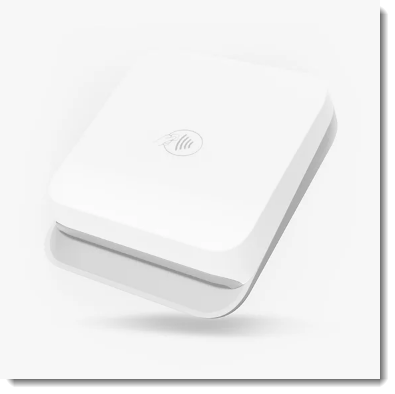
After receiving the card reader, you can connect it in the Wix app.
To order and connect a card reader:
- Go to the Wix POS shop, scroll down and select the card reader.
Note: Progress to the next step after you receive the card reader. - Go to your site in the Wix app.
- Tap Manage
 at the bottom.
 - Tap Point of Sale under Get Paid.
- Tap the Connect icon
 at the top right.

- Tap Connect.
- Tap Connect Reader.
- Press the power button to turn on the card reader.
- Tap Connect in the app, next to the reader.
If the card reader isn't working properly, check out these troubleshooting steps.
Step 4 | (Optional) Set up Tap to Pay on your phone
Requirements:
- Tap to Pay is currently available only in the US.
- iPhone:
- The 15.5 operating system or higher
- The iPhone XR model or later
- Android: Android 11 or later
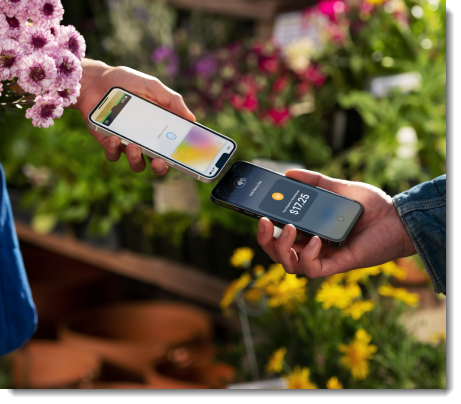
After setting up Tap to Pay on iPhone, customers can either tap a credit/debit card directly on your phone or use their own phones to pay you.
To set up Tap to Pay:
- Enable Tap to Pay in the dashboard:
- Go to Accept Payments in your site's dashboard.
- Enable the Tap to Pay on iPhone toggle.
- Go to your site in the Wix app.
- Tap Manage at the bottom.
- Tap Point of Sale under Get Paid.
- Tap the Connect iconat the top right.
- Select Tap to Pay or Tap to Pay on iPhone.
- Tap Activate.
Step 5 | Selecting POS settings
Before you start using your point of sale, go to the POS settings to see if you want to make any changes there.
To select POS settings:
- Go to your site in the Wix app.
- Tap Manage at the bottom.
- Tap Point of Sale under Get Paid.
- Tap the More Actions icon
 at the top right.
 - Select POS settings.
Note: If you don't see POS settings, check the FAQ below. - Choose the setting you want to update:
Allow the sale of out-of-stock products

Enable tipping
Customize the look of your printed or emailed receipt
Manage your receipt printer
Select item types

FAQs
Click a question below to learn more about setting up a POS.
I don't see the POS settings option. How can I add it?

Can I refund payments at my point of sale?
Can I collect tax at a POS?
I have a card reader and also have tap to pay set up on my phone. Can I use both?

Next steps:
- Charge clients at your POS.
- Sell Wix Stores products at a POS.
- Sell Wix Events tickets at a POS.
- Sell physical gift cards at a POS.
- For Wix Bookings users:
- For Wix Restaurants Orders (New) app users:
- For Wix Invoices users:
