

Wix Mobile POS: Charging Clients at a Point of Sale
5 min
Important:
Wix Mobile POS allows you to make sales from your phone while on the go. To process payments in a physical store, learn more about Wix POS Register.
Turn your mobile device into a point of sale (POS) and accept payments from your clients, even if your site does not use apps such as Wix Stores, Wix Bookings or Wix Restaurants (New). Simply enter the amount you want to charge and accept payments by cash or card.
For example, if you offer consulting or services and manage appointments yourself, you can still collect payment in person using your mobile device.
Note:
If your site uses any of the Wix apps listed below, click the relevant link to learn how to use your phone as a POS:
- Wix Stores: Sell products
- Wix Bookings: Sell services
- Wix Restaurants Orders (New): Receive restaurant orders
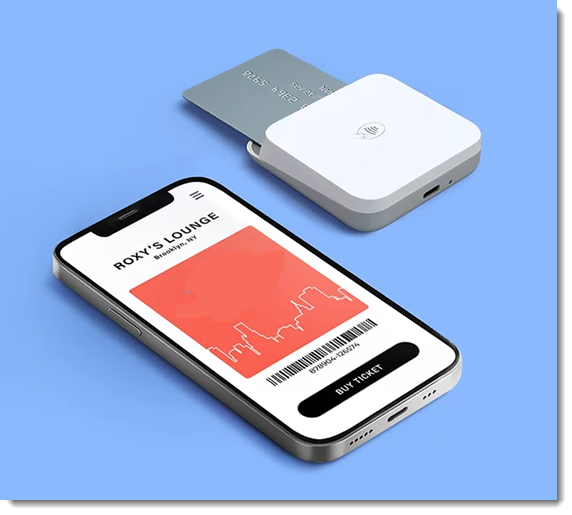
- Wix Events: Sell tickets
- Pricing Plans: Sell plans
- Wix Invoices: Collect payments
To charge clients at a point of sale:
- Download the Wix app and install it on your device.
- To accept card payments, make sure you:
- Go to your site in the Wix app.
- Tap Manage
 at the bottom.
 - Tap Getting Paid, then select Point of Sale.
- Tap Make a Sale.
- Enter the amount you want to charge (including cents), then tap Next.
Note: Enter the final amount after tax or discounts are calculated. - Enter a short description for the payment, then tap Next.
Tip: This description appears in the Payments tab in your site's dashboard. - Choose what you want to do:
Accept cash payment
Accept payment through Wix Mobile POS & Wix Payments
Manually enter credit card details
Accept payment through Square
Accept payment through SumUp
