

Wix Mobile POS: Selling Physical Gift Cards at a Mobile POS
7 min
In this article
- Step 1 | Order physical gift cards
- Step 2 | Enable gift cards in your dashboard
- Step 3 | Select preset gift card values
- Step 4 | Sell physical gift cards
- FAQs
Important:
- Wix Mobile POS allows you to make sales from your phone while on the go. To process payments in a physical store, learn more about Wix POS Register.
- The Wix POS solution for mobile phones is available only in the US, UK and Canada. If you are located elsewhere, you can check out third-party integrations.
You can use Mobile POS to sell physical gift cards straight from your phone. Customers can redeem them when they pay for orders, encouraging repeat visits and helping you attract new shoppers.

Step 1 | Order physical gift cards
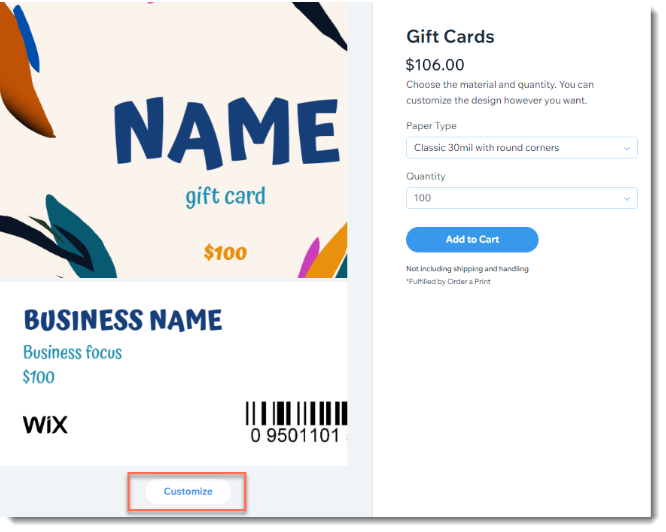
To get started, design and order your physical gift cards. There are a number of ways to order physical gift cards. Choose one of the options below.
Tip:
The Wix gift cards do not come with a set dollar value. You assign the value when you sell the physical gift card to your customer (see details below).
Order gift cards in the Wix dashboard (US & Canada merchants)

Order gift cards in the Wix dashboard (UK merchants)
Order cards through eCard Systems
Order your own external gift cards
Step 2 | Enable gift cards in your dashboard
Before you can start selling gift cards at your point of sale, you need to go to your Wix dashboard and enable gift cards for your site.
To enable gift cards:
- Go to Gift Cards in your site's dashboard.
- Click Add Gift Card to Site.

Tip:
After clicking Add Gift Card to Site, you do not need to do anything else in the dashboard page or in your editor to continue the physical gift card setup.
Step 3 | Select preset gift card values
When you sell a gift card at your mobile POS, you choose the card’s value. You can select from preset amounts or enter a custom amount if this option is enabled.
To select which gift card values are displayed:
- Go to your site in the Wix app.
- Tap Manage
 at the bottom.
 - Scroll down to the Getting Paid section and tap Point of Sale.
- Tap the More Actions icon
 at the top right.
 - Select POS settings.
- Tap Physical gift cards.
- Enter the preset amounts you want to display.
- Tap the Let customers choose their own amount toggle to enable or disable it:
- Enabled: The Custom Amount option is displayed when you sell gift cards and you can enter an amount.
- Disabled: You won't be able to select a custom amount, only your preset values.
Step 4 | Sell physical gift cards
After you receive your cards and enable gift cards in your dashboard, you can start selling physical gift cards to customers.
To sell gift cards:
- Go to your site in the Wix app.
- Tap Manage at the bottom.
- Scroll down to the Getting Paid section and tap Point of Sale.
- Tap the Gift cards tab.
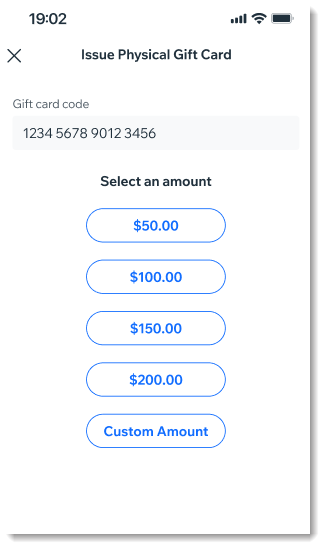
- Tap Issue a physical gift card.
- Choose a physical gift card and select an option:
- Scan the card's code.
- Manually enter the card's code and tap Next.
Tip: Gift card codes are not case sensitive.
- Select the value of the gift card or tap Custom Amount and enter the amount.
- Tap Add to Cart.
- Complete checkout.
FAQs
Click a question below to learn more.
What are the minimum and maximum possible gift card values?
How can I check a customer's gift card balance?
Are there any payment limitations when I sell a gift card?
