


CMS: Displaying Collection Content on Your Page
In this article
- Step 1 | Create a collection
- Step 2 | Design your page
- Step 3 | Connect page elements to a dataset
- Step 4 | Manage the dataset settings
- Step 5 | (Optional) Create 'Load More' or navigational buttons
- Step 6 | (Optional) Let visitors filter the content
With the
Wix CMS (Content Management System) you can keep vast amounts of content in database collections stored separately from your Editor. To make the content appear on your site, you have several options for connecting the collection items to page elements.
Adjust the dataset settings to control how many items can load at a time, which items to exclude, and the order in which items display. Add optional extras like 'Load More' buttons that can improve performance and input elements that visitors can select to filter the items they see.
Step 1 | Create a collection
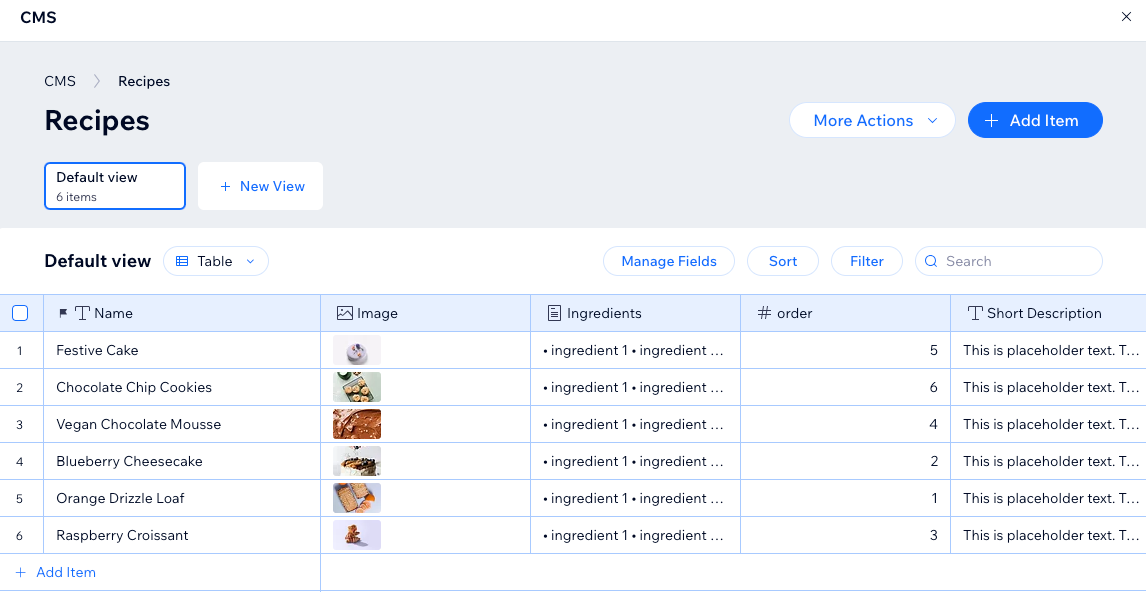
The CMS lets you save content in databases known as "collections," which you can connect to your site's page elements.
There are two types of CMS collections you can create:
- Multiple item collection (Default): Create a multiple item collection to display items on dynamic pages or in list elements like repeaters, galleries, or tables. This allows you to show several items on the same page within a consistent layout.
- Single item collection: Create a single item collection if you only need to display one item on a static page or section.
From your collection settings, you can
set permissions that determine who can view, add, or edit the content. You can also
set item visibility to hide items from your live site,
create field validations and more.
Learn how to
create a collection that holds content for your site.
Step 2 | Design your page
Consider how you want to display your collection content to determine how to set up the page design.
You can show your collection content in the following page types:
- Static pages: In a regular page, connect elements like text, images, repeaters or galleries to a dataset to display collection item contents. There is a limit of 100 static pages per site.
Note: Dynamic and app pages can create unique URLs for items, but only the main page counts toward your quota—not individual items or URLs. Learn more about scaling efficiently with dynamic pages. - Dynamic list pages: This type of dynamic page shows content from multiple items in a repeater, gallery, or table. When visitors click an item, they go to the item's dynamic item page for more info about the item. Learn more about setting up dynamic list pages.
- Dynamic item pages: This type of dynamic page shows details about an individual item. Each collection item has its own dynamic item page URL, with each version of the page keeping a consistent layout. Learn more about setting up dynamic item pages.
- Dynamic item pages for listing items by category: This type of dynamic page lets you show 'categories' of items. Each category has its own version of the page where visitors browse a list of items within the category and select specific items for more info. Learn more about creating dynamic pages that list items by category.
- Dynamic manage item pages: (Studio Editor only) This type of dynamic page lets you, site collaborators, and specific site members manage collection content directly from your live site. The page is pre-built with input elements that connect to specific collection fields. Each item gets its own version of the page where people with permissions can add, edit, or delete the item's content. Learn more about creating dynamic pages for managing content on your live site.
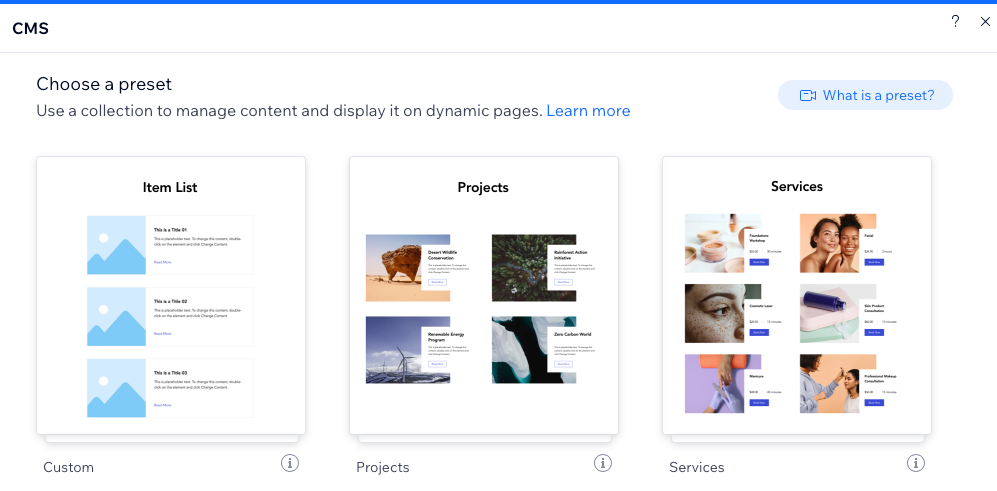
Tip:
Add a CMS preset for an example of showing collection items in a dynamic list and dynamic item page.
Step 3 | Connect page elements to a dataset
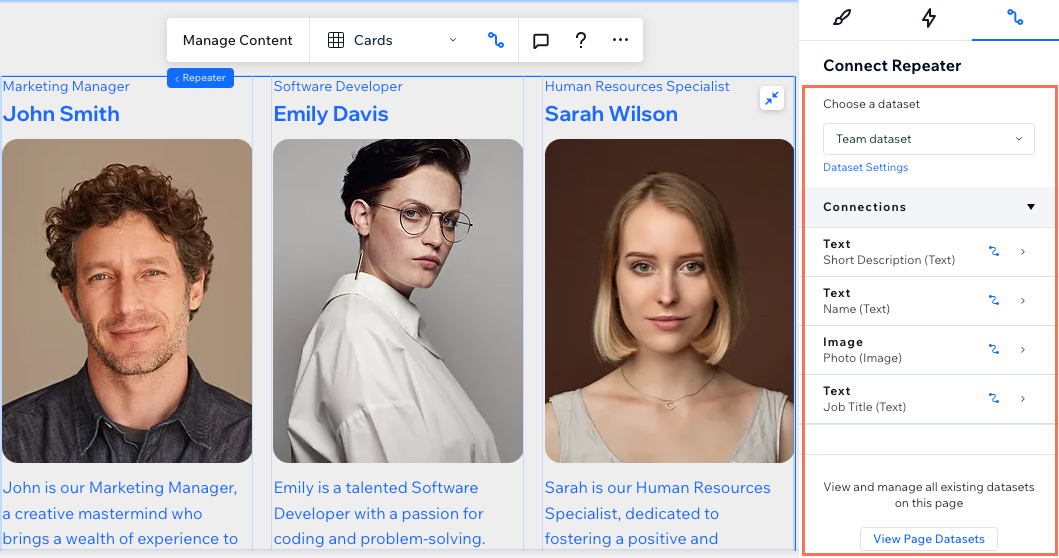
Datasets are your behind-the-scenes connectors that bind your collection content to your page elements. After setting up the type of page you want to use, connect the relevant page elements to a dataset that reads your collection content.
Learn how to
connect elements to a dataset that binds to your collection.
Step 4 | Manage the dataset settings
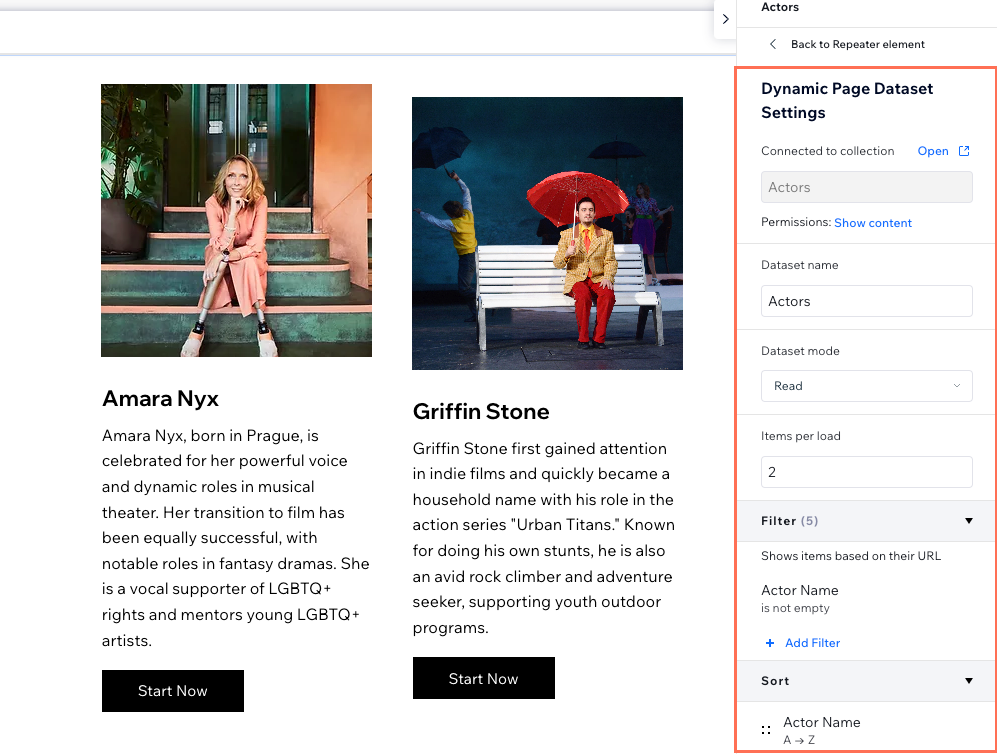
Your dataset settings control how the dataset interacts with the site elements and collection content. Change the dataset mode to determine whether the dataset can read from your collection, write to it, or both. Set the
Items per load field to control how many items can load at a time. Add filters to only show certain items in the connected elements. You can choose the order in which the collection items appear by creating sort conditions.
Learn how to
customize your dataset settings.
Step 5 | (Optional) Create 'Load More' or navigational buttons
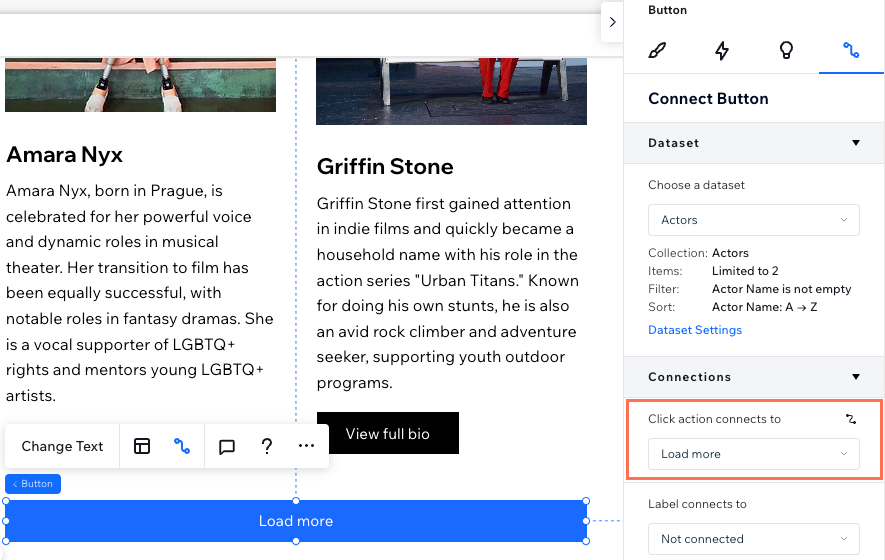
If you have a repeater or gallery set to show many items, consider adding a '
Load More' button to improve the page's loading performance. This allows you to hide items from displaying until visitors click the button. To help visitors navigate through various collection items, add
navigational buttons or
pagination bars.
Step 6 | (Optional) Let visitors filter the content
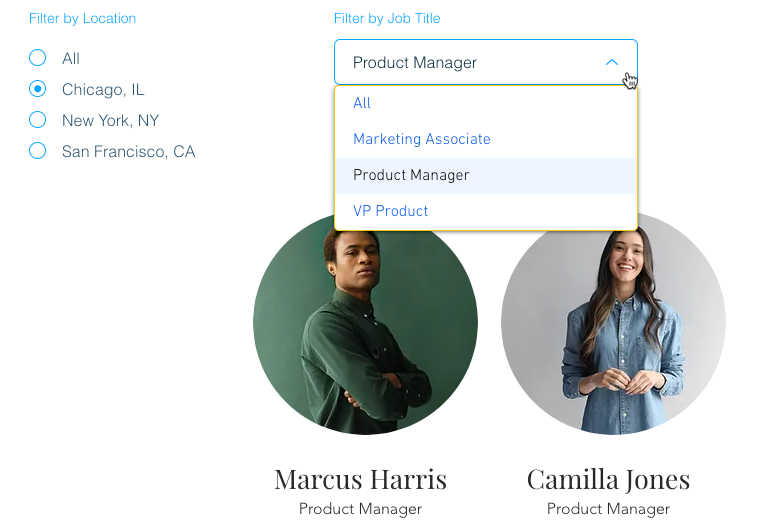
Give visitors a way to view only items that match filters they apply that are based on the collection field values. Choose from any of the following
input elements that allow filtering:
Radio Buttons,
Checkboxes,
Dropdown,
Selection Tags, or
Slider (Range Sliders only). There are limitations to the types of fields each input element can filter.
Learn how to set up
input elements that allow visitors to filter collection content.
Next:
You can also use your CMS collections to save information submitted by site visitors. Learn how to
set up a custom form using input elements that submit to your collection.
