


CMS: Adding and Setting Up a Pagination Bar
In this article
- Step 1 | Add and customize a pagination bar
- Step 2 | Connect to the CMS
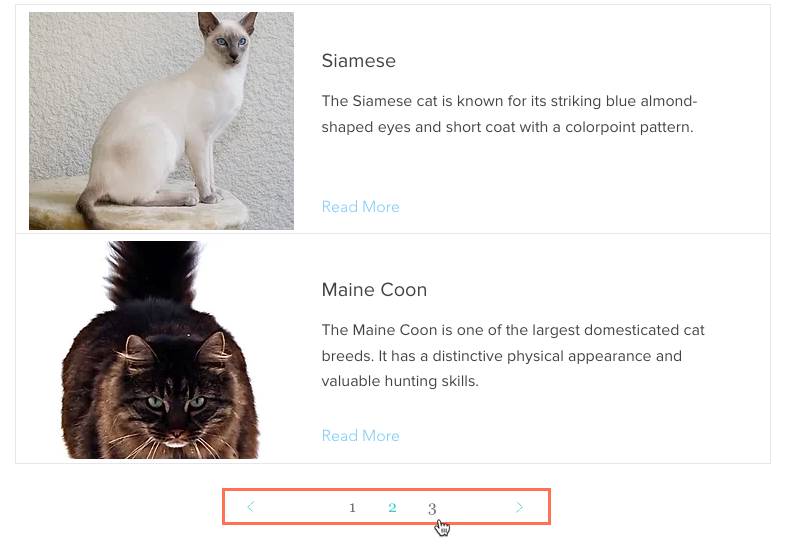
Use a pagination bar to provide visitors with a simple and intuitive way to browse through a large collection of items within a repeater or gallery. A pagination bar lets visitors navigate through 'pages', or sets of items displayed on a dynamic page. The dataset's '
Items per load' field determines the maximum number of items that appear in each 'page'.
The number of pages displayed by the pagination bar is calculated based on the total number of collection items retrieved by the dataset and the 'Items per load' field. For instance, if you have 50 visible items in your collection and you've set the 'Items per load' field to 10, your pagination bar will display 5 pages (50/10=5). Each page represents a set of items, and the pagination bar allows your visitors to navigate through these sets.
Before you begin:
Connect a
repeater or
gallery to the dynamic dataset in a
dynamic list page or
dynamic item page displaying items in categories.
Step 1 | Add and customize a pagination bar
Add a pagination bar to your site and customize it to match your design needs.
Wix Editor
Studio Editor
- Go to your editor.
- Go to the relevant dynamic page that can list multiple items:
- Click Pages & Menu
 on the left side of the editor.
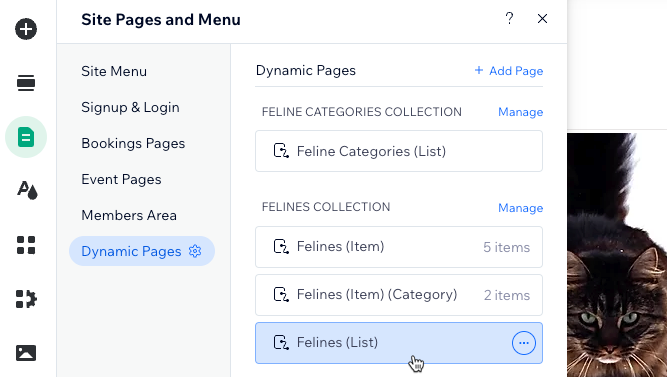
 - Click Dynamic Pages.
- Click the relevant dynamic page.
Note: Pagination bars are not relevant for dynamic item pages that can only display 1 item at a time.
- Click Pages & Menu
- Add a pagination bar:
- Click Add Elements
 on the left side of the editor.
 - Click Interactive.
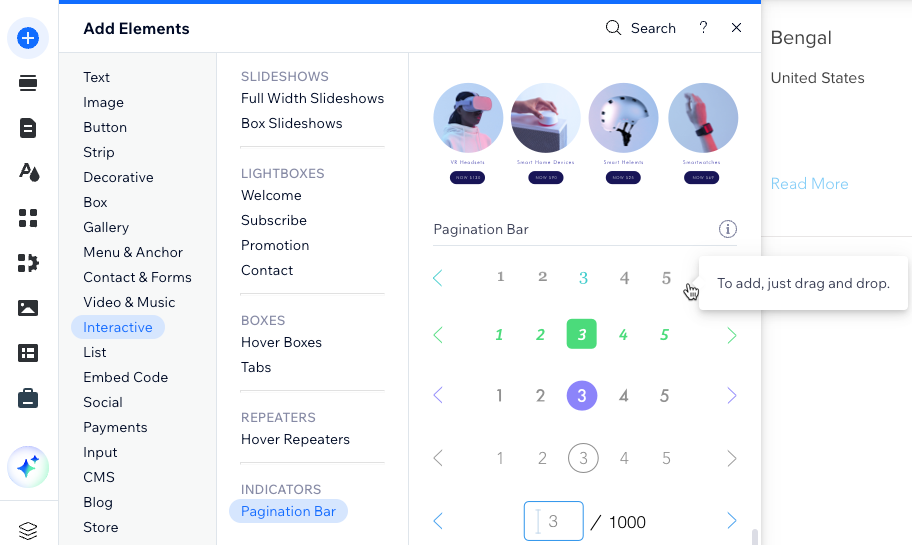
- Click Pagination Bar.
- Click and drag the pagination bar you want to use onto the page.
- Click Add Elements
- Customize the layout and design of the pagination bar:
Layout

Design
 on the pagination bar.
Step 2 | Connect to the CMS
Connect your pagination bar to the same dataset that connects to your repeater or gallery. Then resize your pagination bar and test it out in preview mode. When it's ready to go live, publish your site.
Wix Editor
Studio Editor
- Click the pagination bar.
- Click the Connect to CMS icon
 .
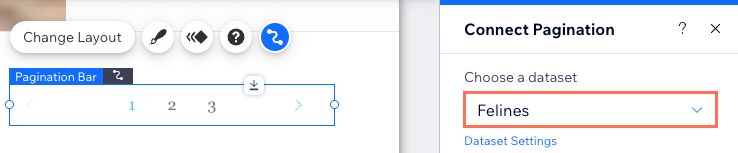
. - Click the Choose a dataset drop-down and select the same dataset that connects to your repeater or gallery.
- (If needed) Adjust the number of items that appear per 'page' in the pagination bar: Note: This is also the maximum number of items that can display per load in your repeater or gallery.
- Click Dataset Settings in the Connect Pagination panel on the right.
- Edit the Items per load field. Learn more about editing your dataset settings.
- Adjust the size of your pagination bar by stretching it or adjusting the borders manually:
- Stretch to width: Click the Stretch icon
 to expand the width of the bar to the edges of the site.
 - Manually: Click and drag the edges of your pagination bar to resize it.
- Stretch to width: Click the Stretch icon
- Click Preview to test your pagination bar.
- Click Publish if you are ready to make the changes go live.
