

Wix Bookings: Creating an Online Service
5 min
In this article
- Step 1 | Select a platform to host your virtual service
- Step 2 | Create the service in Wix Bookings
- Step 3 | Connect an online payment method
- Step 4 | Let clients know how to connect to your service
Offer services online so clients can book and attend sessions from anywhere. After choosing a video platform, you can create your service, connect a payment method, and share clear joining instructions with clients.
Important:
To use video conferencing, you need to upgrade your site to a plan that supports payments.
Step 1 | Select a platform to host your virtual service
Choose a platform based on the type of session you offer. Some services work best with 1-to-1 video calls, while others need tools for larger groups or live streaming.
Platforms for appointments
For 1-to-1 services such as consultations and coaching sessions, use a video conferencing platform such as Zoom or Google Meet that lets you meet with clients directly. Some platforms also let you share your screen, which can be helpful for presentations, slides, or documents.
Platforms for class and course sessions
For group sessions, choose a platform based on how you want participants to join:
- Let clients watch you live: Use a live streaming platform, such as Wix Video's live streaming, if participants only need to see and hear you.
- Interact with multiple participants: Use a group meeting platform if you want participants to join the conversation, ask questions, or unmute during the session (e.g. Google Meet, Zoom, Cisco Webex, or GoToMeeting).
Notes:
- The benefits, call hours and participant limits for video conferencing are based on the provider you use (Google Meet, Zoom, GoToMeeting, etc.) and are not controlled by Wix.
- Learn more about setting up and managing multiple video conferencing links
- You may want to use the Wix File Share app to share course material and let students upload their work for your online services.
Step 2 | Create the service in Wix Bookings
Once you've decided what type of online session you want to offer, create the service in your Wix Bookings dashboard so clients can book it.
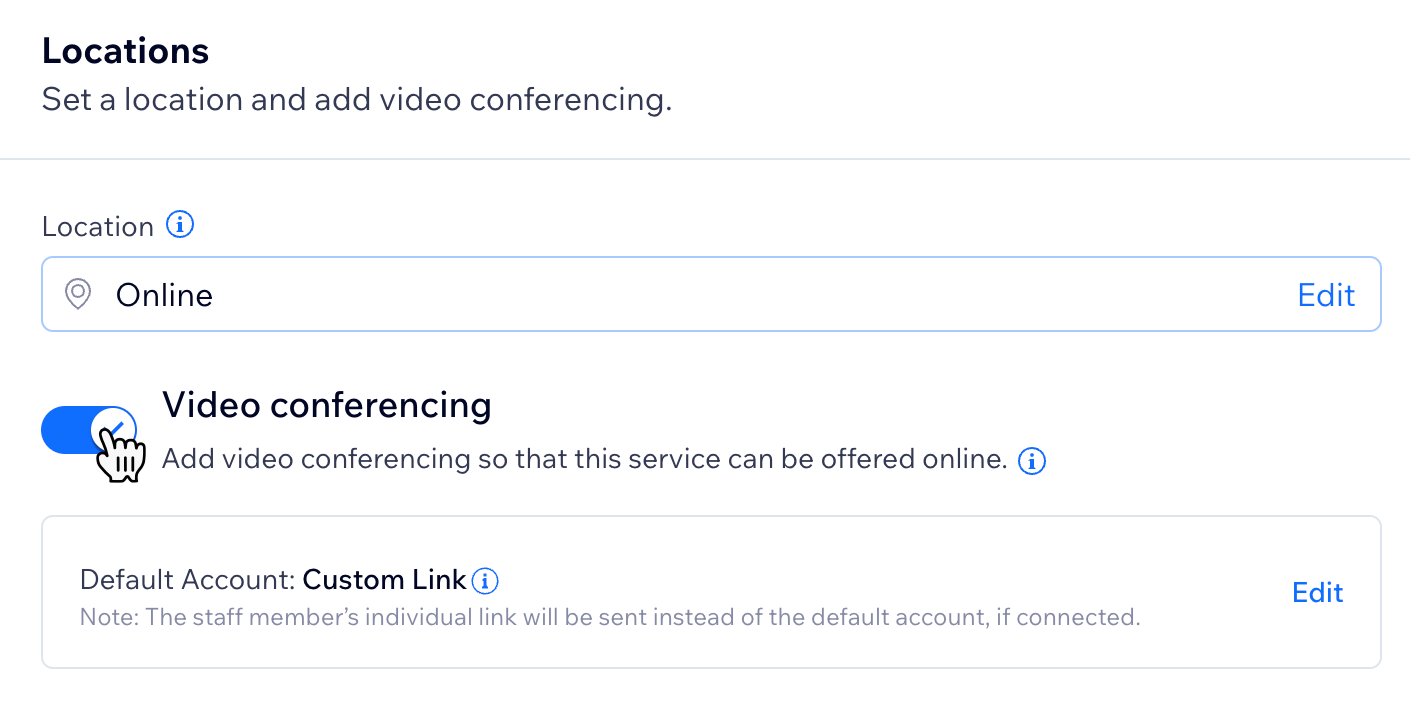
Choose from appointments, classes, or courses. To make it clear that the service takes place online, consider adding ‘online’ to the service name or subtitle, for example, "Online Yoga Class". In the Locations tab, select a custom location and enter a description such as "Online". Then, enable the toggle next to Video conferencing and continue with your service setup.
Note: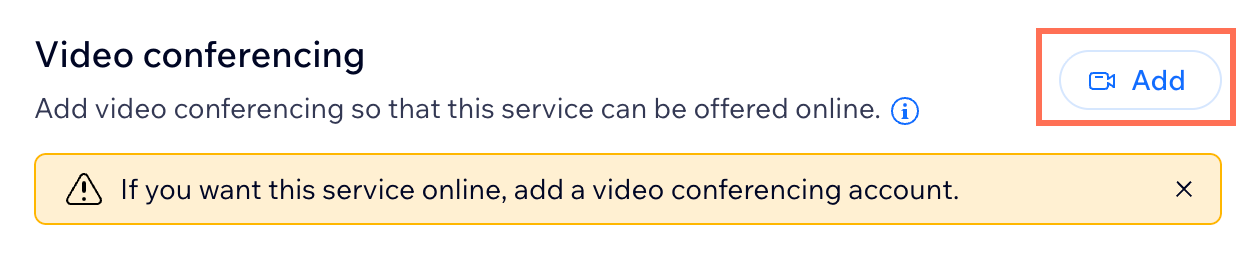
If it's your first time adding video conferencing to a service, click Add next to Video conferencing. Then, choose between Google Meet, Zoom, or Custom link.
Step 3 | Connect an online payment method
If you want to charge clients when they book, make sure your site has an online payment method connected. This lets you collect payment in advance instead of asking clients to pay in person. You can set this up from the Accept Payments section of your site's dashboard by choosing the payment method you want to connect:
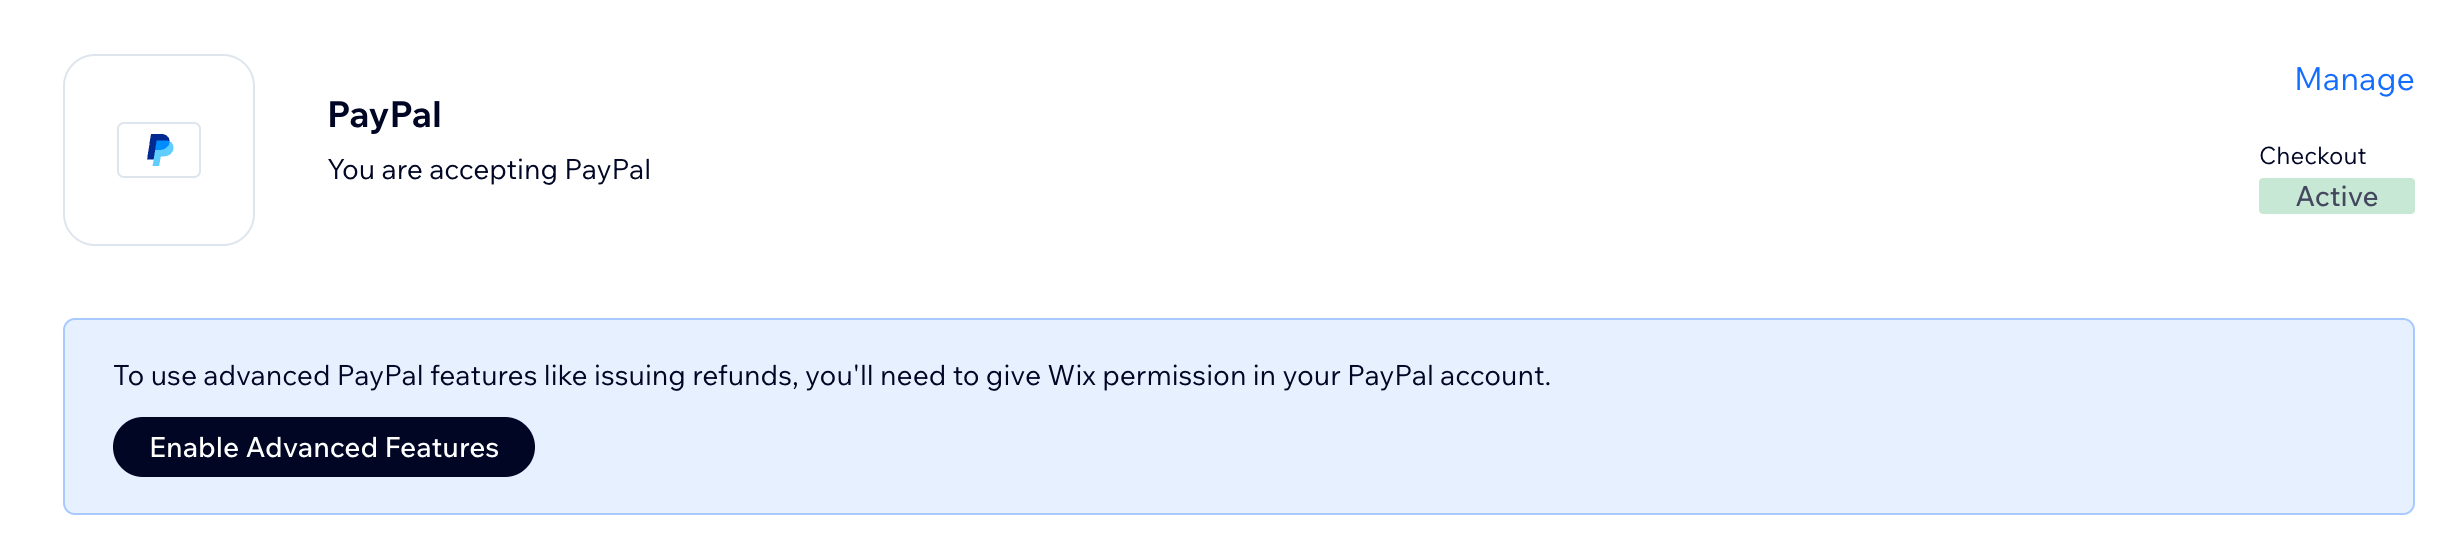
- A virtual wallet or credit card: Connect a provider such as Wix Payments, PayPal, or Square so clients can pay online when they book.
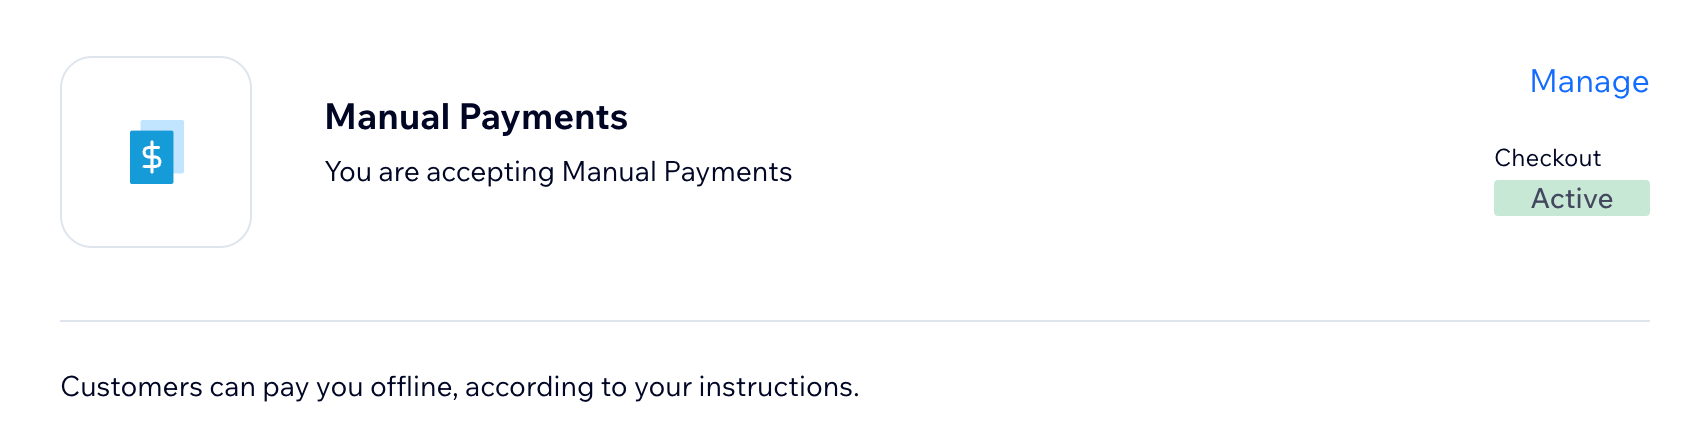
- Manual Payment: Let clients pay outside Wix using a method you choose, such as a bank transfer, cheque, or payment app. You can add instructions so clients know how to complete the payment.
Step 4 | Let clients know how to connect to your service
Clients need clear instructions on how to join your online service. If you add a video conferencing link while setting up the service, Wix automatically includes it in the confirmation email sent after booking. You can also customize the email to add any extra details clients need before the session starts.
To customize the confirmation email:
- Go to Booking Settings in your site's dashboard.
- Click Notifications you send.
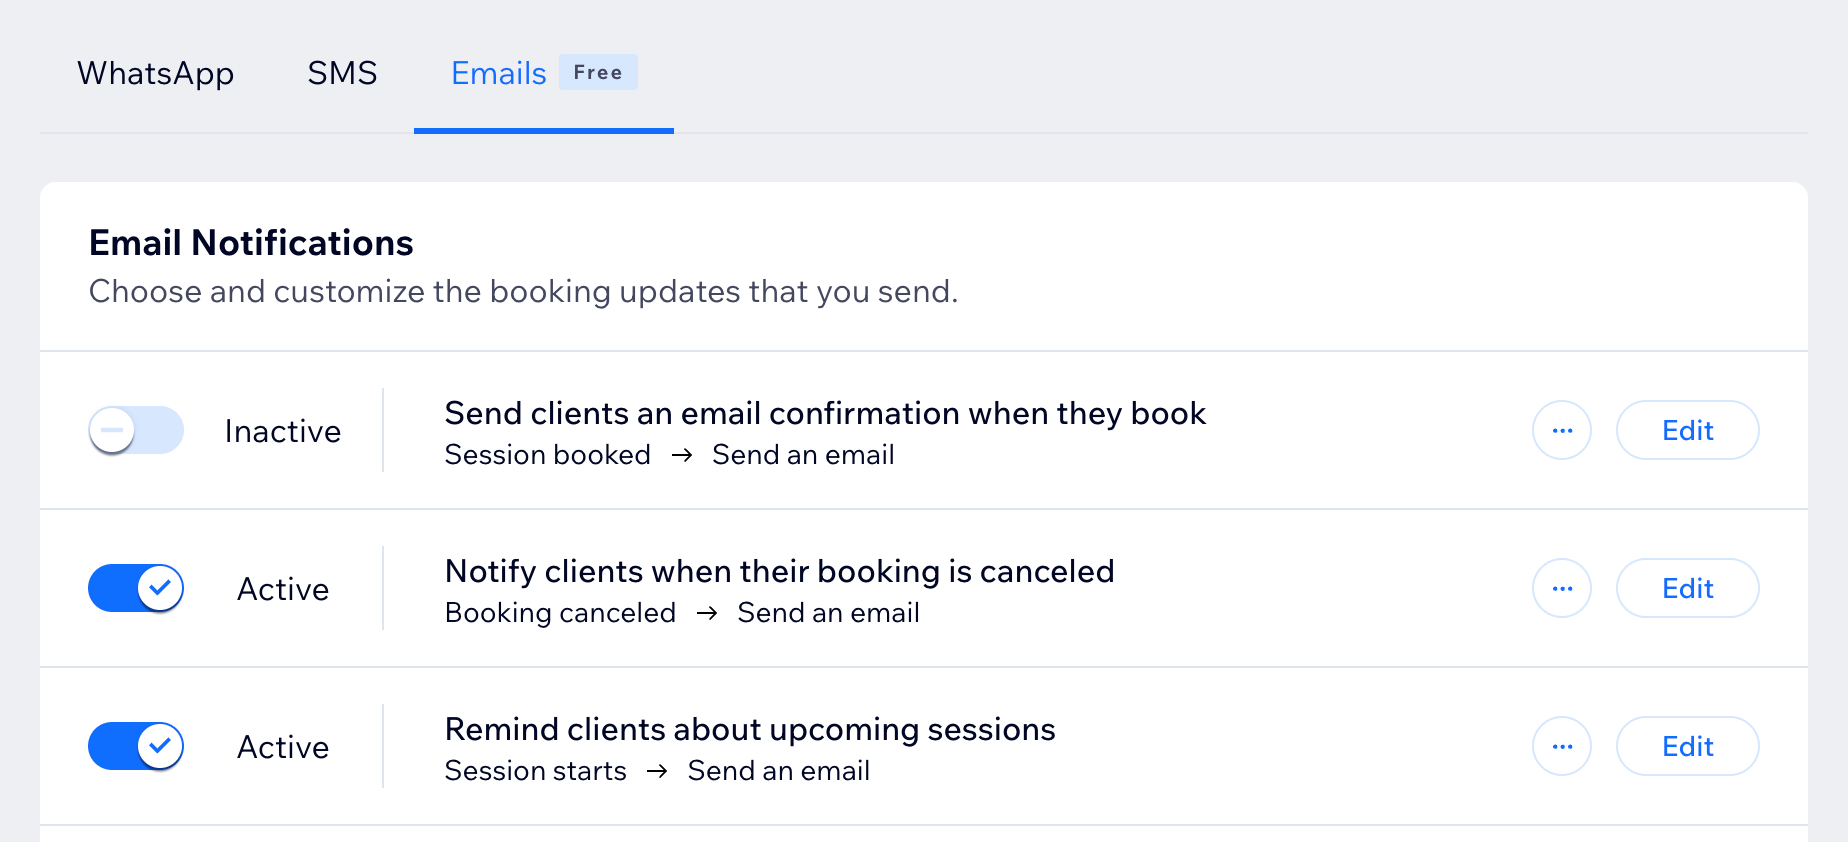
- Click the Emails tab.
- Click Edit next to Send clients an email confirmation when they book.
- In the automation builder, click the Send an email action.
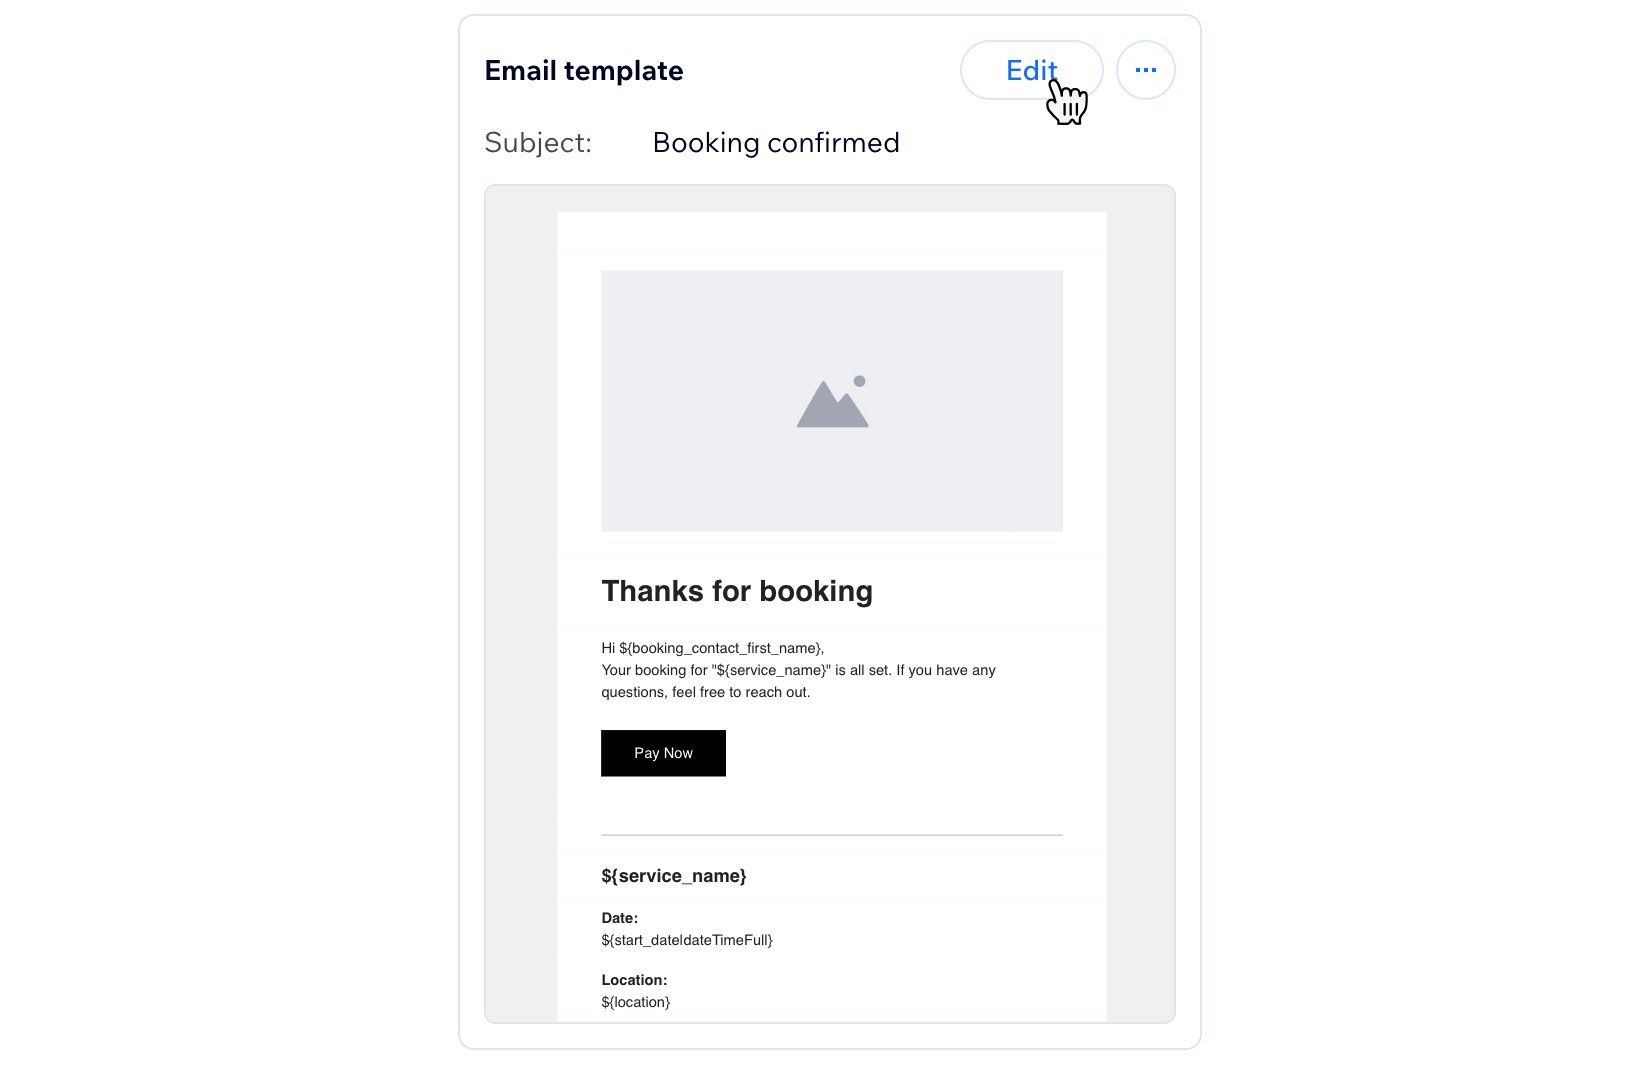
- In the side panel, click Edit next to Email template.
- Customize the email as needed (e.g. add text elements for additional instructions, customize the design, change themes, etc)
- (Optional) Click Preview and test to send yourself a preview of the email.
- Click Publish changes when you're ready.
Important:
Under Join online, you'll find dynamic fields that are automatically filled in when you add a video conferencing link while setting up your service. If you edit these fields manually, the link stops working. We recommend leaving the existing personalized content unchanged (e.g. ${online_conference_url}).
Tips:
- For more ways to manage booking emails, learn more about managing your outbound client emails.
- For more details about editing email content and design, learn more about customizing automated emails.
FAQs
Click a question below to learn more about creating an online service.
What is the difference between Google Meet, Zoom, and a custom link?
Can I disable the confirmation email?
Do clients automatically receive the video conferencing link?
