Wixel: Creating a Project From Start to Finish
- Step 1 | Create a new project
- Step 2 | Customize your design
- Step 3 | Build your project with different design features
- Step 4 | Download and share your project
- FAQs
Wixel is your go-to design partner, bringing your creative ideas to life across images, videos, documents, logos, and more. However you begin your project, Wixel makes it easy and inspiring to turn a single spark into a complete collection of assets for any purpose.
Step 1 | Create a new project
To create a project:
Log in to your Wixel account or sign up.
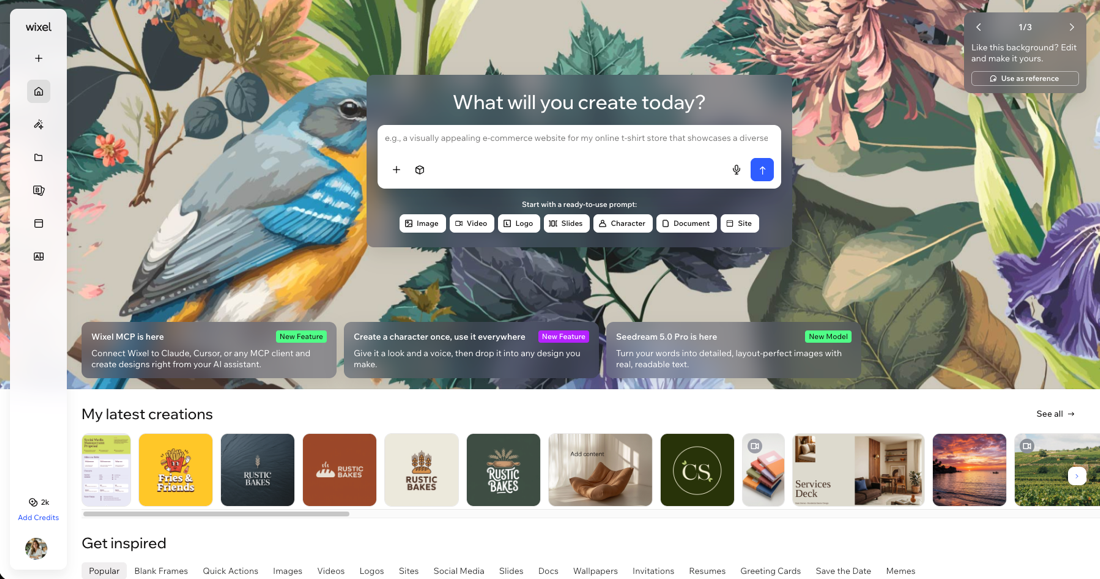
Choose how to begin:
Describe your idea: Start by describing what you want to create in the text box. For example, “Design a social media post with a floral theme". Click the Attach a file icon
 to attach reference photos or files and then click the Generate icon
  .
.
Tip: Aria, your AI design agent, will generate a design for you which you can continue to edit in your project.Choose a template: Browse templates by category (e.g. social media, docs, slides) and pick the one that fits your vision.
Edit a prompt: Select a ready-made prompt from a template and tweak it to match your needs. Hover over a template and click Use as reference, then edit the description and reference photos, and click the Generate icon
.Start from blank: Click Create at the top right and select a blank frame.
Step 2 | Customize your design
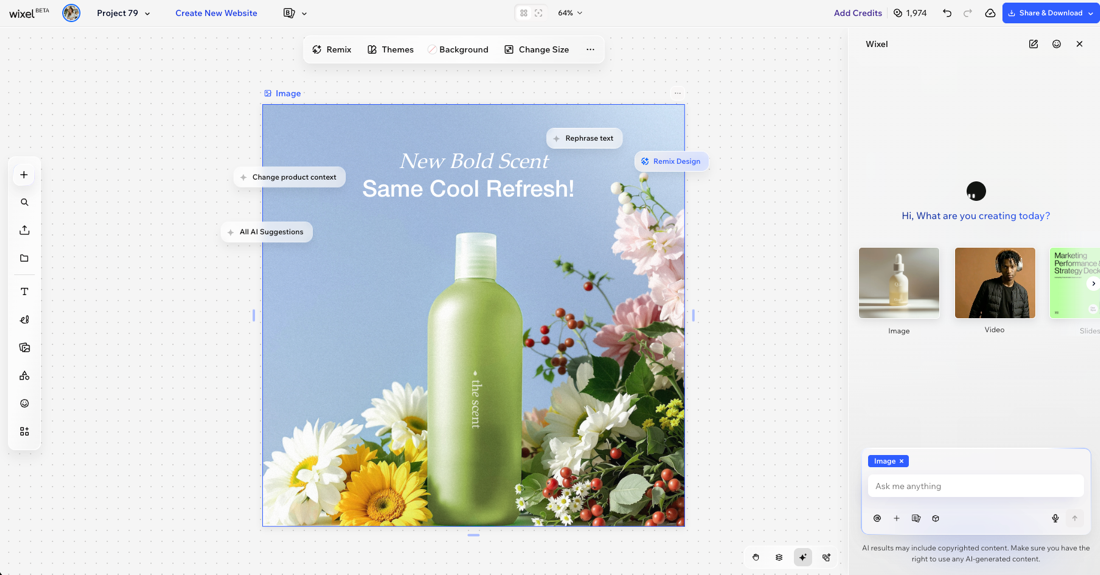
Once you create a new project, you're brought to the project workspace. This is where you can continue working on your design to make it your own:
Chat with Aria: Aria can help you quickly expand your project or try new creative directions. Ask for edits, new elements, or style changes at any time. Learn more about what Aria can do.
Customize and adjust styles: Use the editing tools on the side panel and action bar to customize the design and add decorative details.
Experiment and iterate: Try ideas from the suggestion bubbles, enhance elements, and resize designs as needed.
Step 3 | Build your project with different design features
You can add more designs to your project by clicking the Add Design icon  on the side panel and choosing a template or blank frame. You can also ask Aria to create a design by describing the vision you have in mind.
Wixel offers the following design capabilities, each serving a different purpose in your project:
- Logo generator: Design and edit a logo for your brand.
- Image generator: Create and edit images for social media posts, posters, ads, and more.
- Video maker: Generate or edit video ads, reels, and animations.
- Document creator: Create and edit documents to share online.
- PDF editor: Edit, read, and sign PDF files.

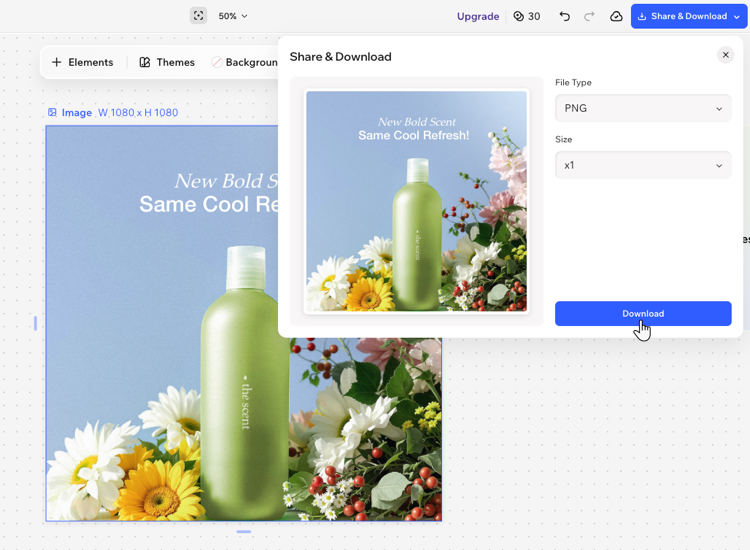
Step 4 | Download and share your project
FAQs
 on the action bar and select Duplicate or Delete.
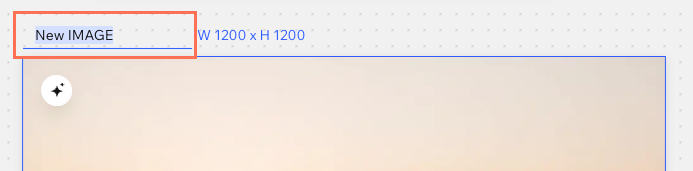
 above your design. This takes you to an overview of your project, where you can view all your designs. Tap twice on a different design to switch to it.