Wixel: Adding and Customizing Elements
10 min
In this article
- Adding an element
- Selecting colors
- Customizing text
- Customizing vector art
This article refers to the new Wixel, released in December 2025. If you're unsure whether you’re using the new or previous Wixel, view more information here.
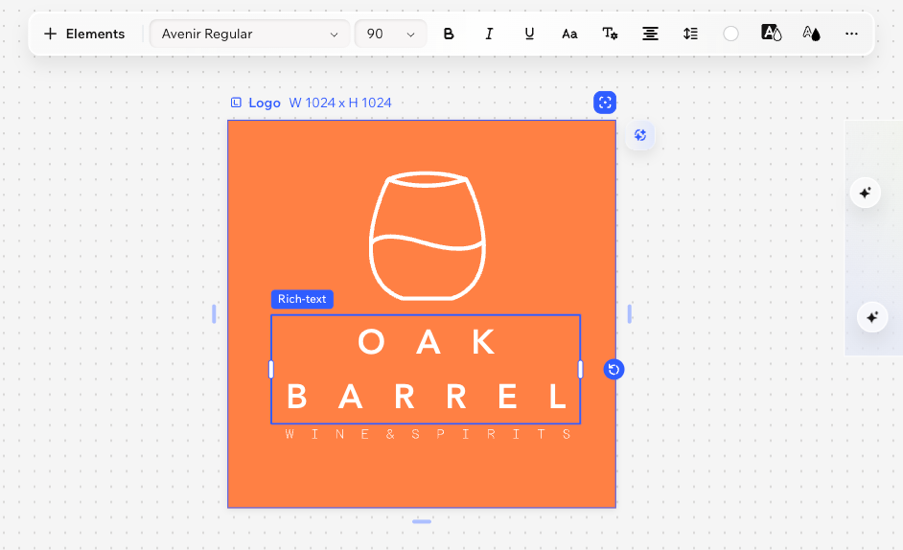
Elements help enhance your project and add personality. You can add elements to highlight information, showcase visuals, or guide your audience through your design.
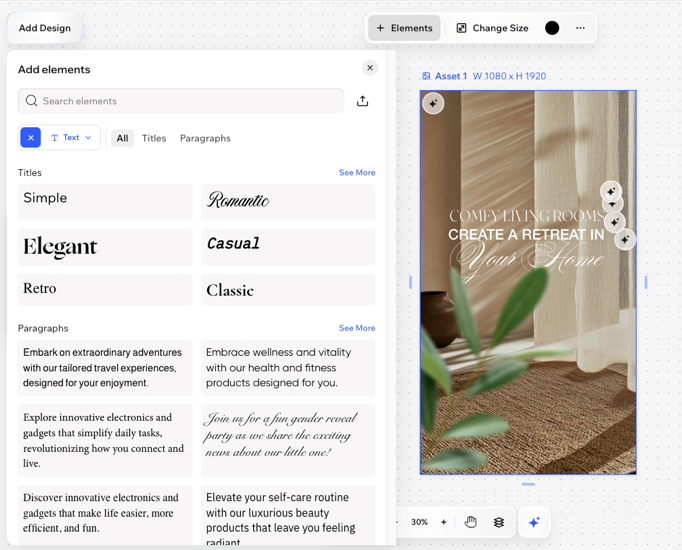
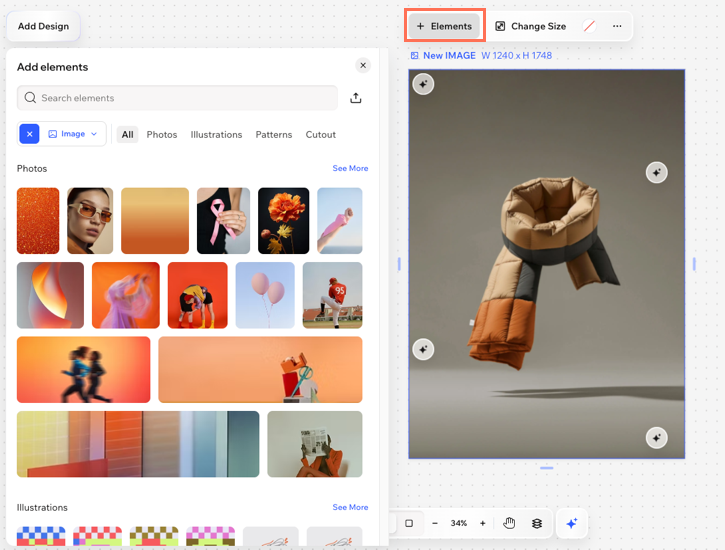
The Add Elements panel, accessible from your action bar, lets you easily insert images, text, graphics, videos, and more, giving you the creative freedom to shape each design exactly how you want.
Adding an element
Add new content to your project from the Add Elements panel. Browse categories and subcategories, or use the search bar to find exactly what you need.
Whether you want to make your project more visual with graphics and images or add structure with text and dividers, you’ll find all your options in one place.
Note:
Some design types offer unique elements (e.g. form fields in forms, RSVP buttons in event assets). You may not be able to add decorative elements to every type of design, so the options you see can vary depending on what you’re working on.
To add an element:
Desktop browser
Wixel app
- Go to your project in Wixel.
- Click the relevant design.
- Click + Elements on the action bar.
- Browse through the element types:
- Graphics: Add vector art and stickers.
Tip: Customize the vector art colors to match your design's look. - Text: Add titles and paragraphs. Select preset styles to save time or customize your own.
- Image: Add photos, illustrations, patterns, and cutouts.
Tip: Learn how to edit images. - Shapes: Use geometric shapes, arrows, and frames for a creative touch.
- Icons: Add clear and simple details to your design.
- Graphics: Add vector art and stickers.
- Click an element to add it to the design.
- (Optional) Use the resizing handles and customization tools on the action bar to adjust the element’s size, color, position, and more.
Tip:
Upload your own media by clicking the Upload icon  . You'll find the uploaded images under My Media.
. You'll find the uploaded images under My Media.Selecting colors
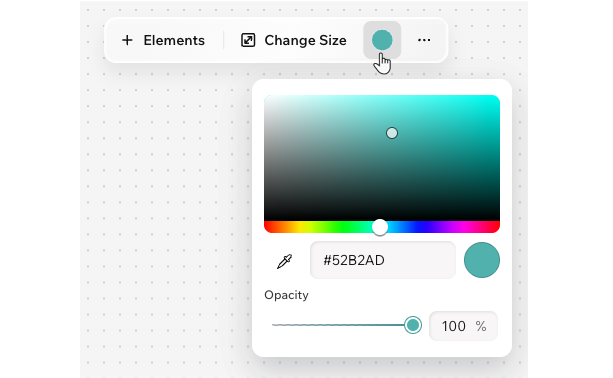
Whenever you click or tap a color circle on the action bar, you get to the Color Picker. This is where you can see your project's theme colors, in addition to any custom color you're using.
To select a color:
Desktop browser
Wixel app
- Click the Fill Color icon on the action bar.
- Move the dot on the color scheme or enter the color's hex code (e.g. #000000 for black).
- (Optional) Drag the slider to adjust the color's opacity.
Customizing text
Customize your text elements by adjusting fonts, colors, formatting, and effects like shadows and highlights. Fine-tune your text's look and position so it works cohesively with your design.
To customize text:
Desktop browser
Wixel app
- Go to your project in Wixel.
- Select the text element in your design.
- Use the available options on the action bar to customize your text:
- Font: Choose the font style.
- Font size: Choose the font size.
- Bold, Italic, Underline: Make your text stand out with formatting options. Click the Bold icon
 , Italics icon
  , and/or Underline icon
  .
. - Uppercase: Convert your text to all capital letters.
- More settings: Choose a list style (e.g. Numbered list, Bulleted list) and increase or decrease the indent.
- Alignment: Choose how your text lines up.
- Line spacing: Adjust the spacing between lines and letters to make your text easier to read and give it a more open, spacious feel.
- Fill color: Pick any color for your text using the color picker or select a theme color.
- Highlight Color: Make your text pop by highlighting it with a background color.
- Border: Add a border to make it stand out.
- Shadow: Add a subtle or dramatic shadow effect to give your text depth.
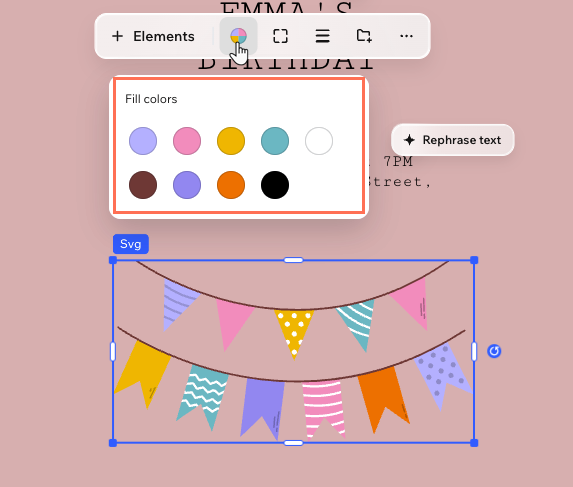
Customizing vector art
Add a personal touch to your vector art by customizing the colors and details to match your design. Vector art is a digital illustration (SVG file) that stays sharp at any size.
Tip:
You can find vector art options under the Graphics tab in the Add elements panel.
To customize vector art:
Desktop browser
Wixel app
- Go to your project in Wixel.
- Click the relevant vector art in your design.
- Choose how to customize the vector art:
Change colors
Adjust the corners
 on the action bar.
 to design each corner separately.
 Adjust the stroke
 on the action bar.