

Wixel: Creating and Customizing a Document
7 min
In this article
- Step 1 | Add a document
- Step 2 | Customize your document
- Step 3 | Adjust your document settings
- FAQs
This article refers to the new Wixel, released in December 2025. If you're unsure whether you’re using the new or previous Wixel, view more information here.
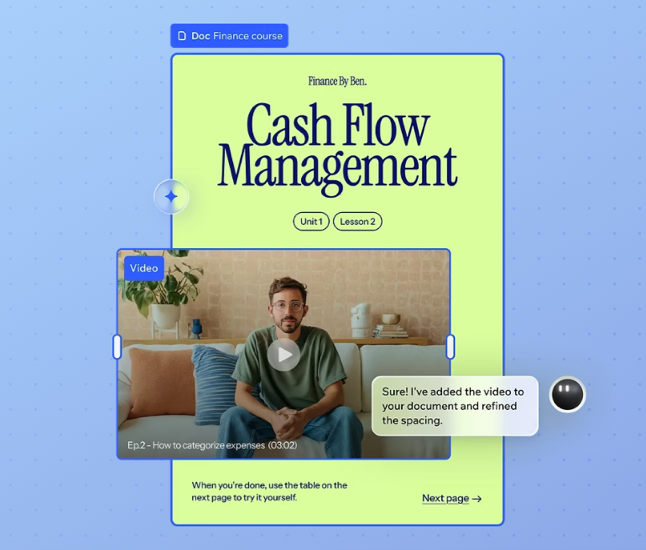
Create visually engaging, professional documents in Wixel for any business need. For anything from project proposals to fitness guides, use AI to design your layout and write your content or fine-tune every detail yourself. Add media, buttons, and widgets to create an interactive experience, then share your finished document instantly with a link.
Note:
Actions that involve generating and editing a document with AI use AI credits.
Step 1 | Add a document
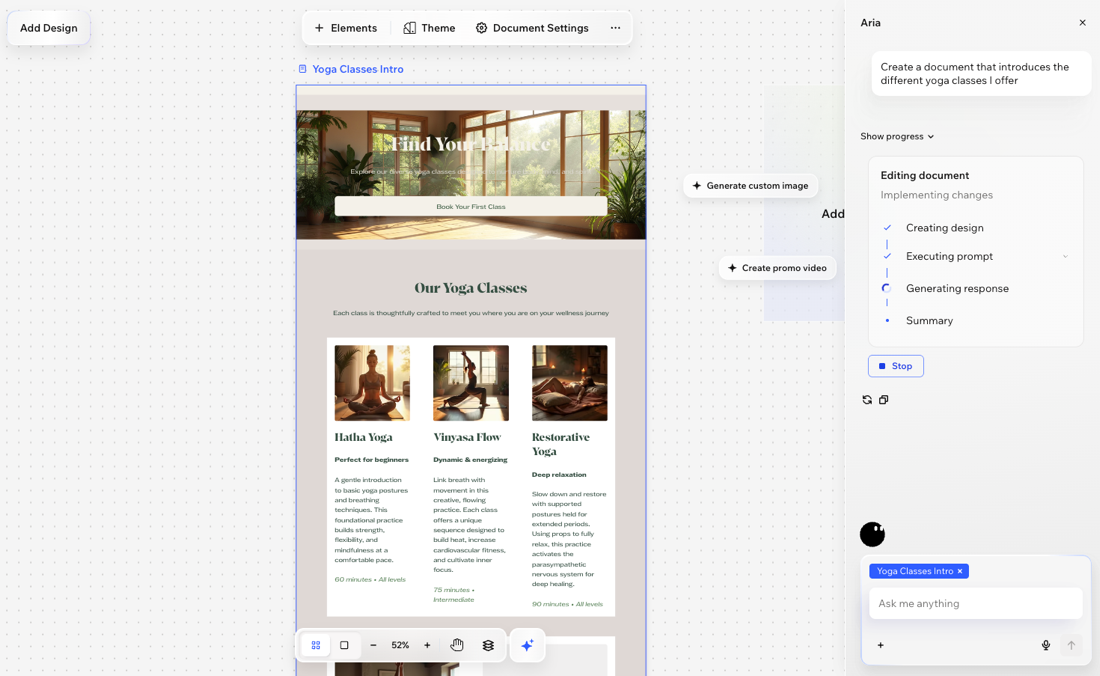
Begin by adding a document to your project by describing your idea to Aria, choosing a template, or starting from scratch. However you begin, you can draft ideas, structure your sections, and use AI to help with wording and visuals.
To add a document:
Desktop browser
Wixel app
- Go to your project in Wixel.
- Choose how you want to start:
- Design with AI: Tell Aria what you want to create. For example, "Create a document for an interactive study guide for business students” or “Create a 3-month fitness plan".
- Choose a template: Click Add Design and select a template.
- Start from scratch: Click Add Design and click Start with a blank frame.
Step 2 | Customize your document
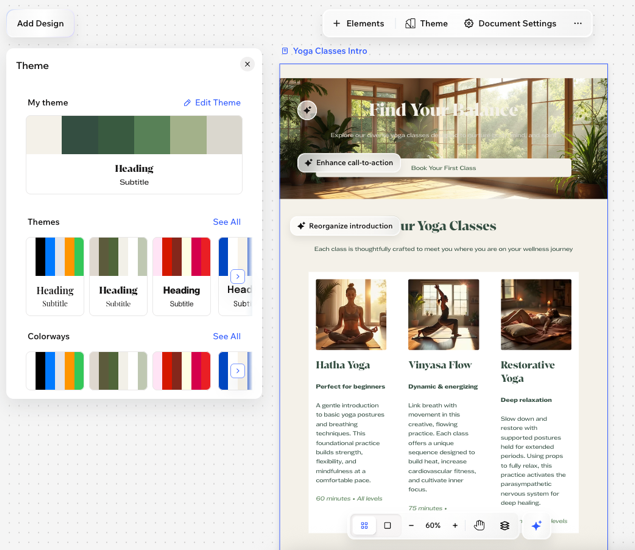
Design every part of your document to match your needs and style. Update layouts and visuals so your document looks exactly how you want before you share it online.
To customize your document:
Desktop browser
Wixel app
- Go to your project in Wixel.
- Select the relevant document in your project.
- Choose what to do:
Add elements
Customize your theme
Edit text formatting
Step 3 | Adjust your document settings
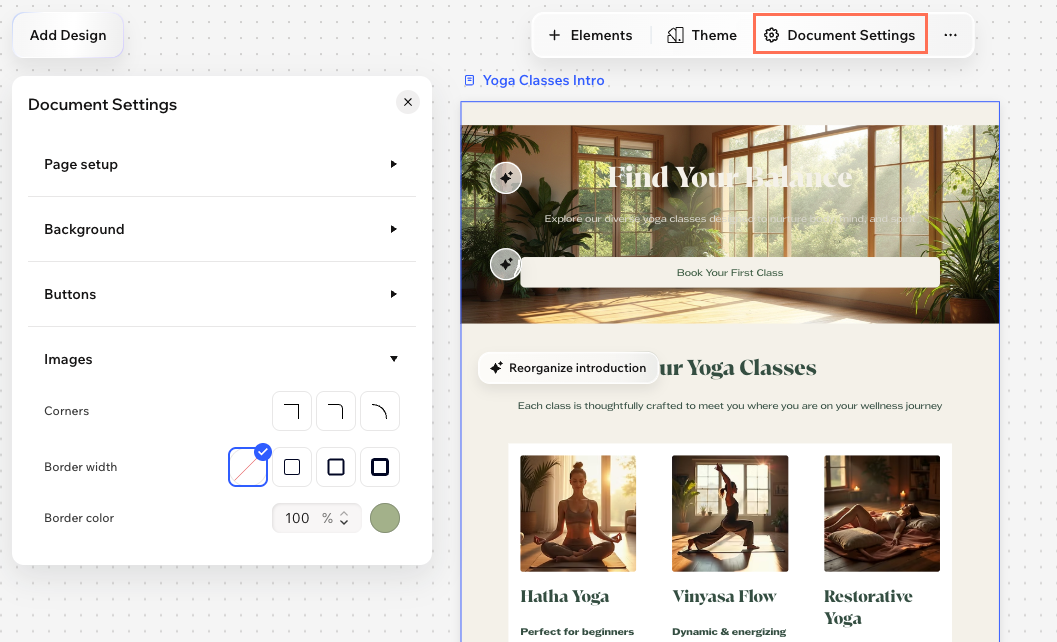
Adjust the overall look and feel of your document with page, button, and image settings.
To adjust your document settings:
Desktop browser
Wixel app
- Go to your project in Wixel.
- Select the relevant document in your project.
- Click the frame details above the document and click Document Settings on the action bar.
- Customize your settings using the following options:
- Page setup: Choose how the content is formatted on the published document.
- Content Width: Set how wide your content appears on the document.
- Vertical Paddings: Set the spacing above and below your content on the document.
- Background: Set the background color or pick a background image for the page.
- Buttons: Style the appearance of the document's buttons. Select which state to add an animation for:
- Normal: This is how the button appears when visitors open the document. Set the background color, text color, button size, border radius, border width, and border color.
- Hover: This is how the button appears when visitors hover over the button with their mouse. Set the hover background color, hover text color, and hover border color.
- Images: Customize the look of all images in your document. Select a border radius, border width, and border color.
- Page setup: Choose how the content is formatted on the published document.
What's next?
FAQs
Click a question below to learn more.
How can I use AI to help me write or edit my document?
Can I translate my document into other languages?
