Wix Events: Hosting an Online Event With Wix Live
10 min
In this article
- Step 1 | Create an event draft
- Step 2 | Connect to Wix Live
- Step 3 | Set up the live video page
- Step 4 | Hide the video page from the site menu
- Step 5 | Prepare for the event
- Step 6 | Start Your live event
- FAQs
- Troubleshooting
Important:
- The last possible event date to take place using Wix Live is July 1, 2025.
- After this date, Wix Live will no longer be accessible. We recommend switching to Zoom or another video conferencing platform. You can also use Wix Video Streaming as another option for hosting your events.
Wix Live is a great way to host live online meetings and webinars on your site. As well as video conferencing, you and your guests can chat and send emoticon reactions. You can also allow meeting participants to share their screens when presenting.

Important:
- You can host 3 online events for free. To host additional events, upgrade to any Premium plan.
- On iPhone, Wix Live is supported only on Safari browser.
Step 1 | Create an event draft
Before you add video conferencing with Wix Live, you must create and save your event draft.
To create an event draft:
- Go to Events in your site's dashboard.
- Click + Add Event and start creating your event draft.
- In the Location section, select an option:
- Online: Select this option for events that only take place online. Enter an Online Location Title (e.g. Online Seminar).
- Physical Location: Select this option for events that take place both online and in person. Enter the physical location under Event location.
- Click Create Draft at the top right.
Step 2 | Connect to Wix Live
Once you have created the event, you can connect to Wix Live.
To connect to Wix Live:
- Go to Events in your site's dashboard.
- Select the relevant event.
- Click the Features tab.
- Click Video Conferencing.
- Click Setup Video Conferencing.
- Select Wix Live Video and click Continue.
- Select the type of live event you want to host:
- Webinar: Broadcast to others (max. 250 people). Listeners can watch, comment in chat, and add reaction emoticons, but not speak to the group.
- Meeting: Create a conversation with up to 25 participants. Listeners can watch, join the conversation, share their screens, comment in chat or add reaction emoticons.
- Click Save at the top right.

Step 3 | Set up the live video page
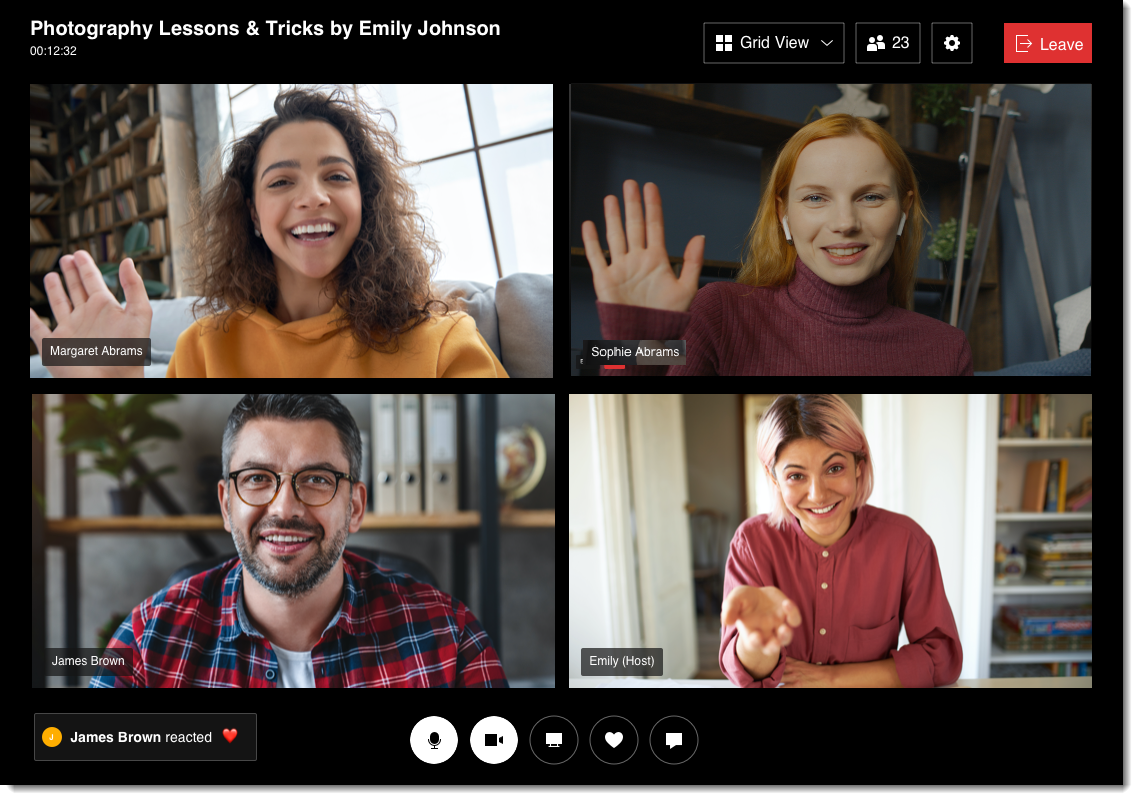
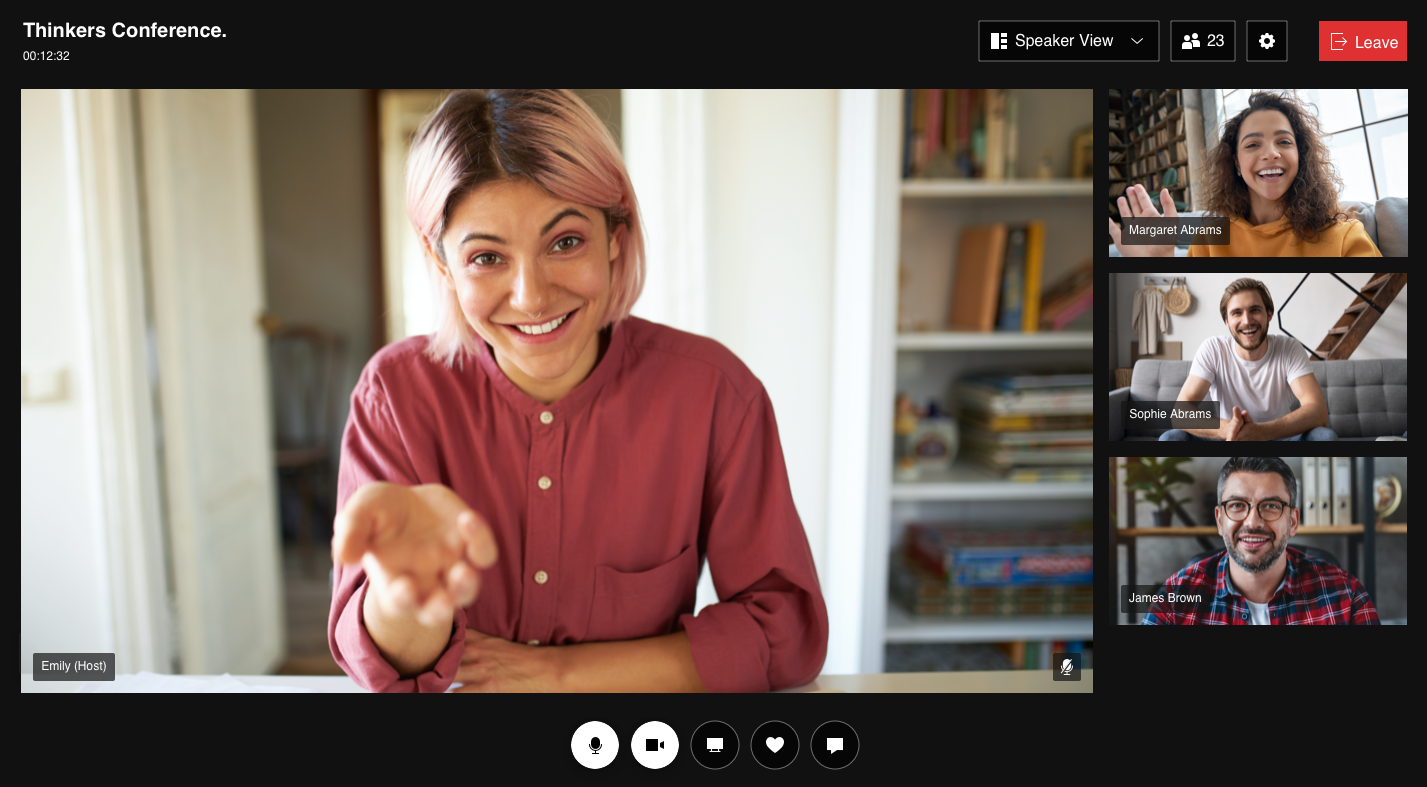
The Live Video page has two views. When a participant first arrives on the page, they see the waiting view:

After clicking to join, participants get to the live video view:

You can customize the background, colors, fonts, and more of both views.
Wix Editor | Show me how
Step 4 | Hide the video page from the site menu
Hide the Live Video page from your site menu to keep the page visible only to event participants.
Wix Editor | Show me how
Note:
Do not share this page with event guests. To learn how to manually share an event, read the Can I manually send the event URL to guests? FAQ below.
Step 5 | Prepare for the event
Before your events starts, test it to check your settings and make sure your camera, microphone, and speakers are set up properly.
You can hold one or more 15-minute test videos and share the private test video link with up to 3 other people.
To prepare for the event:
- Go to Live Video in your site's dashboard.
- Click the event you want to test.
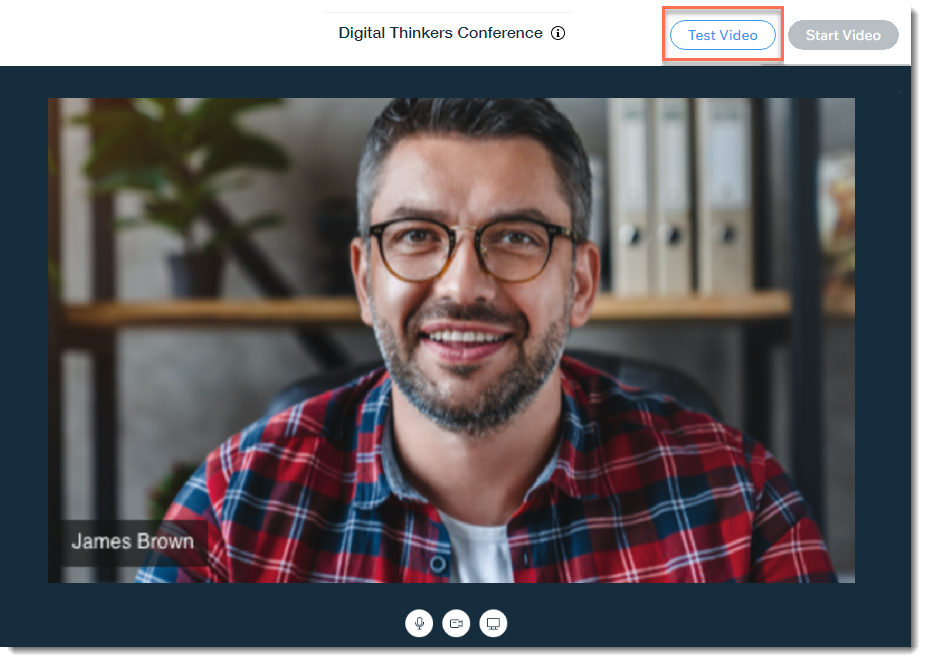
- Click Test Video.
- If prompted, click Allow to give access to your camera and microphone.
Note: If no popup appears, give permission through your browser settings. - (Optional) Click Settings on the left and select an alternate camera, microphone, or speaker.

Step 6 | Start Your live event
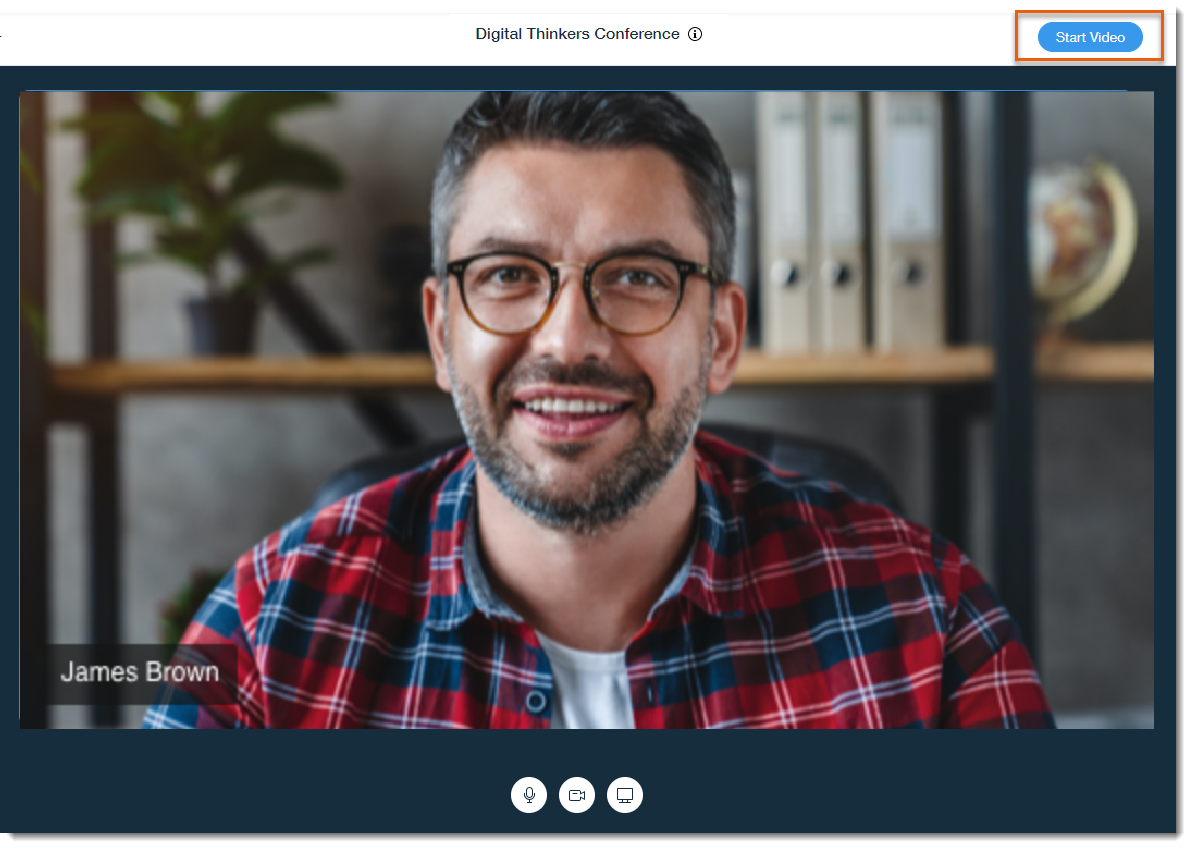
When you're ready, click Start Video.

Important:
- Once the live event has started and stopped, it cannot be restarted. If you click start before the event to see that it is working, do not click stop before the event starts.
- Live events end automatically 5 minutes after all participants, including the host, leave.
If you want to start your video a short time before the event's start time, you'll see a countdown. You can click the countdown to start the event. Early participant will also be able to join.
Tip:
You can record your online event. This gives you the opportunity to use the recording later. For example, the recording from your live event can be added to a blog post or forum post, shared via social media, or sent as part of an email marketing campaign.
FAQs
Can a Wix Live event have more than one host?
How do guests access the event?
Can I manually send the event URL to guests?
Can guests share their Wix Live link and give others access for free?
How can I share my screen?
Can live event participants share their screens?
How can I mute participants?
Can I remove a participant from an event?
Can I delete a chat message?
Do Wix Live events have a time limit?
Can I record my Wix Live event?
Can I connect a Wix Live event to Wix Video livestream?
Can I host a hybrid event (in person and online)?
What information should I include if I need to reach out for assistance?
Troubleshooting
If you are experiencing issues hosting a Wix Live event, try the steps below:
Step 1 | Check your internet connection
Step 2 | Check that the Live Video page appears on your site
Step 3 | Pause AdBlock on your site
Step 4 | Check your microphone and camera settings


 on the left side of the Editor.
 on the left side of the Editor.
 next to Live Video.


 next to their name and selecting Mute.
 .
. 


