CMS: Creating Automations for CMS Form Submissions
8 min
In this article
- Creating a CMS custom form automation
- FAQs
Important:
The CMS form submitted trigger is no longer available for creating new automations. Your existing automations using this trigger continue to work and do not require any changes. To create new automations for CMS form submissions, use the Item added trigger. Learn how to create automations for collection items.
Use Wix Automations to ensure that all submissions you receive from custom CMS (Content Management System) forms are handled appropriately. This automation works with any forms created with input elements that submit to your CMS collection.
Choose from a variety of actions such as running Velo code, modifying collection content, sending data via webhooks, or connecting third-party apps such as Google Sheets and Zapier. You can also automate more basic actions like sending or receiving emails, creating or updating contacts, and more.
Before you begin:
- Make sure to add the CMS to your site, if you haven't already.
- Make sure to create a custom form with input elements that submit to a CMS collection.
Creating a CMS custom form automation
When setting up your automation, choose the CMS trigger and whichever action you want to occur when you receive a submission from your custom form.
To create an automation for CMS custom form submissions:
- Go to Automations in your site's dashboard.
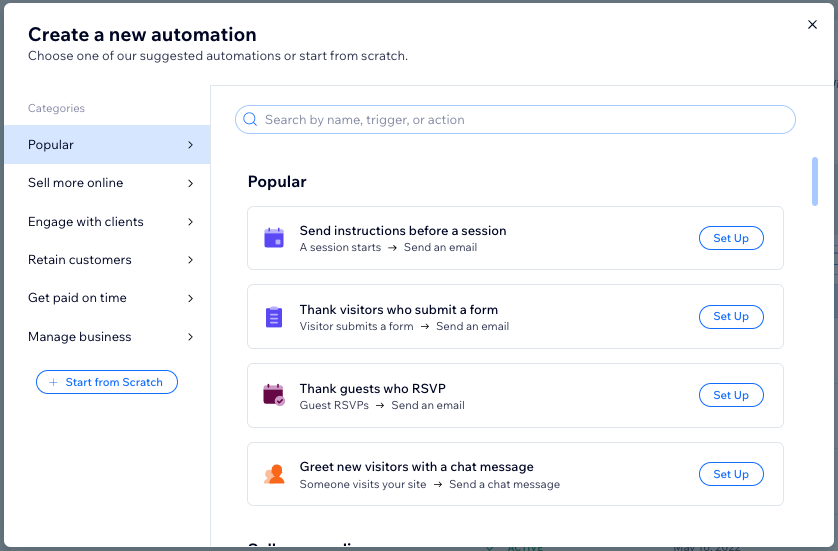
- Click + Create Automation at the top right.
- Choose how you want to start creating your automation:
- From Scratch: Click Start from Scratch to begin from a blank automation template.
- Suggested automation: Use the categories or search bar to find the suggested automation you want to edit. Then click Set Up next to the automation.
- Click the title at the top left to give your automation a name.
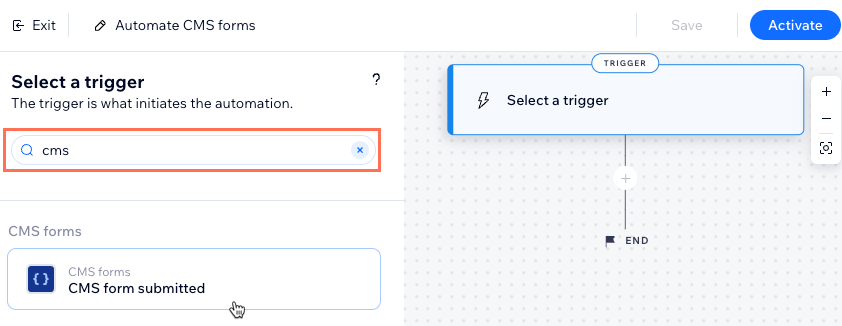
- Enter CMS in the search bar and select the CMS form submitted trigger.
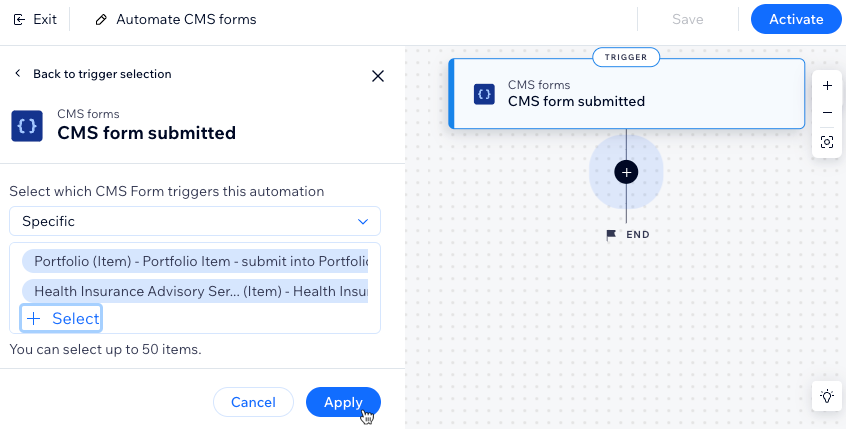
- Select an option under Select which CMS form triggers this automation:
- Any: Any form that uses input elements and the CMS triggers the automation.
- Specific: Specific forms that use input elements and the CMS trigger the automation. Click Select, then select the custom form(s) you want to use and click OK.
Note: Your custom forms are listed with the name of the page they appear on first, followed by the name of the dataset and the collection that stores the submissions.
- Click Apply.
- Click the Add step icon
 and choose what you want to do:
Note: Repeat this step as many times as you need to customize your automation.- Delay: Add a delay that makes the automation wait before performing the next step. Choose the duration of the delay and click Apply.
- Condition: Add a condition that allows the flow to continue, only if the condition is met. You can set an ELSE path to define what happens if the condition is not met:
- Click Select a property and choose the dynamic field that the automation collects when it runs (e.g. Form Name, Form ID).
- Click the Select logic drop-down and choose an operator that will compare the received data with the value (e.g. equals, contains, is true).
- Click the Enter value drop-down or field that appears under your selected operator. The logical statement you've created will determine whether the automation continues.
- (Optional) Click + Or / + And to add another condition for the automation to check.
- Click Apply.
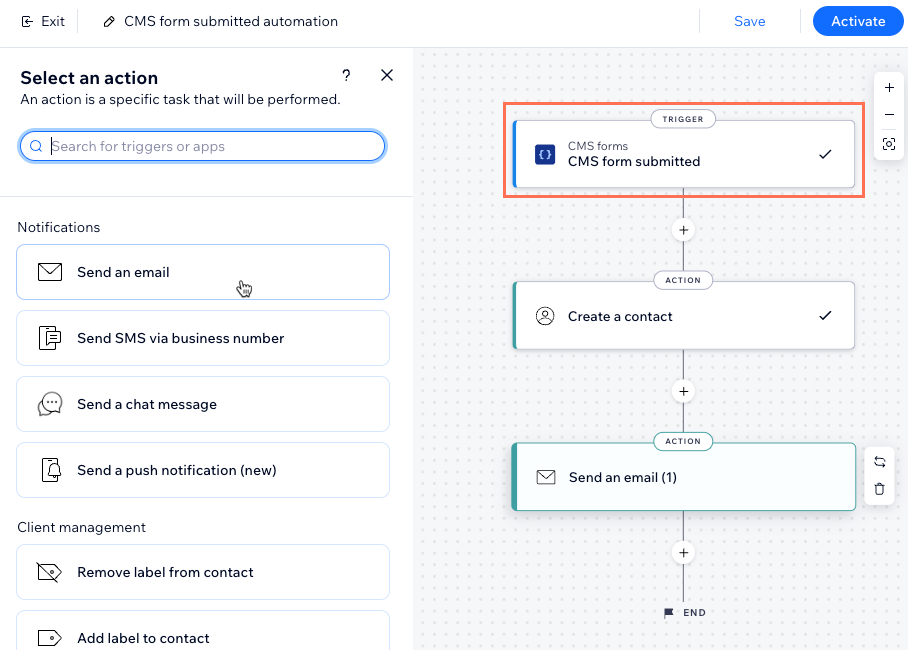
- Action: Select an action that will occur next (e.g. send an email, create a contact, send via webhook). Set up the action using the available options, which vary depending on the action type, then click Apply. Learn more about the actions you can choose.
Tip: Click Create a contact if you want to use the automation to send an email to person who submitted the form or update an existing contact. See the FAQ section below for more information.
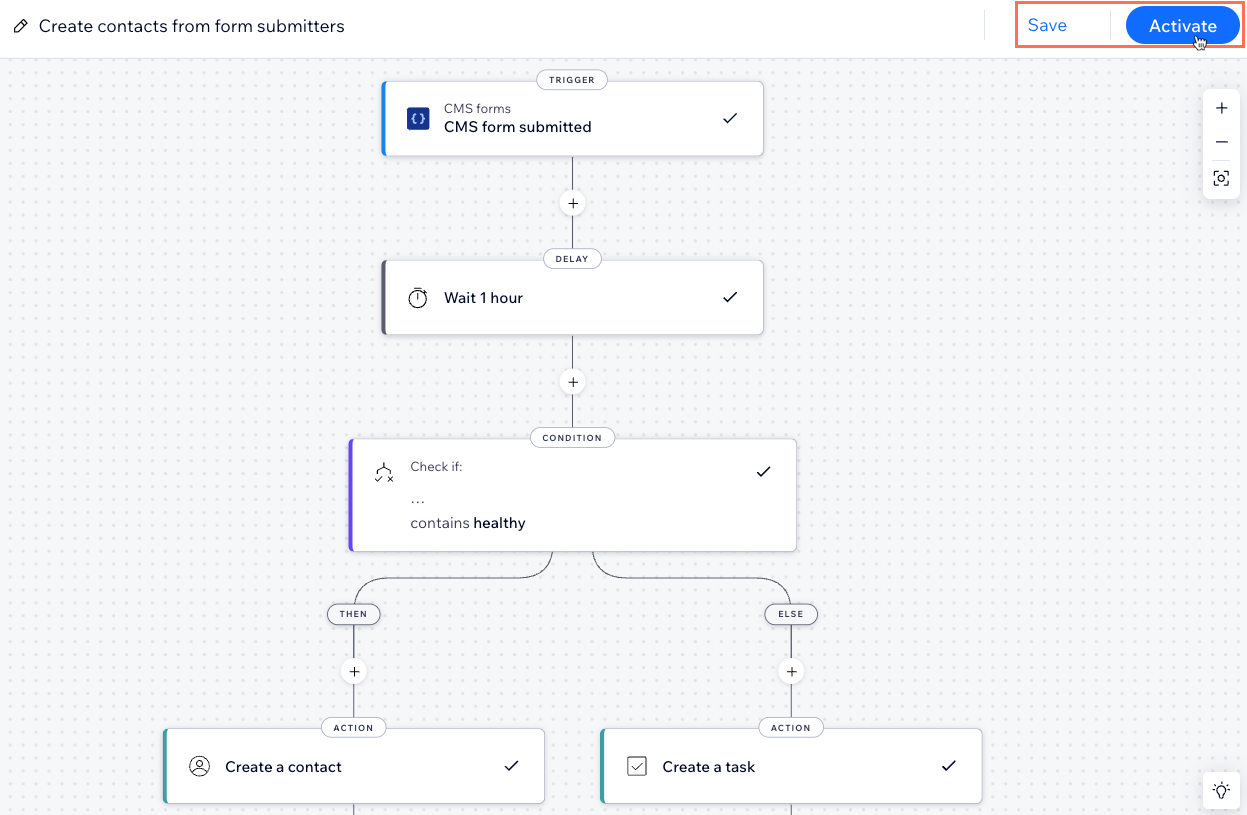
- Click to choose what you want to do:
- Save: Save the automation but do not make it active yet.
- Activate: Save and make your automation active.
FAQs
Click below for answers to common questions about using automations with custom CMS forms.
Why can't I find the "CMS form submitted" trigger?
How do I use the automation to send an email to the person who submitted the form?
How do I use the automation to update a contact or create a new contact?
Can I automate changes to my CMS collections?
How do I understand which automations are available to me?
Can I connect my automations to apps that I use outside of my Wix site?
What CMS collection fields can I use in Wix Automations?


