Wix Automations: Adding and Setting Up Conditions
6 min
In this article
- Adding a condition
- Building a condition with the property picker
- Building the logic of a condition
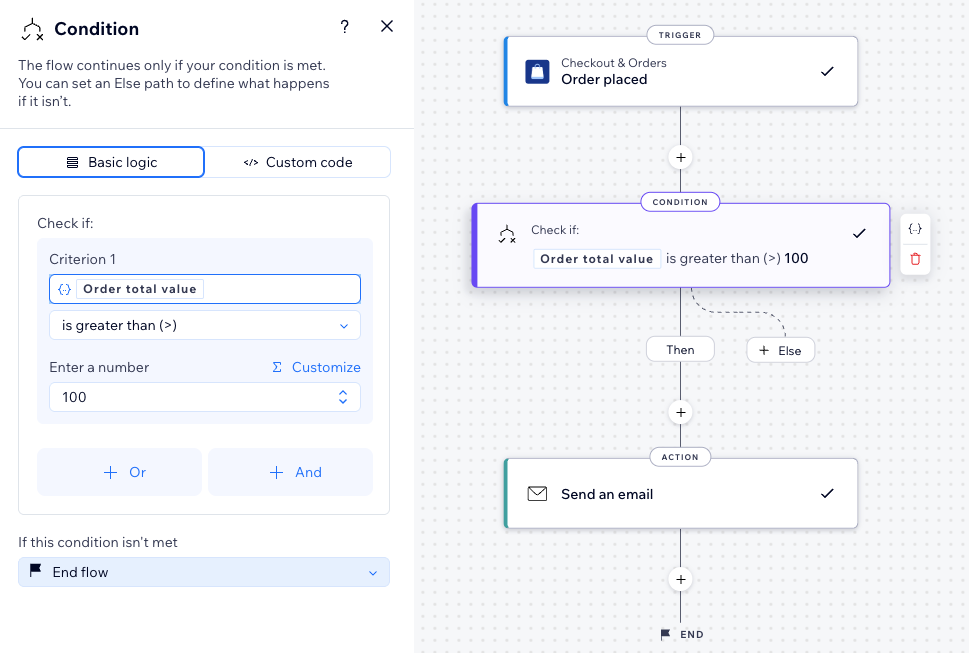
Conditions add flexibility to automations by letting you set specific rules for what happens next. This means your automation can branch in different directions based on what your site or contacts do. For example, you can have the automation send an email only if the customer spends over $100.
Adding a condition
Adding a condition gives you control over the next steps in your automation, using details that Wix collects each time it runs. You set the criteria that matter most to you, so actions only happen when your chosen rules are met.
- In the THEN path, the automation flow continues only if the condition is met.
- In the ELSE path, you can define what happens if the condition isn’t met.
To add a condition:
- Create a new automation or edit an existing automation.
- Click the Add Step icon
 .
. - Click Condition.
- Choose how you want to set up your condition:
Basic logic
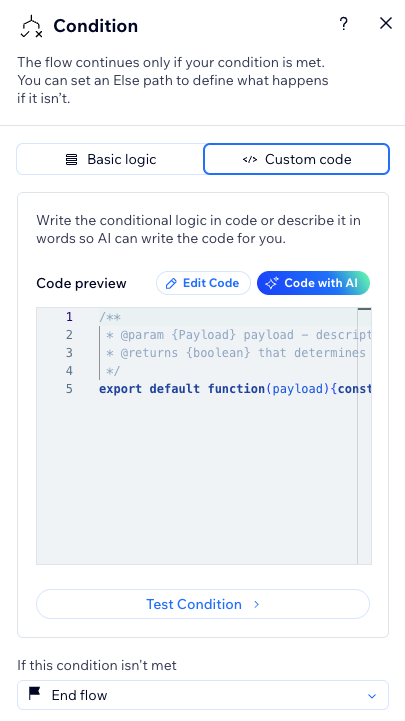
Custom code
Building a condition with the property picker
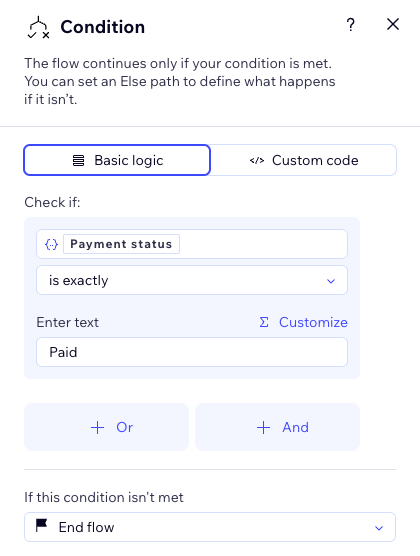
In the below example, we'll use the property picker to set up the condition: check if an order's payment status is equal to 'Paid' before continuing with the automation.
To build a condition with the property picker:
- Create an automation in the new automation builder.
- Click the Add Step icon .
- Click Condition.
- Click the Basic logic tab.
- Click the Select a property field to open the property picker.
- Choose the property you want the condition to check from the nestable list. For our example, we want the condition to check Payment status.

Tip: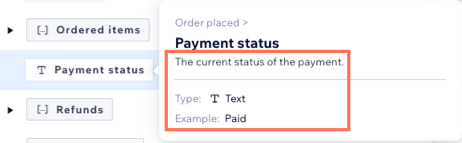
Hover over a property to see additional information such as the property type and an example of how to use it in your automation.
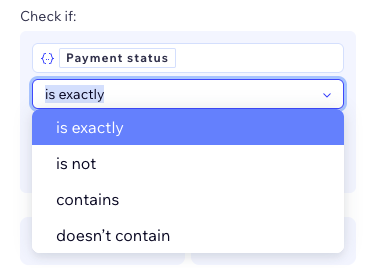
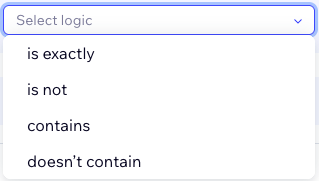
- Click the Select logic dropdown and choose the logic from the available data types. For our example, we want to choose the type is exactly.
- Finally, choose the resulting output the condition should check. For our example, we want the condition to check that the text is exactly the word Paid so we enter the word 'Paid' into the text field.
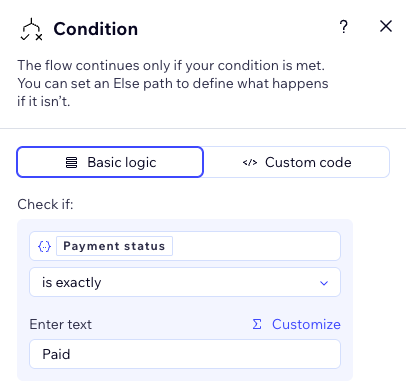
- Click Apply to save the condition.
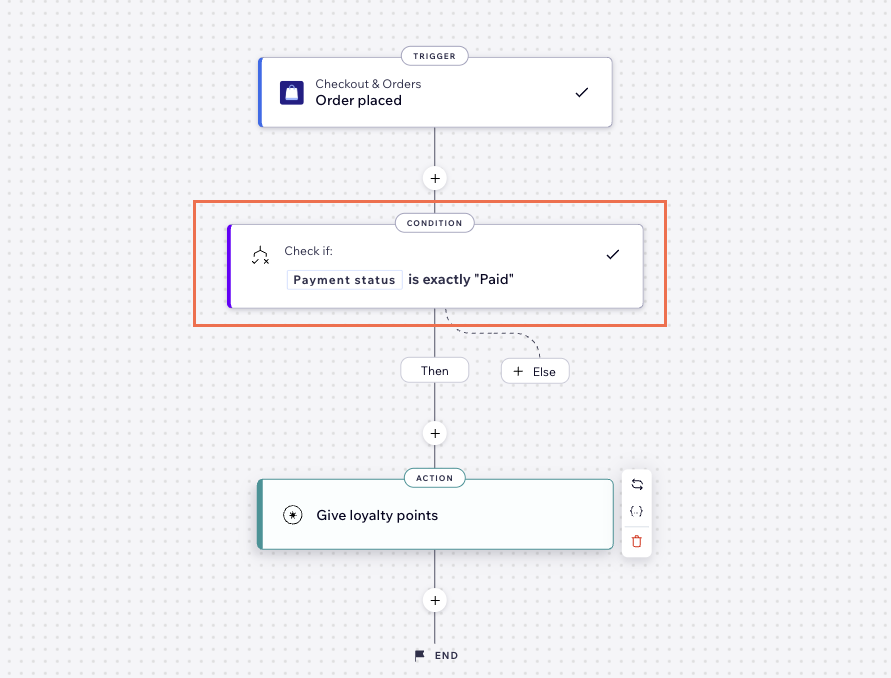
- Continue with the rest of the automation flow including choosing an action. In our example, we added an action 'Give Loyalty Points'.
Now, when an order is placed, the condition checks if the payment status is 'Paid' before continuing with the flow.
Tip:
You can build an Else path if you want the automation to do something different if the condition is not met. In our example, if the order is not paid, send an email reminder to pay the order.
Building the logic of a condition
For conditions to work effectively, make sure to select the correct operator (e.g. "is greater than", "contains") and follow the best practices described in this article.
Click an option below to learn more about an operator:
Text operators:
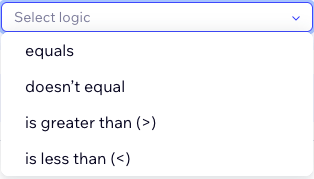
Number operators
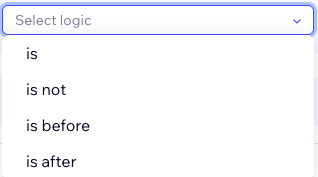
Date and time operators
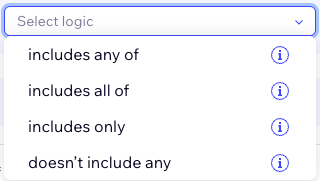
Array (list) operators
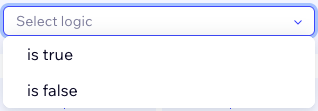
True/false operators