

Email Marketing: Creating an Email Campaign Manually
9 min
In this article
- Step 1 | Choose a template or start from scratch
- Step 2 | Customize your email campaign
- (Optional) Step 3 | Preview and send a test email
- Step 4 | Choose who to send your campaign to
- Step 5 | Publish and send your campaign
Creating a professional email marketing campaign is easy with Wix. Choose a template or start from scratch and customize your campaign. Preview and test your campaign if you'd like, choose who to send it to, then publish and send. Your campaign is then reviewed for compliance and sent to your subscribers.
Using the AI email builder?
Learn more about customizing your email using the AI Email Builder.
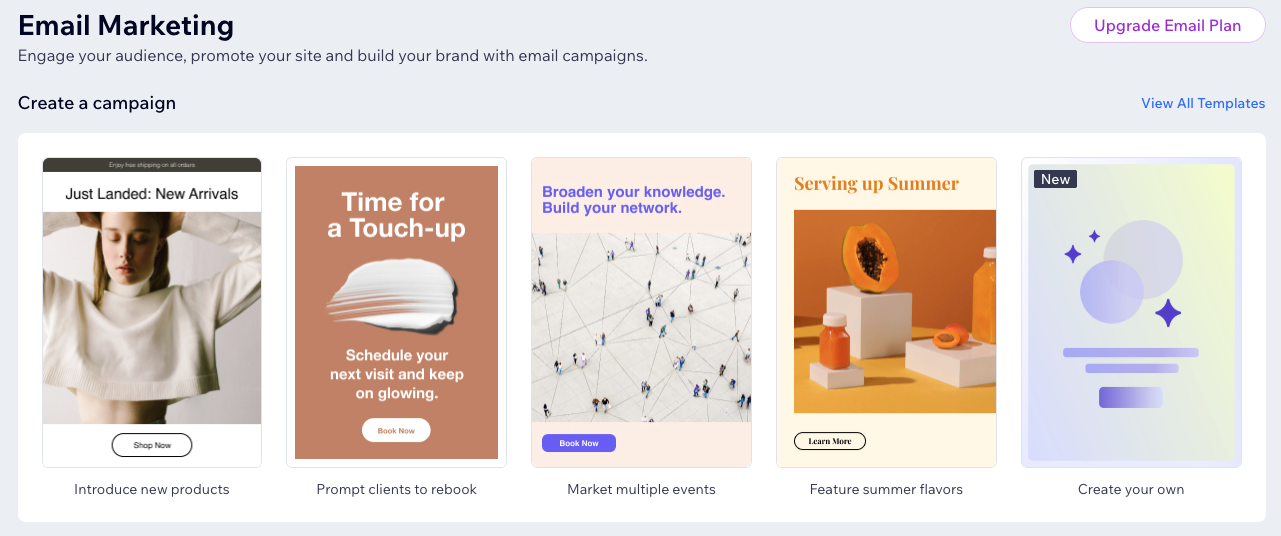
Step 1 | Choose a template or start from scratch
Get started with your email marketing campaign by choosing from a wide range of templates or start with a blank canvas.
To get started:
- Go to Email Marketing in your site's dashboard.
- Click View All Templates.
- Choose what you want to do:
- Use a template: Select the template you want to use.
- Start from scratch: Click + Create Email.
- Click Use Email Builder.
Step 2 | Customize your email campaign
Use your email campaign editor to design a visually appealing and engaging newsletter that will stand out in your subscribers' inboxes. Add elements from the panel on the left and select elements in your campaign to edit them. You can also choose a theme for the color and text, customize the background and more.
Choose what you want to do:
Add elements
 on the left.
Manage elements
 on the right to go to the
  to create a copy of the element.
  and select Confirm Delete to permanently remove the element.
Change the theme
 on the left.
Customize the background
 on the left.
  to choose a custom color.
  to choose the color behind the image or to have the image repeat itself across the background.
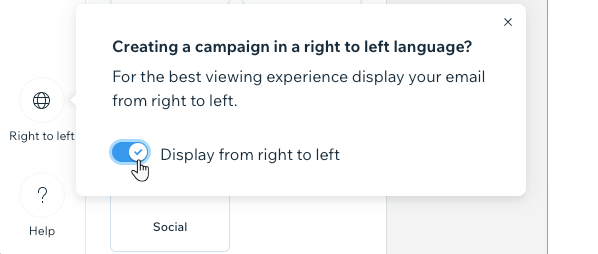
Change the text direction
Tip:
There’s no character limit for email campaigns, but too much text can lead to spam complaints. Stick to 1-3 short paragraphs for better results.
(Optional) Step 3 | Preview and send a test email
We recommend previewing what your emails will look like before your send them. You can check their appearance, both on desktop and mobile, and go back to make adjustments if necessary. Send yourself a test email to see for yourself how the campaign will look and function.
Note:
Previewing and testing your email campaign does not reduce your campaign quota.
To preview and test your campaign:
- Click Preview & Test at the top right.
- Choose what you want to do:
- Click the Mobile icon
 to see how your email campaign looks on mobile devices.
 - Click the Desktop icon
 to see how your email campaign looks on a desktop computer.
 - Click Back to Editing to return to the email campaign editor.
- Click the Mobile icon
- Send a test email:
- Click Sent Test Email at the top.
- Enter the email address that the test email should be sent to (your own).
- (Optional) Edit the Reply-to Email, From Name and Subject fields.
- Click Send.
- Click Done.
- Click Back to Editing at the top right to return to the campaign editor.
Saving your work:
Click the Autosave icon  at the top of the editor to manually save your work at any time. The email campaign editor also has an autosave feature to prevent you from losing valuable information if you forget to save or your internet disconnects.
at the top of the editor to manually save your work at any time. The email campaign editor also has an autosave feature to prevent you from losing valuable information if you forget to save or your internet disconnects.Step 4 | Choose who to send your campaign to
Next, add the recipients you want to send your emails to. You can select contacts individually or choose labels and segments that add groups of contacts at once. If you have a list of subscribers you need to add that are not yet in your contacts, you can import them from Google or a CSV file.
Important:
- Make sure to follow the Wix Email Marketing best practices when choosing your recipients.
- Each recipient only sees their own email address, your mailing list is kept private.
To add recipients:
- From your campaign editor, click Next at the top right.
- (Optional) Import contacts from a CSV file or your Gmail account:
- Click Import Contacts at the bottom right.
- Click Import Contacts in the popup to confirm.
- Choose between CSV file or Gmail account and follow the steps on-screen.
- When ready, click Back to email marketing at the top.
- Select who you want to send this email to:
- Click Next at the top right.
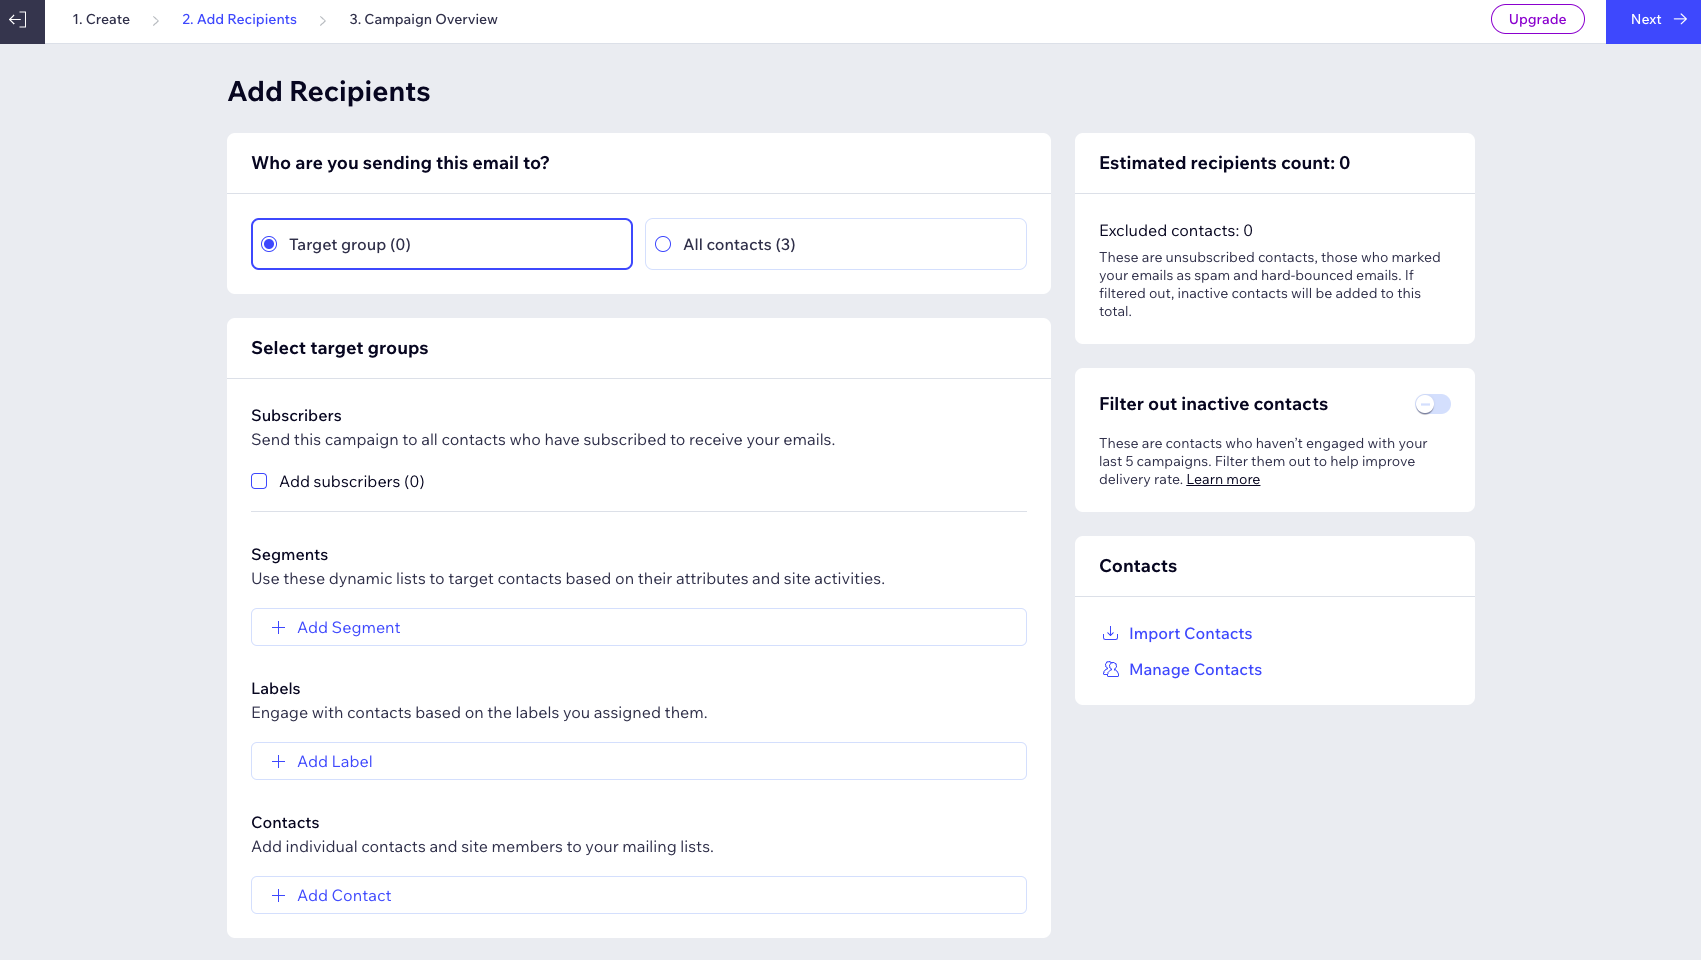
Note:
You can click the Filter out inactive contacts toggle to enable it and remove inactive contacts from your list. We do not recommend sending campaigns to inactive contacts as this can increase your bounce rate, cause emails to be marked as spam, and decrease your email deliverability.
Step 5 | Publish and send your campaign
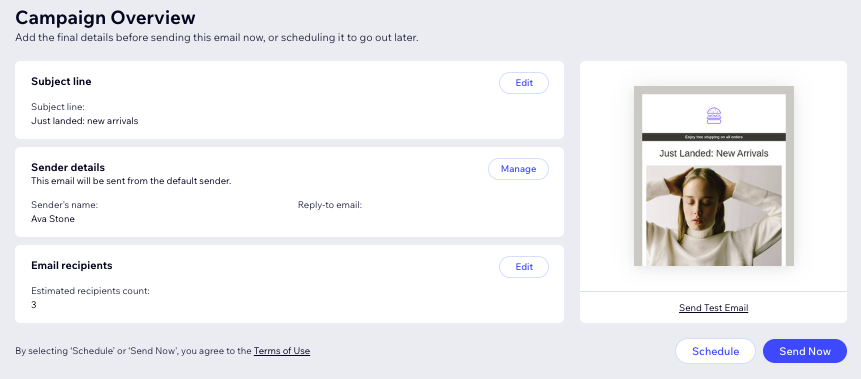
Create a subject line and enter the name your emails will show as sent from. Then decide whether to send your campaign as soon as possible or schedule it to be automatically sent at a future date.
After scheduling or sending your campaign, it goes into a queue. Your campaign is then reviewed to ensure it complies with the Email Marketing terms of use. Then your emails get sent and you can share your campaign on social media or with a direct link to it.
To publish and send your campaign:
- From the Campaign Overview page, edit the final sending details:
- Subject line: Enter the subject line of the emails. You can add content that automatically adjusts to your contacts' details or your site's URL by clicking + Personalize and choosing an option.
- Sender details: Enter the name the emails will show as sent from. This may be your business or personal name.
- Email recipients: Enter the email address that recipients can reply to when they receive the emails. If you have not yet confirmed your email address, click Confirm Now.
- Choose when you want to send your campaign:
Schedule your campaign to be sent later

Send your campaign as soon as possible

Next:
Learn how to analyze the results in your email campaign statistics.
