Email Marketing: Managing Your Sender Details
4 min
In this article
- Managing your sender details
- FAQs
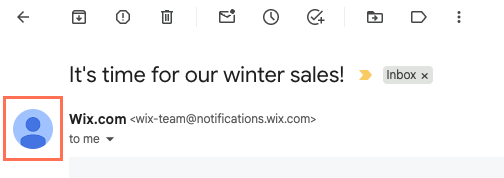
Manage the sender details of your campaigns so the name they show as sent from and the reply to email address is correct. Updating these details saves them for all future email marketing campaigns and Wix Automations emails.
Important
If changes were made to your default sender details before a scheduled campaign is sent, the scheduled campaign will inherit those updated details. It will not keep the sender details set before the change.
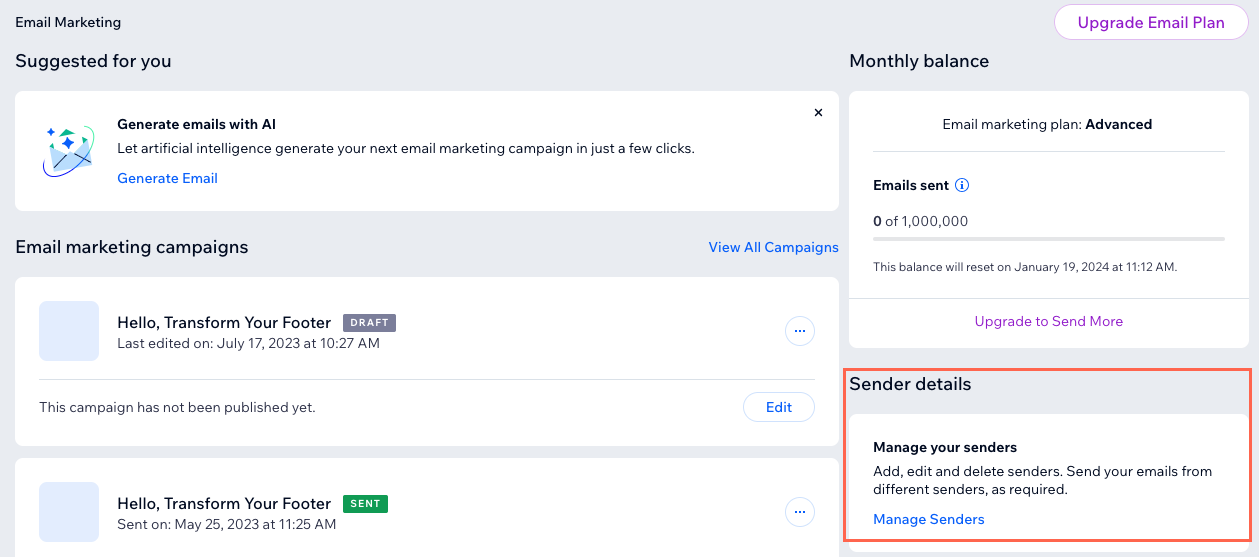
Managing your sender details
Make changes to the sender details your email campaigns are sent from. Update the sender name or change the email address. You can also add multiple senders or delete a sender entirely.
To change the sender details of your campaigns:
- Go to Email Marketing in your site's dashboard.
- Scroll to the Sender details section on the right and click Manage Senders.
- Choose what you want to do:
Edit sender details
 next to sender details and update the details:
Add another sender
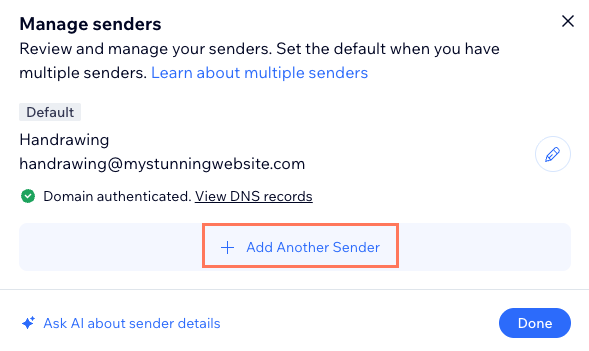
Delete a sender
 next to the relevant sender.
FAQs
Click a question below to learn more about changing the sender details of your campaigns.
Why haven't I received my code to confirm my email address?
Why can't I delete my default sender?
I'm noticing an increase in my spam rate since changing my sender details. What might be the reason for this?
Why is my sender name not appearing correctly when recipients get my emails?
Can I edit or change the profile icon that appears in my recipients' inbox from my email campaign?