Connecting PagBank as a Payment Provider
5 min
In this article
- Connecting PagBank
- Managing your PagBank payment method
- (Credit card only) Enabling installment and recurring payments
- FAQs
Before you begin:
The previous payment provider, PagSeguro, has rebranded and is now operating as PagBank.
Accept payments from your customers in Brazil using PagBank as a payment provider. Using PagBank, your customers can pay with Credit cards, Pix, Boleto Bancário and PagBank Wallet payments.
General Info | |
|---|---|
Supported countries | Brazil |
Accepted currencies | BRL. The currency used in your Wix account must match the currency in your PagBank account (BRL). If the currencies do not match, the transactions may be declined. Learn how to change your currency |
Transaction fees | Wallet and PIX: Instant payment with a 0.99% fee. Boleto: Receive in 2 business days with an issuance fee of R$2.99. Credit (single payment): • Payment in 14 days: 4.39% + R$ 0.40 per transaction. • Payment in 30 days: 3.79% + R$ 0.40 per transaction. Installments (2 to 12X) (credit card only): • Payment in 14 days: 3.99% + R$ 0.40 per transaction. • Payment in 30 days: 3.19% + R$ 0.40 per transaction. |
Account activation time | Instant |
Managing your account | For information on topics such as payout schedules, refunding a customer, chargeback disputes, and more, contact PagBank |
Connecting PagBank
Connecting PagBank allows you to integrate PagBank as your payment provider. There are 3 ways to connect your site to Pagbank, depending on the payment methods you want to use:
- Boleto Bancário only.
- Credit card only.
Note: Using PagBank with credit card only, you can offer customers the option to pay in installments and recurring payments. - Multiple methods, including credit card, Pix, Boleto Bancário and PagBank Wallet payments.
To connect PagBank:
- Go to Accept Payments in your site's dashboard.
Tip: Check your business location at the top right. If incorrect, click the drop-down menu to change it. - Look for your preferred payment method with PagBank as the payment provider.
Tip: If you can't find it, try clicking See More Payment Options. - Click Connect next to PagBank.

- Depending on whether you are creating a new PagBank account or have an existing account, follow the instructions:
Have an account
Don't have an account
How do I generate a security token?
If you don't have a Credencial Token, but you do have an account with PagBank, complete the following steps:
- Go to PagBank sign in.
- Click I have an account and select your payment plan.
Note: If you don't have an existing PagBank account, you can create one now. - Enter your CPF, CNPJ or email and click Continue to sign in.
- Scan the QR code using your PagBank app.
- Click Authorize.
- Copy the generated Wix Token.
- Return to Wix and paste the token into the Credencial Token field.
Managing your PagBank payment method
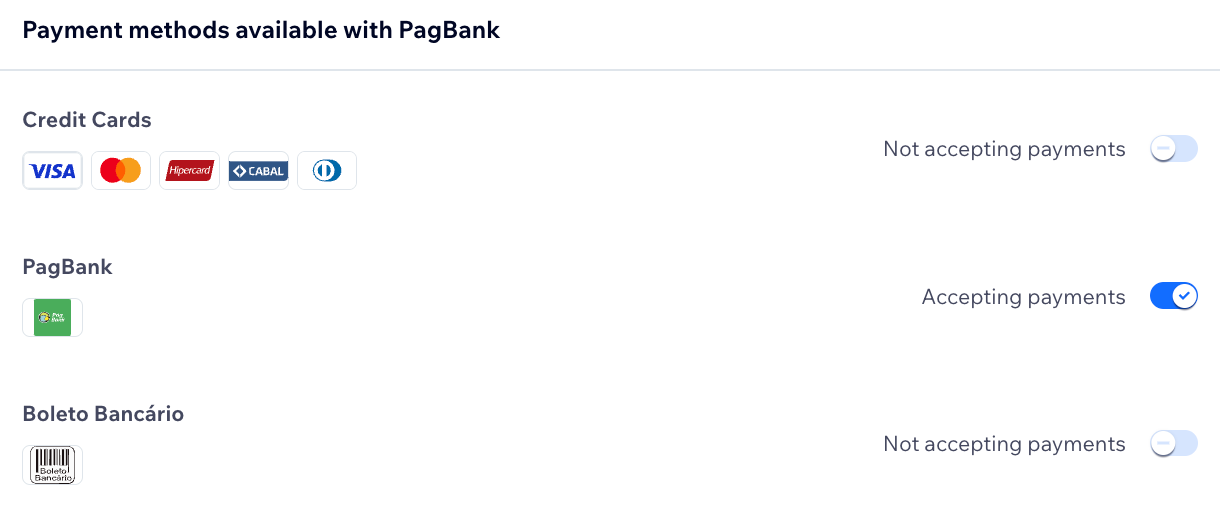
Once you've connected PagBank as your payment provider, you can enable or disable your payment methods (credit card, PagBank wallet and Boleto Bancário) as you need them.
To manage your payment method:
- Go to Accept Payments in your site's dashboard.
- Click Manage next to PagBank.
- Use the toggles to enable or disable your PagBank payment methods.

(Credit card only) Enabling installment and recurring payments
Using PagBank with credit card only, recurring payments are enabled by default, allowing your customers to pay automatically over time.
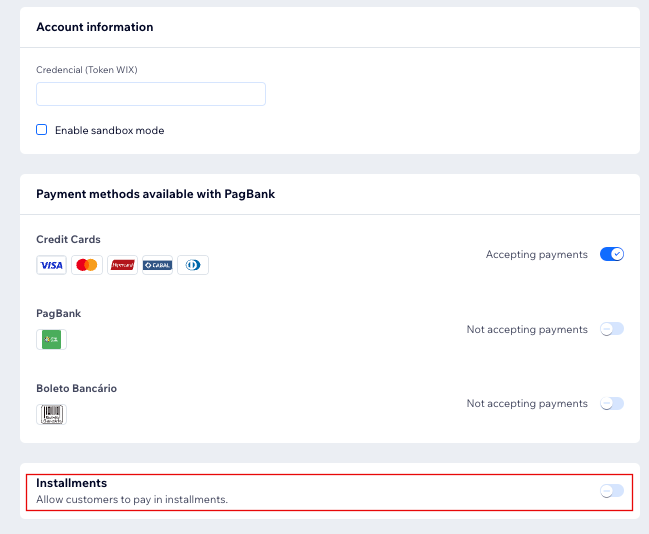
Additionally, you can choose to offer customers to pay in installments. The number of installments can be anywhere between 2 to 18.

To enable installments:
- Go to Accept Payments in your site's dashboard.
- Click Manage next to PagBank.
- Enable the Installments toggle.

FAQs
Click a question below to learn more about accepting payments.
How can I tell if a payment method is active?
Is my currency supported?
What is a minimum payment amount?
Can I offer recurring payments?
How do I get my payouts?
My customers' payments are being declined. What can I do?
Why can’t I connect my desired payment provider?
Do I need a Premium plan to accept payments?


