


Wix Forms: Adding and Setting Up a Form on Your Site
In this article
- Step 1 | Add a form to your site
- Step 2 | Add your form fields
- Step 3 | Edit your form's settings and save
- FAQs
Wix Forms is a fully customizable form which gives you the power to collect information from your site visitors with ease and style. Choose from an array of templates, each waiting to be transformed to perfectly match your unique needs and preferences.
Note:
This article will walk you through the process of adding and setting up a basic site form. We have more specific articles on the following:
Step 1 | Add a form to your site
Before you can begin using Wix Forms on your site, you'll need to add it in your editor. You can choose from different templates, each made to show off your form and collect your user data in the best way possible.
How do I know if I'm using old Wix Forms or new Wix Forms?
This article will help you understand the differences between old and new Wix Forms.
New Forms
Old Forms
- Go to your editor.
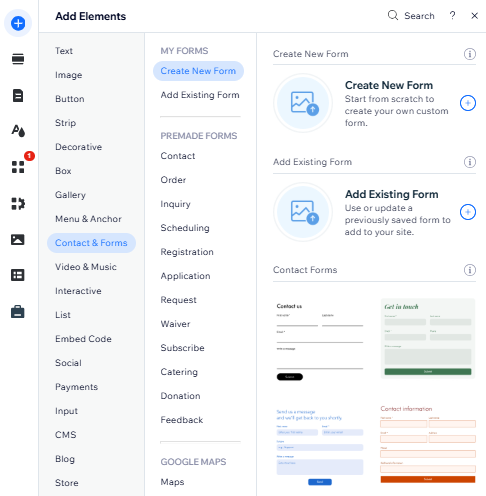
- Click Add Elements
 .
. - Click Contact & Forms.
- Click Create New Form and drag the form element onto the page.
Tip: You can also select a form from the Premade Forms section.
Tip:
You can display your form on every page of your site with a single click. To set your form to appear on all pages, right-click the relevant form and select
Show on All Pages. You can disable this option at any time, which will remove the form from other pages.
Step 2 | Add your form fields
Once you have added the form to your site, you can use form fields to gather targeted data, tailored to your needs. You can add or remove fields at any time, customizing your form to meet ever changing needs.
New Forms
Old Forms
- Click the form in the editor.
- Click Edit Form to open the form builder.
- Manage your form fields using the available options
Edit an existing field
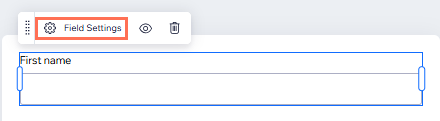
Add a new field
 on the left.
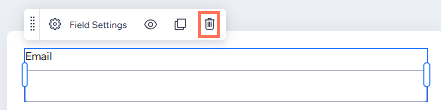
Remove a field
 .
.
Duplicate a field
 icon.
icon.
Note:
The new Wix Forms no longer include an addable reCAPTCHA field, as they already have built-in spam filters, including reCAPTCHA. Learn more about adjusting your spam filter settings in Step 3.
Step 3 | Edit your form's settings and save
Adjust your form's settings so it appears and behaves how you need it to.
New Forms
Old Forms
- Click the form in the editor.
- Choose what to do next:
Customize the form's design and layout settings
Name the form

Edit the required field style
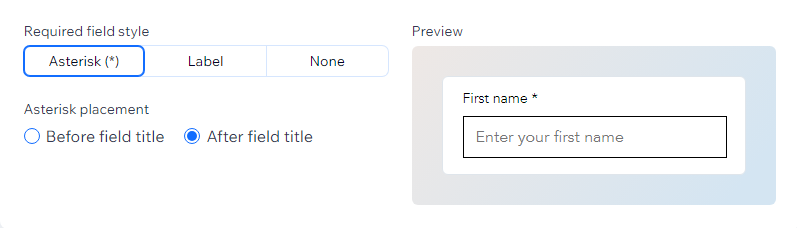
Edit the confirmation message
Adjust your spam filter

Adjust site member details
Create rules and / or extra pages for the form
Edit field positions for mobile devices

Customize the form's mobile design and layout settings
 at the top of the editor.
FAQs
Click a question below to learn more.
How do I test a form?
How many forms can I add to my site?
Can I view the time zone of my form?
How do I add columns to my form?

How do I set email notifications for a form?
 next to a form.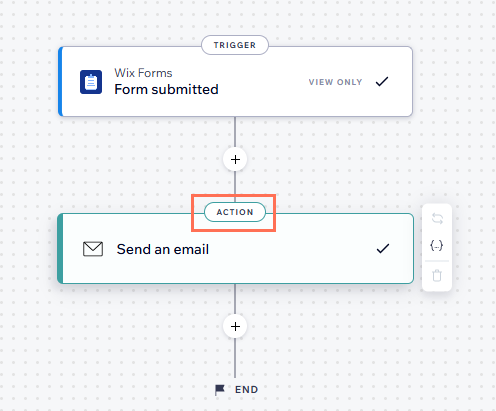
Can I apply changes to multiple form fields at once?
Can I translate my forms?
I translated my form, but the months in the date field didn’t change. Why?
