Wix Events: Creating Online Events
4 min
In this article
- Step 1 | Plan your online event
- Step 2 | Create the online event in Wix Events
- Step 3 | Inform your guests about the event
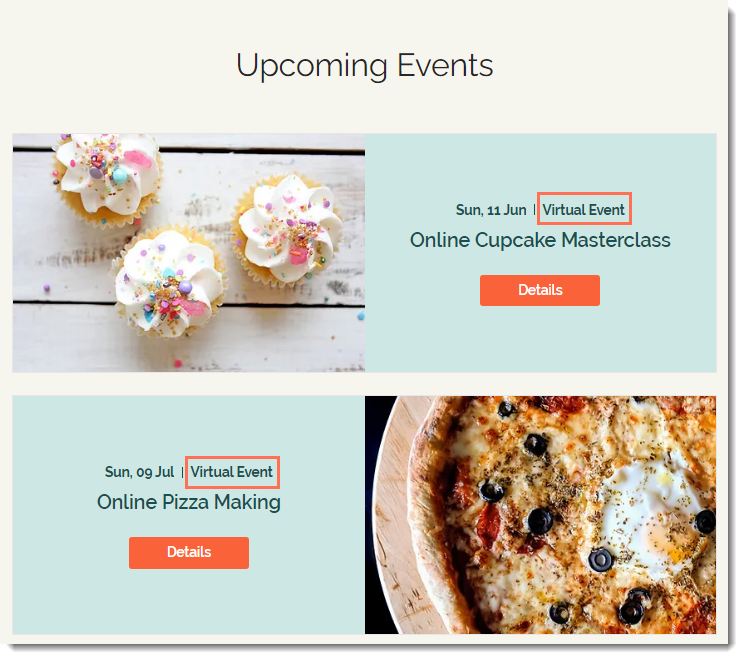
Hosting an online event is a great way to connect to international audiences and keep your business going without meeting in person.

Tip:
You can create a hybrid event where you meet both in person and online.
Step 1 | Plan your online event
To get started, decide where you'd like to host your online event.
This article will walk you through how to set up an event on any external platform designed to host virtual events (e.g. YouTube streaming, Facebook Live).
Tip:
Wix also offers the option to integrate your online event using Zoom. In addition, you can hold an event using Wix Video's live streaming.
Step 2 | Create the online event in Wix Events
To display the event on your site and allow guests to register, add an online event in the Wix Events dashboard. Creating an online event is almost the same as creating an event with a physical location, with a few differences outlined below. For complete instructions on how to create an event, click here.
To create an online event:
- Go to Events in your site's dashboard.
- Click + Add Event.
- Select a type of event (this selection can't be changed after you click Create Draft):
- Ticketed Event: Sell event tickets or offer them for free.
- RSVP Event: Guests register for the event.
- Enter the General Info.
- Enter the Date and time.
Tip: For online events, we recommend displaying your time zone. - Select a location:
- Online only events:
- Click Online.
- Enter an Online Location Title (e.g. Webinar).
- Hybrid events (physical location and online):
- Click Physical Location.
- Start typing the address of the location and select it from the list.
- (Optional) Enter a Venue Name (e.g. Fremont Hotel).
- Online only events:
- Click Create Draft.
- When you've finished adding other customizations (e.g. creating tickets, customizing the registration form), publish your event.
Step 3 | Inform your guests about the event
To join your online event, guests will need access information (e.g. a link to the event and login details). To set this up you must decide when to send the access information and how you want to send it. Choose from the options listed below.
Tip:
Make sure guests know what to expect. For example, if you plan to send log in information by email 1 hour before the event starts, then we suggest you state this in the confirmation email.
Select one or more of these methods:
Confirmation email - for events with tickets
Confirmation email - for events without tickets
Reminder email
Wix automations and email marketing
Email your guest list
Wix app on your mobile device


