

Pricing Plans: Viewing and Editing Your Client Information
5 min
In this article
- Creating or removing a contact manually
- Editing a client's contact details
- Viewing a client's subscription history
- Adding and viewing notes on a client's contact card
- Adding labels to a client's contact card
Important:
This article discusses the Wix subscriptions app Pricing Plans. If you're looking for information about upgrading your site with Wix Premium plans, please check this article.
Your contact list is where you keep track of everything connected to your clients. This includes their contact details, plan subscription history, emails and chats, and more.
Any time a site visitor buys a membership plan or package, a contact card for that client appears in your dashboard.
Creating or removing a contact manually
When a client interacts with your site, by signing up for a membership or filling out a form, they appear as a contact in your dashboard. You can also create contacts manually, after an in-person meeting, for example. You can also remove a client's contact card at any time, once they don't have any active subscriptions.
To create or remove a contact manually:
- Go to Contacts in your site's dashboard.
- Choose what you want to do:
Create a contact manually

Delete a contact manually

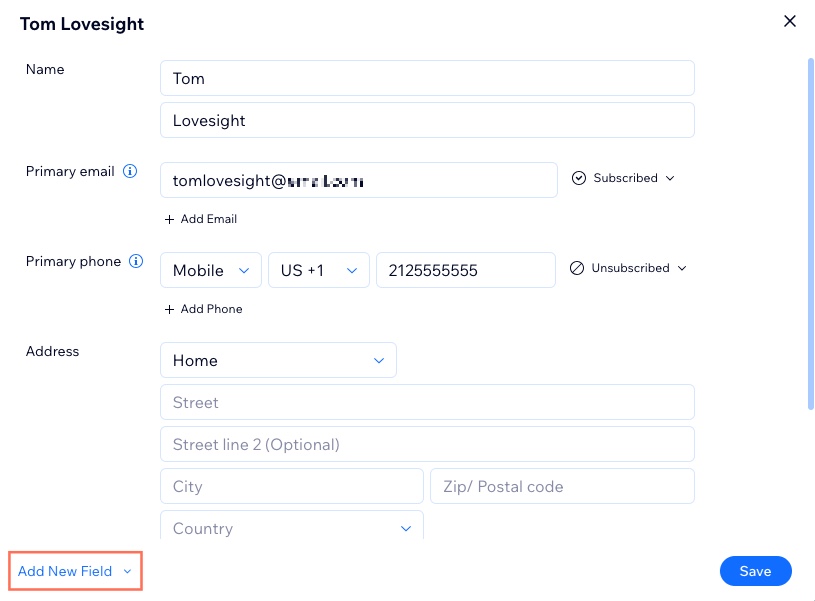
Editing a client's contact details
Each client has a contact card with their personal contact details, such as their email address and phone number.
Want to include more client information? You can do so by adding any of the preset fields (e.g. company name or position) or by creating a custom field that suits your business (e.g. for a dog grooming business you could add a "Dog's Name" field).
To edit a client's contact details:
- Go to Contacts in your site's dashboard.
- Click the More Actions icon
 next to a contact and select Edit.
 - Edit the contact's information.
- (Optional): Click Add New Field at the bottom to add a new information field such as phone number, email, birthday. You can also create a custom field.
- Click Save.
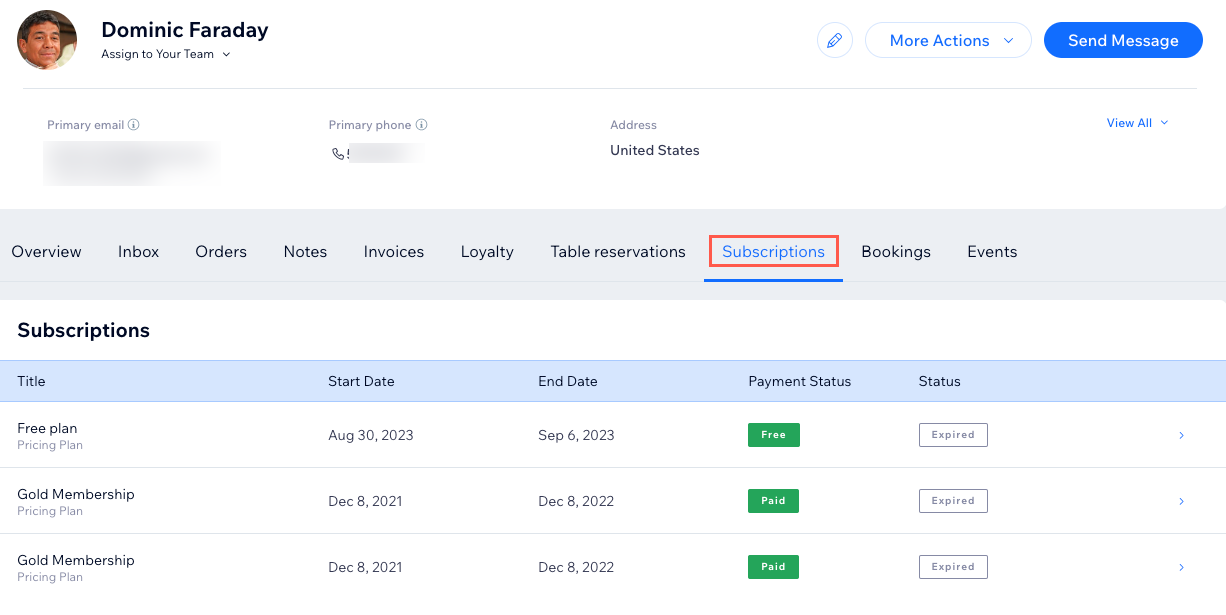
Viewing a client's subscription history
You can view a complete list of a contact's past and upcoming subscriptions by clicking their name in the contact list. This is useful for tracking their current subscription, and making sure they don't lose access to any benefits if it is due to expire soon.
To view a client's subscription history:
- Go to Contacts in your site's dashboard.
- Hover over the relevant contact in the list and click View.
- Click the Subscriptions tab to view their subscription history.
- Click any subscription on the list to update its payment status, extend or suspend it.
Tip:
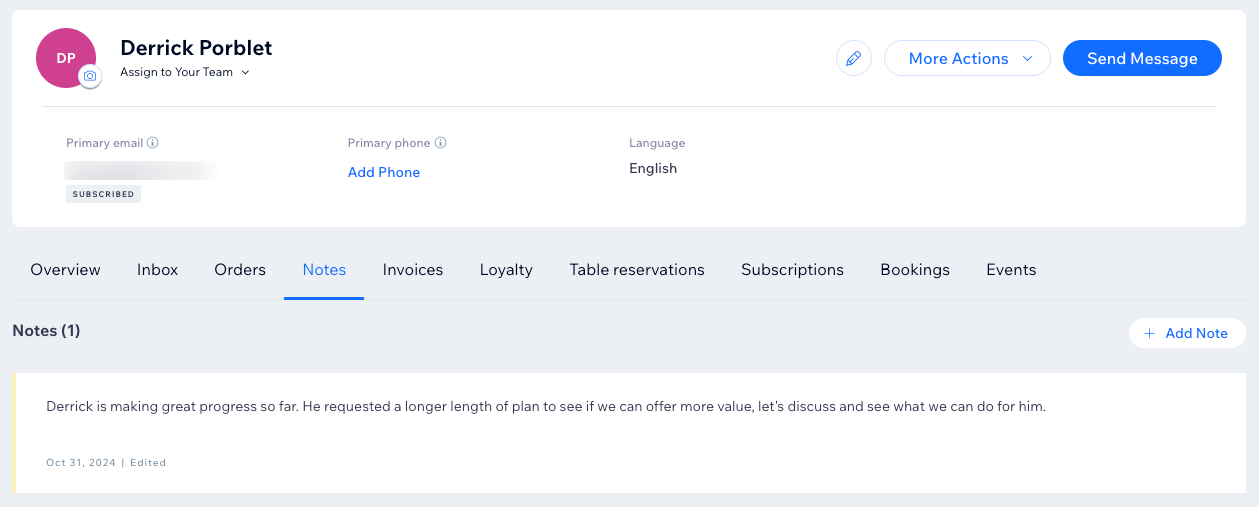
Adding and viewing notes on a client's contact card
You can add a note to a contact to help you keep track of important client information. This note is just for you - clients don't see it.
To add and view notes for a contact:
- Go to Contacts in your site's dashboard.
- Hover over the relevant contact in the list and click View.
- Click the Notes tab to view existing notes.
- Click + New Note to create an additional note about the contact for you and your staff.
- Enter the note.
- (Optional) Click the Select type drop-down and choose the relevant note type.
- Click Done.
Adding labels to a client's contact card
Labels allow you to categorize contacts into different groups based on their relationship with you and your business. You can also send email marketing campaigns to a group of clients with the same label.
Some labels appear automatically. For example, any client who books a plan automatically gets the label for that plan. In addition, when a client contacts you (through email or chat) they receive the "Contacted Me" label.
To add a label to a client's contact card:
- Go to Contacts in your site's dashboard.
- Hover over the relevant contact in the list and click View.
- Click Add label on the right side.
- Choose what you want to do:
- Add an existing label: Select the label(s) you want to add to the contact.
Tip: You can use the Search field to find a specific label. - Create and add a new label: Click + Create Label, enter a name for the new label and click the Confirm icon
 .
.
- Add an existing label: Select the label(s) you want to add to the contact.
- Click Add.
To filter your contacts by label: 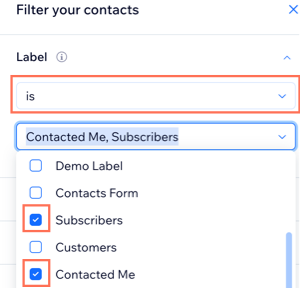
- Go to Contacts in your site's dashboard.
- Click Filter at the top of the list and select Label.
- Click the Select an option drop-down and select is or is not.
- Select the labels you want to include or exclude.
Learn more about labels:
