

Email Marketing: Adding Recipients to Your Campaign
4 min
In this article
- Adding recipients to your email campaign
- FAQs
When you're done customizing your email campaign, add the recipients you want to send it to.
You can select individual contacts or choose groups of contacts (e.g. labels and segments) that add multiple contacts at a time.
Adding recipients to your email campaign
Select target groups or include all of your contacts to send your campaign to. When selecting target groups, you can send to subscribers, add segments, labels, or individual contacts to send to groups of contacts.
Make sure to follow the Wix Email Marketing best practices when choosing your recipients to boost sender reputation and deliverability.
To add recipients:
- Create an email campaign or edit an existing one.
- Customize the elements in your campaign to your liking.
Tip: Preview and test your email campaign to make sure it is perfect before you add recipients and send. - Click Next.
- (Optional) Import contacts from a CSV file or your Gmail account:
- Click Import Contacts at the bottom right.
- Click Import Contacts in the popup to confirm.
- Choose between CSV file or Gmail account and follow the steps on-screen.
- When ready, click Back to email marketing at the top.
- Select who you want to send the email to:
All contacts

Subscribers

Segments

Labels

Individual contacts

Note: 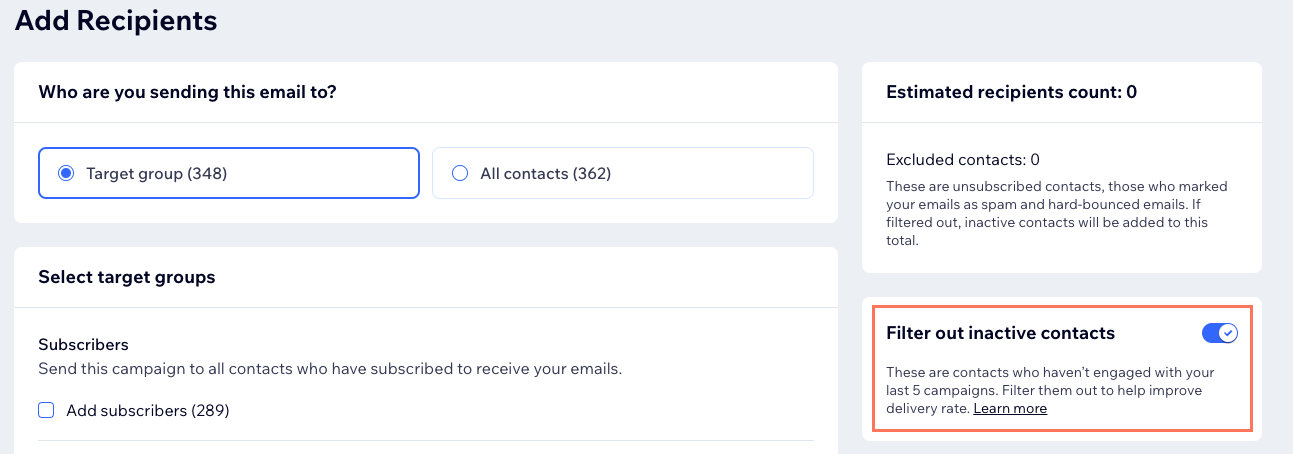
You can enable the Filter out inactive contacts toggle to remove inactive contacts from your list. We do not recommend sending campaigns to inactive contacts as this can increase your bounce rate, cause emails to be marked as spam, and decrease your email deliverability.
FAQs
We are here to help with all your questions. Click a question below to learn more.
Why were some contacts removed from my mailing list?
Can I change a subscribers subscription status?
Will sending an email campaign to a segment count towards my monthly email marketing balance?
