

Wix Stores: Adding a Digital Product
7 min
In this article
- Step 1 | Add your basic info
- Step 2 | Upload the file you're selling
- Step 3 | Set pricing
- Step 4 | Add product images, GIFs, and videos
- Step 5 | Manage inventory
- Step 6 | (Optional) Create modifiers
- Step 7 | (Optional) Add info sections
- Video tutorial
- FAQs
Important:
We're in the process of releasing a brand-new product creation page. If the first field you see is 'Images and videos', you have the previous version and should follow these instructions on creating a digital product.
Start building your online store by creating your products. You can offer digital downloads, such as eBooks, audio files, or images. If you want to sell a group of digital downloads together, you can do so by saving them in a ZIP file format.

This article will guide you through the process of creating and listing digital, downloadable products. Want to sell physical products instead? Learn how to create physical products.
Step 1 | Add your basic info
To get started, enter the product's name and description. Optionally, you can also add a product ribbon, such as a "Best Seller" ribbon.
To enter the basic product info:
- Go to Products in your site's dashboard.
- Click +New Product.
- Select Digital file.
- Enter the product name (max. 80 characters).
- (Optional) Add a ribbon:
- Click to select an existing ribbon.
- Type the new ribbon text (e.g. May Sale) and click to add it.

- (Optional) Add a brand attribute.
Tip: Brands help Google "understand" your product and make your product eligible for rich results. - Enter a product description.
Tips for your product description:
- Click Generate AI Text to help compose an effective product description.
- Highlight text to add a link, bold it, or add other customizations.
- You can paste an image into your product description.
Step 2 | Upload the file you're selling
Start by uploading the digital file you want to sell. If you want to create a digital product made up of more than one file, save them together as a ZIP file and then upload that file.
The following digital file formats are supported:
| Digital File Type | Supported Formats | Maximum File Size |
|---|---|---|
Image | .jpg, .png, .gif | 50 MB |
Audio | WAV, FLAC, M4A (Apple lossless, MP3). Audio files must be stereo, not mono. | 100 MB |
Document | .doc, .docx, .xls, .xlsx, .ppt, .pptx, .odt, .odp, .pdf, .epub | 1 GB |
Zip | .zip | 1 GB |
To upload a digital file:
- Click +Upload File.
- Select Digital file.
- Click Upload File and select the type of digital file you want to upload.
Note: The file must be uploaded by the site owner, not by a site collaborator. - Select or upload the file and click Add to Product.
Step 3 | Set pricing
Now you can add the product price and manage other pricing options. To indicate that the price has been reduced, you can add a strikethrough price.

To set pricing:
- Enter the Price.
- (Optional) Enter the Strikethrough price (i.e. the price before a markdown).
- (Optional) Enter the cost of goods (i.e. what it costs you to make or buy the product).
Note: Your profit and margin are calculated automatically and aren't displayed to customers. - If you set up tax groups, select a tax group.
Tip: In some locations, digital products aren't taxed as the same rate at physical products.
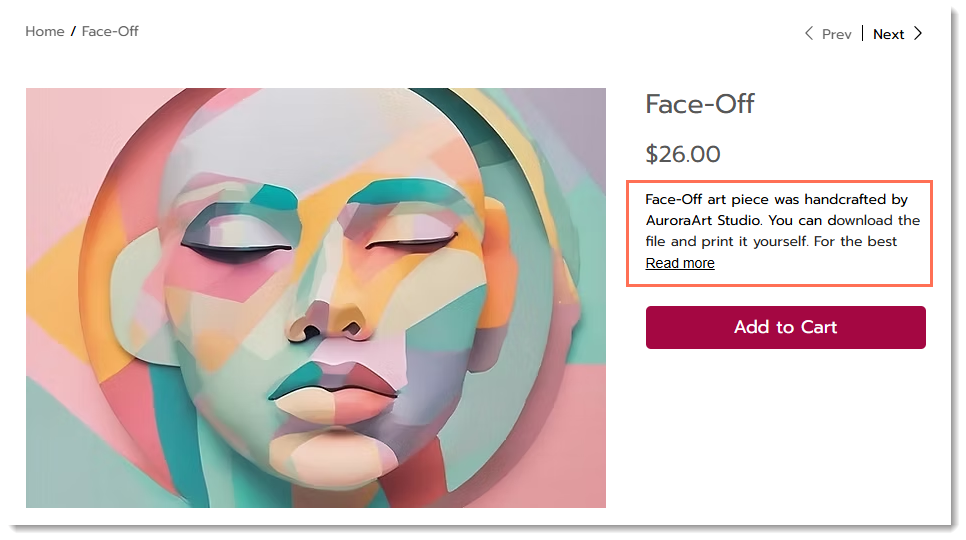
Step 4 | Add product images, GIFs, and videos
Add a product image, GIF, or video that represents the digital product you're selling.
Important:
If you're selling an image, you can add a watermark.
To add product media:
- Click Add Media.
- Click Upload Media to add images, GIFs, or videos (up to 50).
- Click Add Media.
- (Optional) Click the Crop & edit icon to customize the image in the Wix Photo Studio.

Tip:
Drag the uploaded media to reorder them.
Step 5 | Manage inventory
Now you can set how you manage inventory for this product. Since this is a digital product, you'll likely prefer to mark your inventory as 'In stock' or 'Out of stock', rather than tracking specific quantities.
To configure inventory and enable pre-ordering:
- Click the Track inventory quantity to enable or disable tracking specific inventory amounts.
- Enter the Status (e.g. In Stock) or the Quantity (e.g. 20 items in stock).
- (Optional) Enter a unique SKU and/or Barcode (GTIN).
Step 6 | (Optional) Create modifiers
Offer your digital download with customization options. For example, you can add a personalized dedications or made-to-order graphic.
Important:
The digital download product is sent to your customer automatically when the order is paid. If you want to send a different version that includes a customization, you’ll need to send it to your customer separately.
To create modifiers:
- Click +Add Modifier.
- Enter a modifier name.
Tip: The name is visible to customers only for color swatch and dropdown list modifiers. - Select a field type.
- Customize the field type you selected:
- Dropdown list: Type your options and press Enter after each one.
- Color swatches: Enter your color names and press Enter after each one. Click the color to select a different shade.
- Text box:
- Enter the title (e.g. What name should appear in the image?)
- Select or deselect the checkbox next to This is a required field.
- Enter the maximum characters that customers can enter.
- Click Add.
Step 7 | (Optional) Add info sections
Add 1 or more info sections to your product to provide customers with the information they need to know, such as size charts and product care instructions.

Tip:
After you create an info section once, you can select it to apply to other products.
To add an info section:
- Click +Add an Info Section.
- Choose what you want to do:
- Add an existing section
- Create a new info section:
- Click Create New Info Section.
- Enter a title (visible on your site).
- Enter a name (for internal use only)
- Enter the information.
Tip: You can add a table, images, GIFs and more.

Video tutorial
Watch the video, or scroll down to read the FAQs.
FAQs
Click a question to learn more about selling digital products.
What is the digital download badge and do I have to display it?

 .
.How do customers download digital products?

How can manually send my customer a download link?
 .
.
Do I have to display a product price on my site?

Can I organize my products with tags?
