


Wix POS Register: Booking Services and Accepting Payment
In this article
- Step 1 | Book sessions
- Step 2 | Assign a customer to the sale
- Step 3 | (Optional) Apply a discount or coupon
- Step 4 | (Optional) Take additional actions
- Step 5 | Accept payment and complete checkout
- FAQs
Important:
- This article is about the Wix POS Register for brick & mortar businesses.
- For info on using POS on a mobile device, click here.
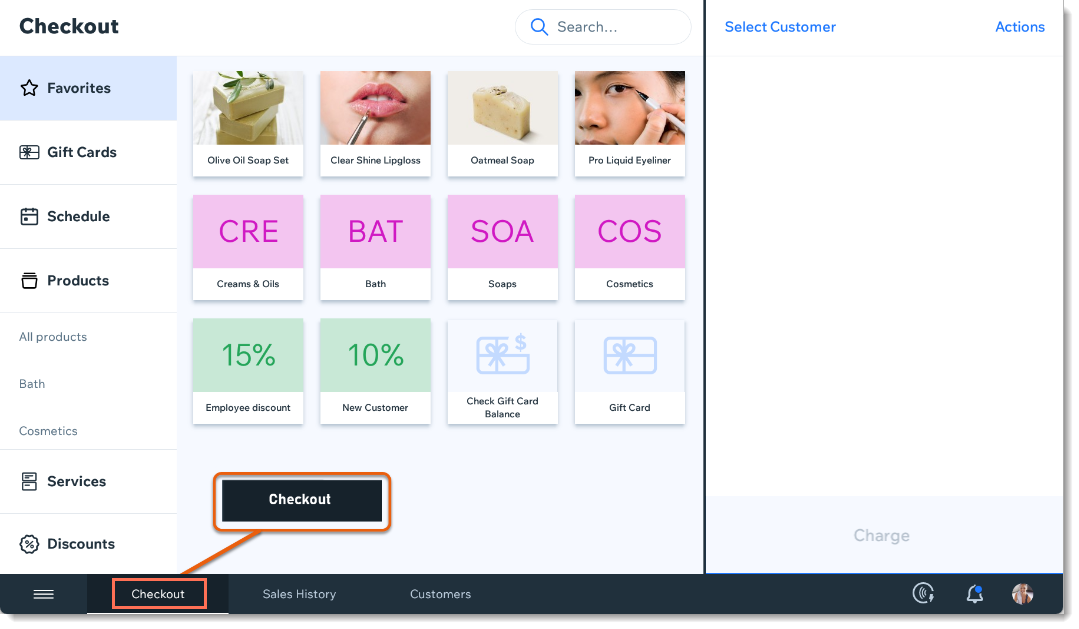
Go to the Checkout screen to book appointments for walk-in clients and accept payment for the session.
Step 1 | Book sessions
You can book one or more sessions and add them to the cart. You can also
add store products or a custom charge and accept payment for them all at the same time.
Important:
To check if a service provider is available, go to your booking calendar on desktop or in the Wix app.
To add bookings to the cart:
- Open the POS tablet.
- Tap Checkout on the bottom bar.
- Tap Services.
- Tap the relevant service.
- Select the service date, time, and staff:
- Tap the service.
- Tap the relevant staff member.
- Select a date and time from the calendar.
- Click Update.
- (Optional) Add additional services, store products, or a custom charge.
Step 2 | Assign a customer to the sale
Make sure to add your customer's details to the sale. When they return, you can quickly assign the saved customer to a new sale.
To assign a customer to the sale:
- Tap Select Customer.
- Select an option:
- Create a new customer: Tap +New Customer, enter the details, and tap Save.
- Select a saved customer: Search for the customer's name, email, or phone number or scroll down and select the customer.
Tip: You can tap View next to a customer to view their details.
Step 3 | (Optional) Apply a discount or coupon
You can offer reduced prices by adding a discount at checkout or by letting your customer redeem a coupon.
- Discounts: Create a discount on the spot or add a saved discount.
- Coupons: Enter a coupon code or select a coupon from your list. Learn more about coupons.
Notes:
- Swipe left to remove coupons or discounts added to the cart.
- You cannot apply a coupon and a discount to the same sale.
- You cannot apply a coupon to a sale with a custom charge.
- You can redeem coupons created with the Wix loyalty program or the Smile.io app.
To apply a discount to the cart:
- Tap Discounts.
- Select a discount option:
- Add a saved discount: Tap to select the relevant discount.
- Add a saved variable discount: Tap to select, enter the amount and tap Add.
- Create a discount just for this sale:
- Tap One-Time Discount.
- Select the Amount
 or percentage
  icon.
icon. - Enter the price or percentage.
- (Optional) Add a discount description.
Note: This does not appear on your customer's receipt.
- Tap Add.
To apply a coupon to the cart:
- Tap Actions.
- Select Redeem a Coupon.
- Select a coupon or type the coupon code.
- Tap Add to Cart.
Note:
- You cannot redeem Free Shipping coupons, expired coupons, or archived coupons.
- To learn more about troubleshooting coupons, click here.
Step 4 | (Optional) Take additional actions
Before you accept payment for the order, you can tap the
Actions button at the top right and select any of the following:
- Save Cart: Save the cart so you can return to it later.
- Attribute Sale to Team Member: By default, the sale (and tips added to the sale) go to the cashier. You can, however, attribute the sale to a different team member.
Step 5 | Accept payment and complete checkout
Accept cash payments or credit cards using your card reader. You can even accept payment from 2 or more payment methods (e.g. 2 credit cards).
Notes:
- Card readers accept all major credit cards and payments made through the following payment apps: Apple Pay, Android Pay, Samsung Pay, VISA Paywave, MasterCard PayPass, AMEX ExpressPay and Discover D-PAS.
- Canadian merchants: Interac processing fees are $0.15 CAD.
- You can hide payment options you don't use.
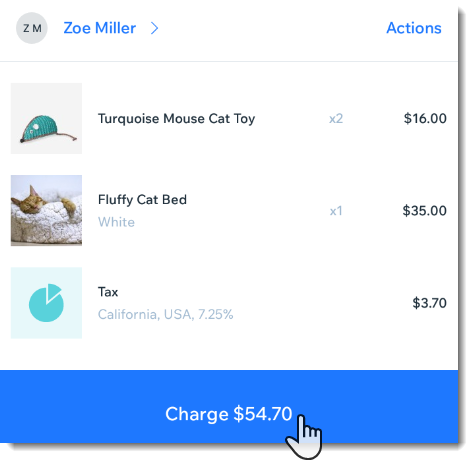
To accept payment:
- Tap Charge at the bottom right.
- Choose the relevant payment method:
Accept credit card payment
Accept cash payment
Accept payment by gift card
Manually enter credit card details
Accept split payment (more that one payment method)
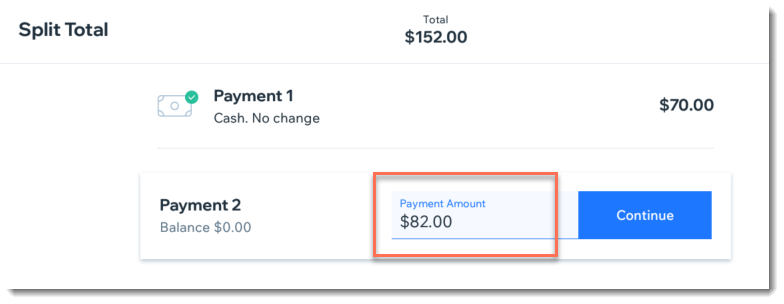
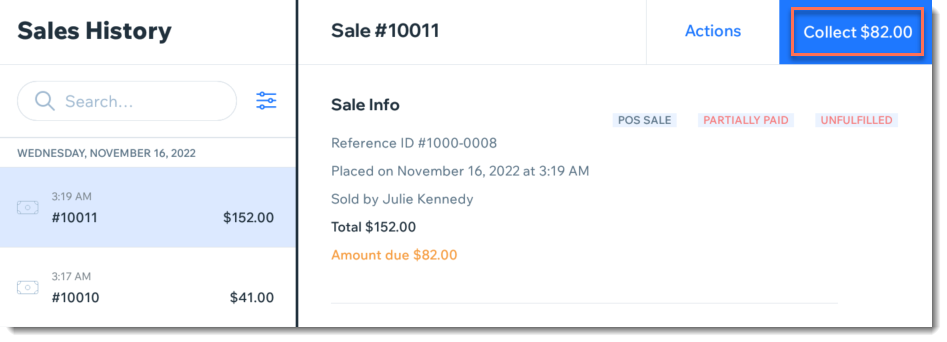
Accepting partial payment (deposit)
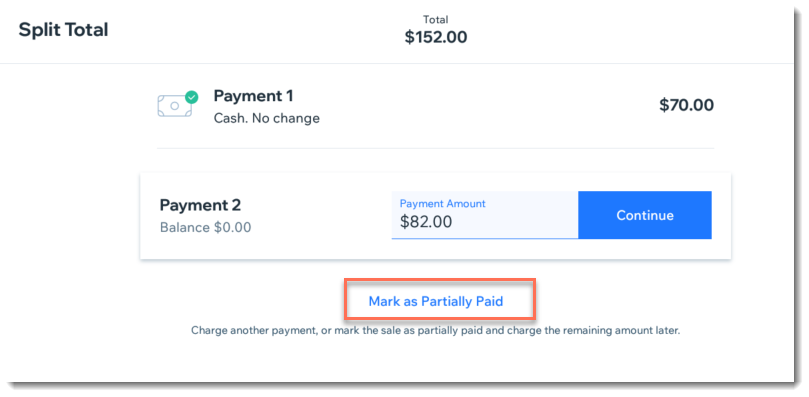
Accepting other types of payment
Redeem payment from a plan
After payment is completed, the service is added to your calendar. The service provider is set as the default staff member and the date is the current date. The time is added in the past since sessions are often paid for upon completion. This means that it you process the payment at 4:00 PM, it'll appear in the calendar as a 3:00 PM appointment. You can edit these details in the calendar.
FAQs
Click a question below to learn more:
Can I add tax to a completed POS sale?
Can I allow customers to leave a tip?
How can I save a cart?