

Wix Gift Cards: Adding and Setting Up Gift Cards
7 min
In this article
- Video tutorial
- Step 1 | Add Wix Gift Cards
- Step 2 | Customize your gift card settings
- Step 3 | Customize the email sent to gift card recipients
- Step 4 | Customize your site's gift card page
- Step 5 | Publish your site
- FAQs
Important:
Gift cards are currently available for Wix Stores, Wix Bookings, Wix Restaurants Orders (New), and Wix Events.
Increase sales and boost your brand by selling digital gift cards. They're a great way to get new customers and keep existing customers coming back again and again. If you sell any e-commerce products, you can add gift cards as an additional purchasing option.
Start by setting up your Wix Gift Cards in the dashboard - add the name, amounts, expiration policy, and customize the recipient email. Then, go to your editor to design the gift card page so it matches your site’s style. When you're ready, publish your site to let customers start buying gift cards.
Before you begin:
- Make sure to set your site currency before selling any gift cards. Switching currencies will prevent recipients with cards purchased in the old currency from redeeming them.
- Gift card use is subject to local laws. Be sure to follow local regulations.
Video tutorial
Watch the video walkthrough or read the full article below.
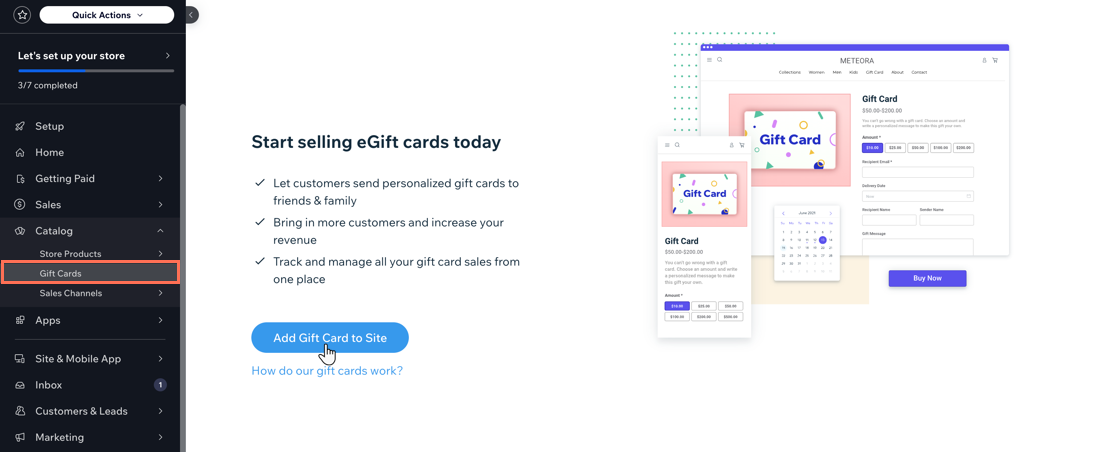
Step 1 | Add Wix Gift Cards
To get started, add the Wix Gift Cards app to your site from the Wix App Market. Some Wix apps (e.g. Wix Stores, Wix Bookings) automatically add the Gift Cards tab to your dashboard under the Catalog tab – in this case, you just need to activate the app.
Click an option below to learn more.
Add the app from the App Market
Activate the app
Step 2 | Customize your gift card settings
Your gift card comes already set up with a default gift card name, description, gift card amounts, a default expiration setting, and the following default gift card image:
You can customize any of these settings in your dashboard.
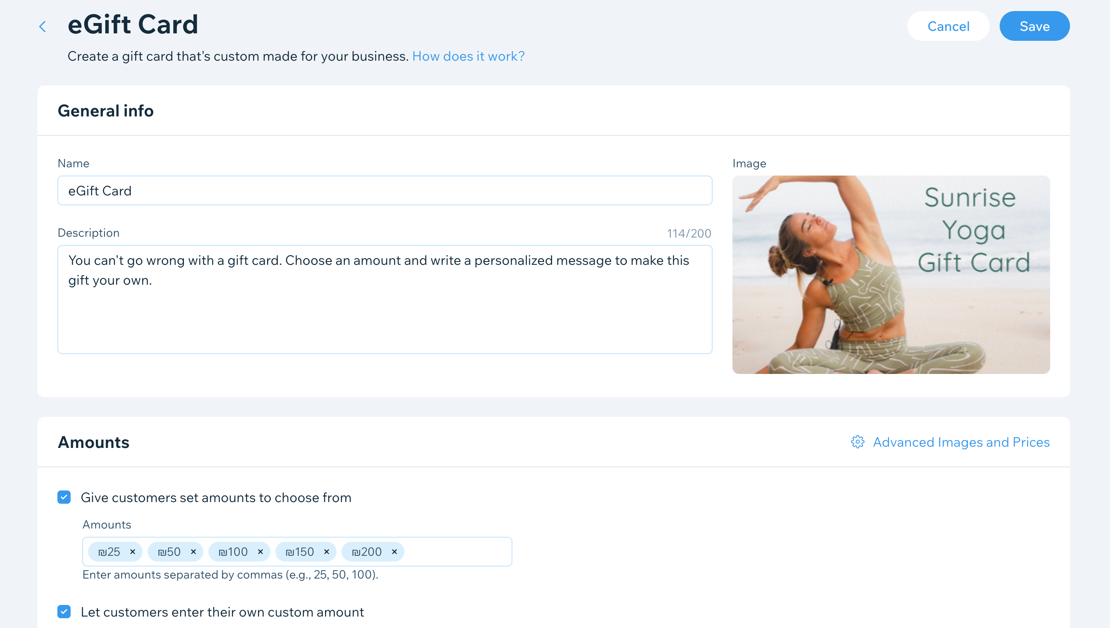
To customize your gift card settings:
- Go to Gift Cards in your site's dashboard.
- Click Edit Gift Card.
- Edit the gift card name and description.
- Change the image:
- Hover over the image and click the More Actions icon
 at the top right corner.
 - Select Change image.
- Upload a gift card image and click Add to Page.
Tip: You can use Wix Logo Maker to help design a gift card image.
- Hover over the image and click the More Actions icon
- Choose how you want customers to purchase gift cards:
- Give customers set amounts to choose from: Edit the preset gift card amounts that customers can purchase.
- Type the amount you want to add.
Tip: Type a comma after each entry. - Click the x next to any amount you want to remove.
- Type the amount you want to add.
- Let customers enter their own custom amount: Allow customers to enter a custom amount.
- (Optional) Enter a minimum and maximum amount.
- Sell gift cards at discounted prices.
- Give customers set amounts to choose from: Edit the preset gift card amounts that customers can purchase.
- Set an expiration policy:
- They never expire: The gift card has no expiration date.
- [x] months from the date of purchase: Enter the number of months the card can be used before it expires.
Important: Laws in some regions do not permit expiration dates for gift cards. Make sure to check your local regulations.
- Click Save.
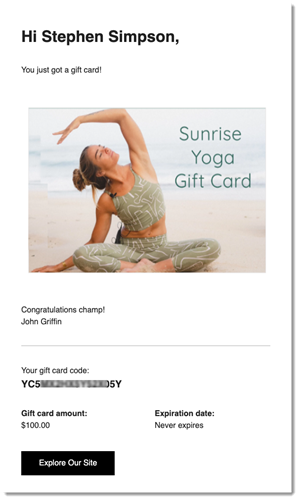
Step 3 | Customize the email sent to gift card recipients
When a customer purchases and sends a gift card, the recipient receives an email letting them know about it. This email includes important information such as their unique gift card code, amount, and expiration date.
You can customize the look of this email to align with your brand and site's design. Learn how to customize the email template.
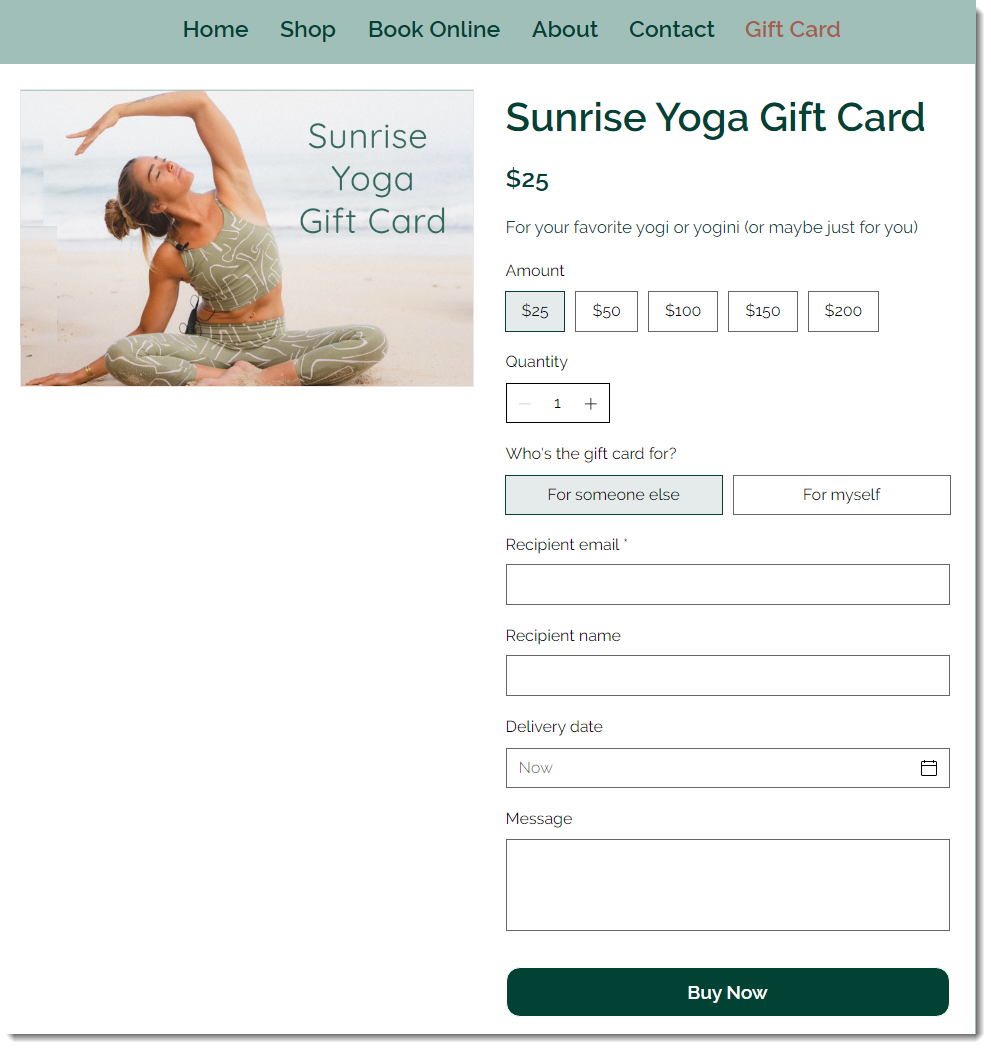
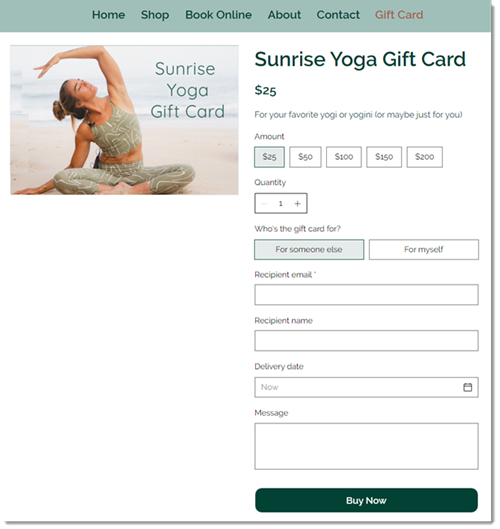
Step 4 | Customize your site's gift card page
Now head over to your editor to set up the gift card page. The gift card page is where customers can purchase gift cards.
You can customize the design of the page, such as font and colors, and also choose which functions to enable for customers, like adding a delivery date or direct purchase option. Learn how to customize the gift card page.
Step 5 | Publish your site
When you're ready to start selling gift cards, publish your site so customers can access the gift card page.
Important:
The option to enter a gift card code at checkout is automatically enabled. If you decide in the future to stop selling gift cards, do not disable the Gift cards toggle in your Checkout Settings. This action will prevent gift card holders from redeeming their cards and may be illegal in some regions.
FAQs
Click a question to learn more about Wix Gift Cards.
How do customers purchase my gift cards?
How do recipients redeem gift cards at checkout?

Can customers use gift cards to purchase subscriptions (e.g. pricing plans)?
Can the Wix gift card be redeemed in a brick and mortar business location?
Can I manually create a gift card without requiring a customer to purchase it?
What happens if the order total is more than the remaining gift card value?
What happens if the order total is less than the gift card value?
Can gift card holders check their balance?
How do I view gift card sales?

How do I stop selling new gift cards?
How are gift card sales calculated in Wix Analytics?
