

Wix POS Register: Managing Your Store's Staff
3 min
In this article
- Adding staff to your point of sale
- Setting personal passcodes
- Attributing a sale to a staff member
- Viewing your staff list
Important:
- This article is about the Wix POS Register for brick & mortar businesses.
- For info on using POS on a mobile device, click here.
If you have other people working for you, you can add them to your point of sale. Make sure to assign each one the appropriate level of permissions.
Adding staff to your point of sale
Important:
If you purchased your Wix POS Register system after October 25, 2023 and before April 2024, you may need an upgrade to add more than 2 staff members. Learn more
Invite new employees to your site so they have access to your point of sale.
When you do, you can assign staff members one of two preset roles: Cashier or Store Manager. Additionally, you can create a custom role with permissions you choose and assign that role to a staff member.
To add staff to your store and assign them a role:
- Go to Roles & Permissions in your site's dashboard.
- Click +Invite Collaborators.
- Enter your employee's email address.
Note: To invite more than one person, enter each email separated by a comma. - Select a role:
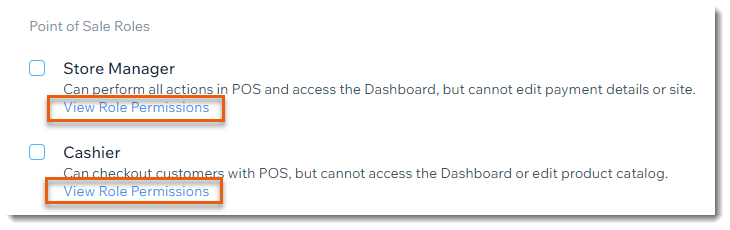
- Cashier: Cashiers can checkout customers, open the cash drawer, and manage contacts.
- Store Manager: Store managers have complete access to the POS tablet (including Wix Bookings services) and limited access to your site's dashboard.
- Custom Role: You can define exactly which parts of your business the staff member has access to. Learn More
Tip:
Click View Role Permissions for detailed information on permissions.
- Click Send Invite.
- Your new employee receives an email with the subject line You're Invited to Collaborate on a Website. Make sure they accept the invite by clicking Accept Now. Learn More
Tip:
After adding staff members to your business, you can use the POS tablet to track staff hours.
Setting personal passcodes
After a new employee joins your team, they must create a unique 4-digit passcode to unlock the app and use it.
To create a passcode:
- Open the POS tablet.
- Tap the Menu icon
 at the bottom left.
 - Tap Settings.
- Tap Roles & Permissions.
- Tap Login the POS next to the relevant employee.
- Let the employee log into their Wix account.
- Let your employee enter their name and the 4-digit passcode they want.
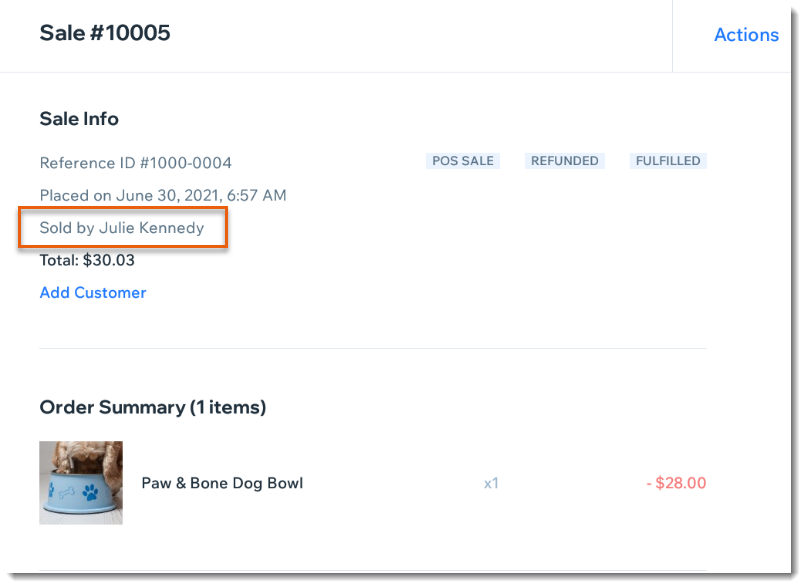
After the code is set up, sales and other actions performed by a staff member are logged under their name.
Need to reset a passcode?
You can always reset it through the Roles & Permissions tab in the POS tablet. Tap Edit next to the relevant employee and Change Passcode, then enter the new passcode twice.
Attributing a sale to a staff member
By default, each sale is attributed to whoever is checking out the customer. You can, however, select another staff member during checkout.
To attribute a sale to a staff member:
- Open the POS tablet.
- Tap Checkout on the bottom bar.
- Start processing a sale.
- Tap Actions at the top right.
- Select Attribute sale to team member.
- Select a team member.
Viewing your staff list
You can view your staff list from the POS app's Roles & Permissions settings and make any necessary updates.
To view your staff list:
- Open the POS tablet.
- Tap the Menu icon at the bottom left.
- Tap Settings.
- Tap Roles & Permissions.
