

Wix Analytics: Creating and Managing Alerts
8 min
In this article
- Creating and managing custom alerts
- Managing preset alerts
- FAQs
Stay on top of important site data and activity with Wix Analytics alerts. These alerts help you monitor trends and shifts, so you can respond quickly to changes and plan your next steps effectively.
There are three types of emails you can receive to stay informed on key site activity:
- Custom alerts: Alerts that you set up based on stats you want to monitor (e.g. site sessions, total sales). The stats you can monitor depend on the Wix business apps you installed.
- Preset alerts: Pre-installed alerts that we send you automatically if there are significant changes in daily or weekly traffic or sales data.
- Reports and overviews: Recurring emails that you get when subscribing to an Analytics report or overview. Learn more about this type of email.

Note:
- When managing your alerts, you'll be directed to Wix Automations in your site's dashboard.
- Analytics notifications will only be triggered after your site has generated enough data to run the algorithm.
Creating and managing custom alerts
Create and manage custom alerts to stay updated on key changes in your site’s data. Set up alerts for specific stats, decide when they’re sent, and share them with stakeholders.
To create and manage custom alerts:
- Go to Analytics Highlights in your site's dashboard.
- Click Alerts and Emails at the top right.
- Choose what you want to do:
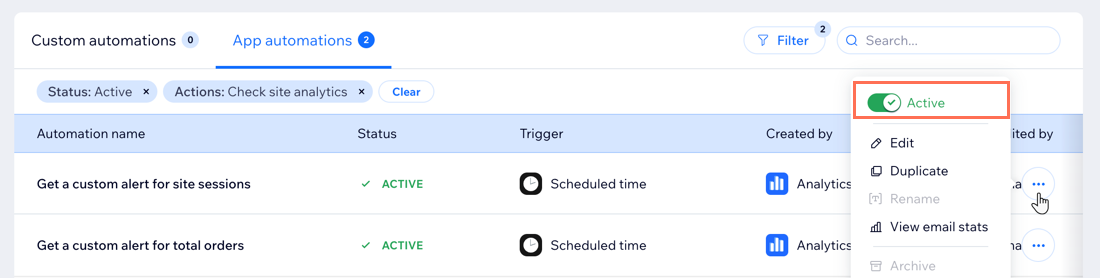
Create a custom alert

Edit an alert's sending time
 next to the relevant alert.
Add email recipients

Disable an alert
Editing a custom alert's conditions:
If you want to edit a custom alert, for example to change the stat it tracks or the alert frequency, we recommend deactivating the custom alert and creating a new one instead.
Managing preset alerts
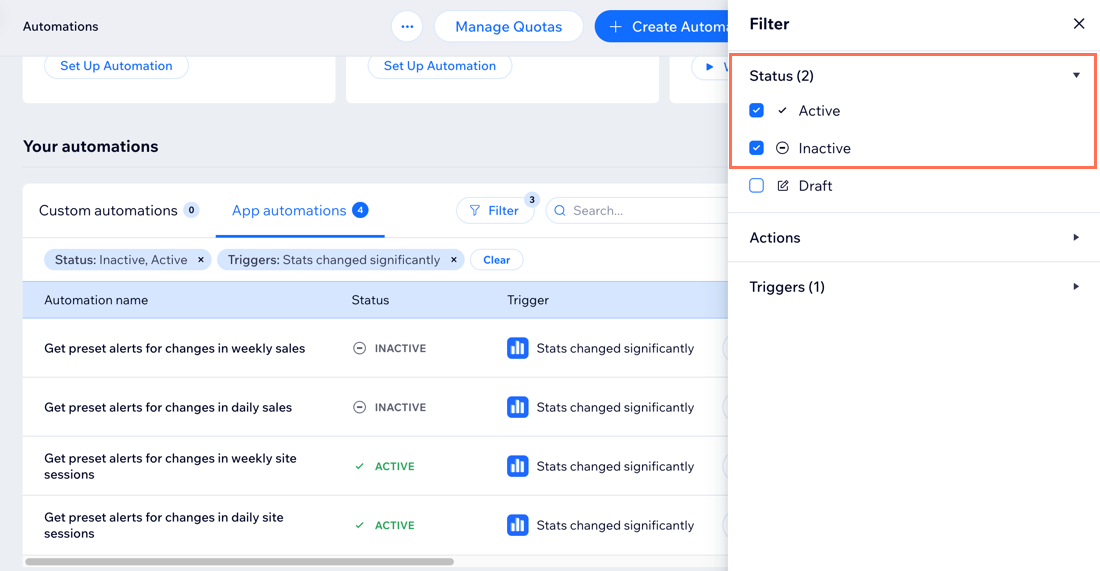
Preset alerts are pre-installed alerts that automatically trigger when there’s a significant change in your traffic or sales data. There are 4 types of preset alerts: daily site sessions, daily total sales, weekly site sessions, and weekly total sales.
While these alerts can't be edited or deleted, you can add recipients or deactivate them as needed.
To manage your preset alerts:
- Go to Analytics Highlights in your site's dashboard.
- Click Alerts and Emails at the top right.
- Choose what to do:
Add email recipients

Disable a preset alert

Subscribed to Analytics reports and overviews?
Wix Analytics sends you emails with periodic reports for Analytics reports and overviews that you're subscribed to. You can edit your subscription, edit email recipients, unsubscribe from reports, and more. Learn more about managing report and overview emails.
FAQs
Click a question to learn more about Wix Analytics alerts and emails.
Where can I manage all my Wix notifications?
How does Wix Analytics determine when to send out alert notifications for preset alerts?
How do I see all my active and deactivated Analytics alerts?
I'm getting a Monthly Highlights email. What is it and why am I getting it?
Who does the Monthly Highlights email get sent to?
I can't find my Monthly Highlights email. What should I do?
How do I change the site's name showing in the subject of the Monthly Highlights email?
