

Studio Editor: Adding and Customizing Text
7 min
In this article
- Adding text
- Designing and formatting text
- Changing the bullet or numbering color
The Studio Editor makes it easy to add text that looks great on every screen. There are various types of text elements you can use for your content, all fully customizable and already responsive.

Adding text
Add new text elements from the Add Elements panel, on the left side of the Studio Editor. There are several different types of elements you can add, depending on the content you want to show.
To add text:
- Click Add Elements
 on the left side of the editor.
 - Click Text.
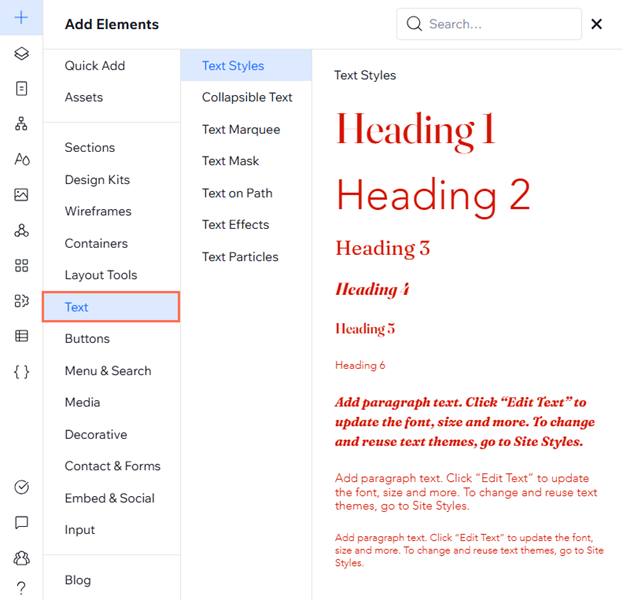
- Drag a text element on to your page:
- Text Styles: These are titles and paragraphs that match your site's theme, as defined in the Site Styles panel
 .
. - Collapsible Text: These elements are great for long text – some of the text is hidden, so it's easier to read. You can choose whether visitors either click a link to view the full text, or a button to expand it on the current page.
- Text Marquee: Enhance user engagement effortlessly with this scrolling text element. It instantly grabs attention, showcases content dynamically, and requires no coding.
- Text Mask: These elements are perfect for short pieces of text that should stand out. The background (fill) of your text is either an image, a video or a gradient, so it's much more noticeable and attention-grabbing.
- Text Effects: These pre-designed effects can help you draw attention to titles and statements. Customize the effect to be as bold or subtle as the design calls for.
- Text on Path: Shape text along custom paths like curves, circles, or any SVG shape you want to upload. This element opens up endless creative possibilities for dynamic typography.
- Text Styles: These are titles and paragraphs that match your site's theme, as defined in the Site Styles panel
- Click Edit Text and type your text.
Spell check:
The Studio Editor uses your browser's spell check whenever you add text to a site. You don't need to enable it, simply start typing inside a text element to see it in action. If you can't see spell check working, make sure it is enabled in your browser.
Designing and formatting text
Formatting helps to organize your text for clearer communication. Align, bullet or number your text to keep it neat. Make the text bold, italicized, underlined or highlighted so it stands out. You can format and style your text differently per breakpoint so it looks ideal for every screen.
To format your text:
- Select the relevant text element in the editor.
Tip: Hold the Shift key on your keyboard to format multiple text elements at once. - Click the Open Inspector icon
 at the top right of the editor.
- (In the Inspector) Format your text using the available tools:
Style
Font
Responsive behavior and font size
Spacing, color, and styles

Alignment and formatting
Capitalization, orientation, and shadow
 , Upper case
  , Title case
  , or Lower case
  .
.  or vertically
  .
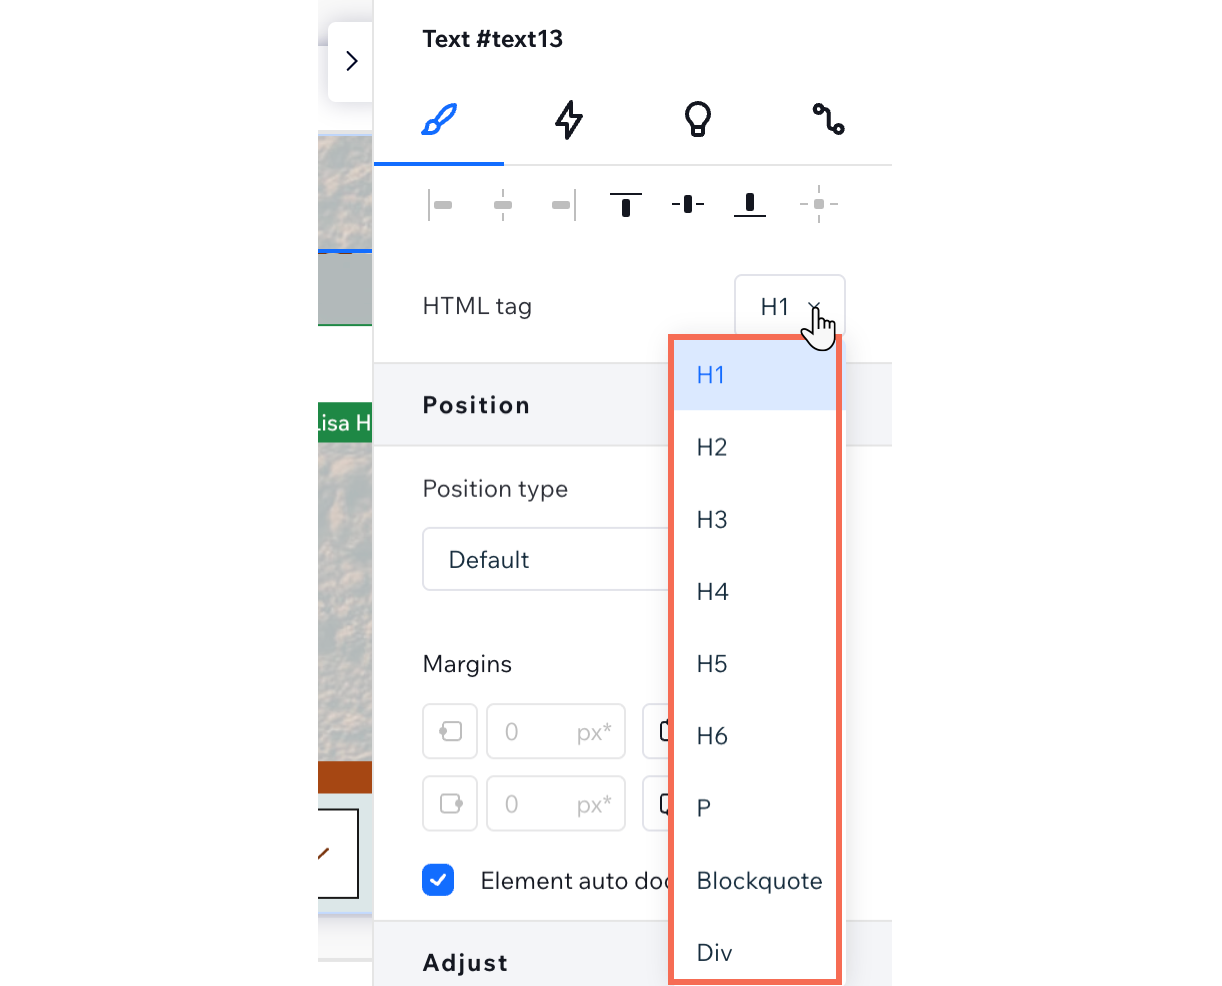
.HTML tag
Hyperlink the text:
Select a text element and click the Link icon  . You can redirect visitors to other parts of the site, an external web address, a phone number or an email. It can even open a popup, which you can tailor to any purpose.
. You can redirect visitors to other parts of the site, an external web address, a phone number or an email. It can even open a popup, which you can tailor to any purpose.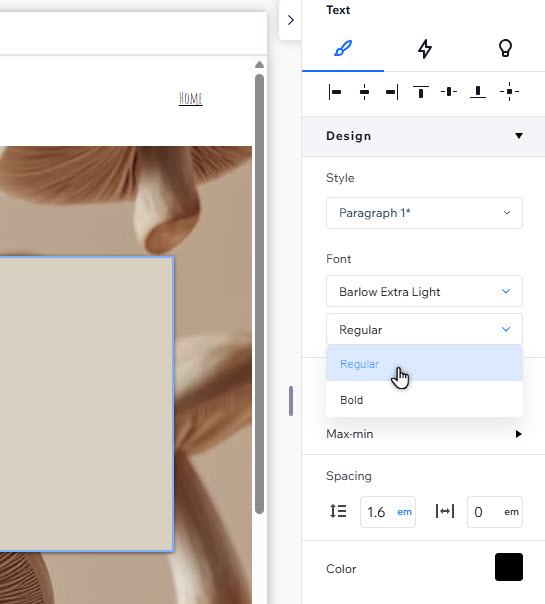
Changing the bullet or numbering color
Make your lists more interesting by choosing one color for the text, and a different one for the bullet points or numbering.
To change the color of your bullet points or numbers:
- Select the relevant text element in the editor.
- Click Edit Text.
- Choose a color for your bullets or numbers:
- Highlight the entire text inside the text box (including any bullets or numbers).
- Select the color you want.
Note: At this point, the entire text changes to the selected color.
- Choose a different color for the text:
- Highlight the relevant text (without its bullet / number).
- Select the color you want.
Note: The text changes to the new color, but the bullet or number stays the color you chose in step 3.
