Studio Editor: Using Popups
7 min
In this article
- Adding a popup
- Customizing a popup
- Setting triggers for a popup
- Setting a schedule for a popup
- Linking elements to a popup
- Managing a popup
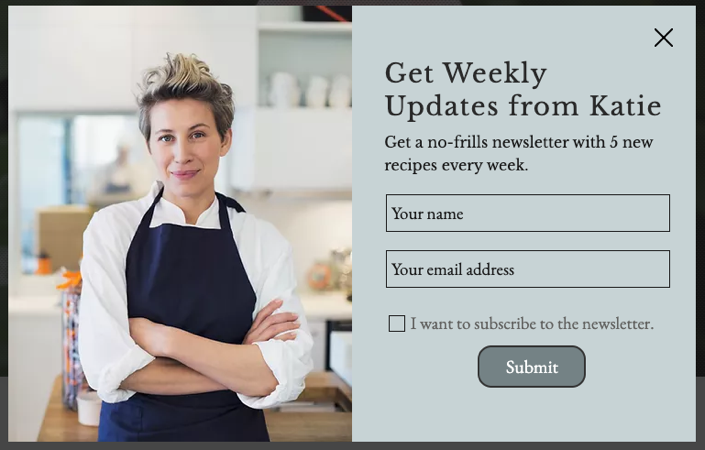
Popups are windows that appear on the live site that you can customize to your needs. Design the window and add the elements you want, then choose when it appears to site visitors.
You can also link elements, like text, buttons or images, so clicking them opens the popup. This is a great way to increase the exposure for time sensitive information, sales or promotions.
Adding a popup
Add a popup to your client's site to start setting up announcements for their visitors and customers.
To add a popup:
- Go to your editor.
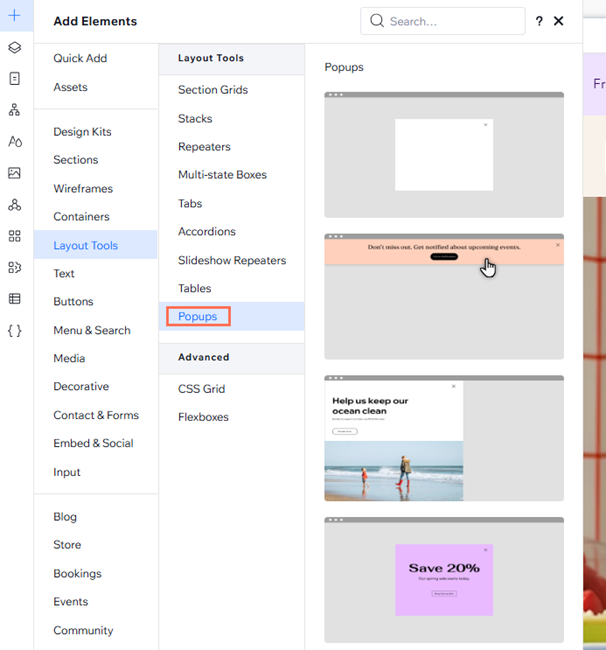
- Click Add Elements
 on the left side of the editor.
 - Click Layout Tools.
- Click Popups.
- Select the popup you want to add.
Customizing a popup
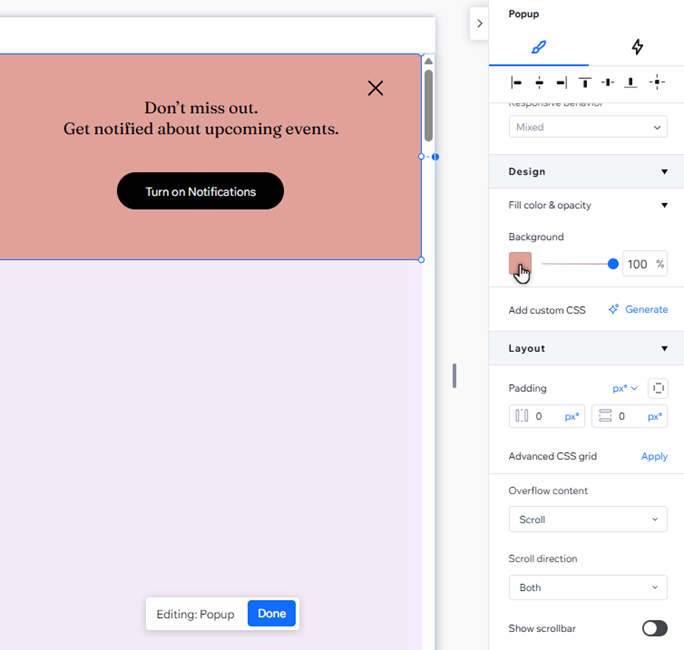
Customize the popup to match the rest of the site. Add any elements you need, then change the background color and decide on its opacity.
To customize a popup:
- Go to your editor.
- Click Pages
 on the left side of the editor.
 - Select the relevant popup under Popups.
- Click the popup on the canvas.
- Choose how to customize the popup:
Add elements
Design the background
 at the top right of the editor.
Add the option to scroll inside the popup
Set up the overlay around the popup
5. When ready, click Done at the bottom to exit Editing mode.
What's next?
Preview the site to see the popup in action.
Setting triggers for a popup
Choose how and when the popup appears. You can set it to appear automatically on specific site pages or link it to an element (e.g. text, image). You can also decide how visitors close the popup after viewing it.
Note:
The popup is displayed once per visitor, on the first relevant page they see (in case it's set to appear on multiple pages).
To set up triggers:
- Go to your editor.
- Click Pages on the left side of the editor.
- Select the relevant popup under Popups.
- Click the popup on the canvas.
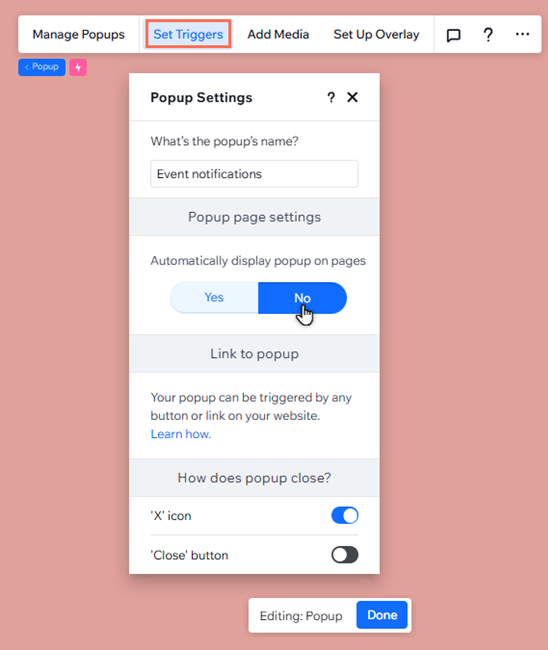
- Click Set Triggers.
- Select the relevant option under Automatically display popup on Pages:
- Yes: The popup automatically appears when visitors enter the relevant pages.
- Click under Which pages is it on? to select the relevant page(s).
- Drag the Delay slider to set how long (in seconds) it takes the popup to appear once the page loads.
- No: The popup does not appear when visitors enter a page. Instead, it's triggered by a button or a link you choose.
- Yes: The popup automatically appears when visitors enter the relevant pages.
- Enable the relevant toggle(s) under How does the popup close?.
Note: If you disable both the 'X' icon and 'Close' button, visitors can click outside of the popup to close it. - When ready, click Done to exit Editing mode.
Note:
Currently, it is not possible to show more than 1 popup per page. If you try selecting a page that already has a popup, the option will be disabled. Vote for multiple popups per page.
Setting a schedule for a popup
Choose when site visitors see the popup. If you're promoting a limited-time offer, for example, this ensures the popup only appears in the relevant time frame.
Important:
This option is only available if you set the popup to automatically display on pages.
To set the popup schedule:
- Go to your editor.
- Click Pages on the left side of the editor.
- Select the relevant popup under Popups.
- Click the popup on the canvas.
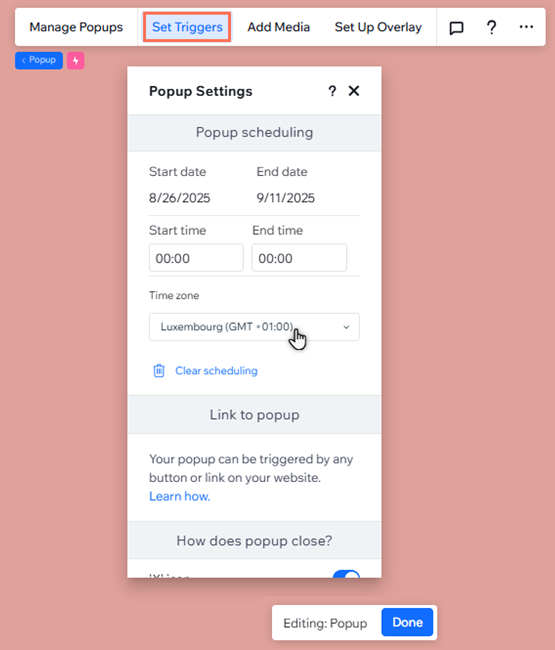
- Click Set Triggers.
- Scroll down to Popup scheduling and click + Set schedule.
- Set the start date and time and the end date and time.
Tip: Make sure the correct time zone is set. If not, you can change it.
Linking elements to a popup
Link elements on the site to open a popup, so visitors never miss an announcement. You can link elements like text, images, videos and buttons.
To link an element to a popup:
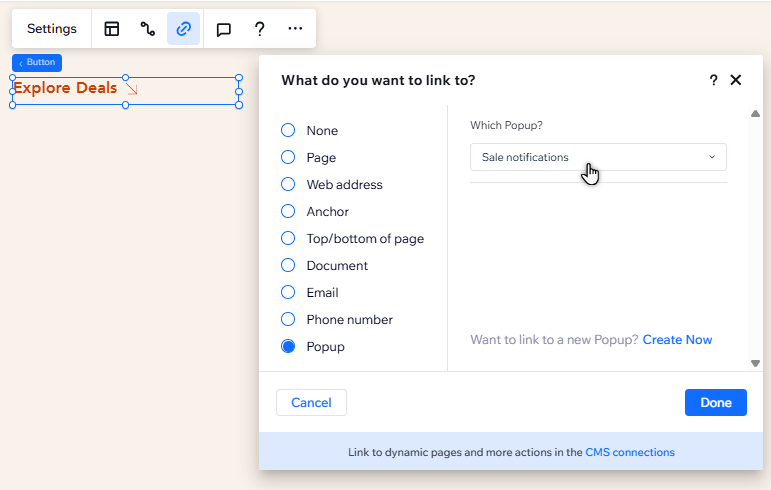
- Click the relevant element in your editor.
- Click the Link icon
 .
. - Select Popup on the left.
- Click the Which Popup? drop-down and select the relevant popup.
- Click Done.
Managing a popup
Manage the site's popups to keep them organized in the editor. You can rename them so they are easy to find, duplicate them to save time and delete any outdated popups.
To manage a popup:
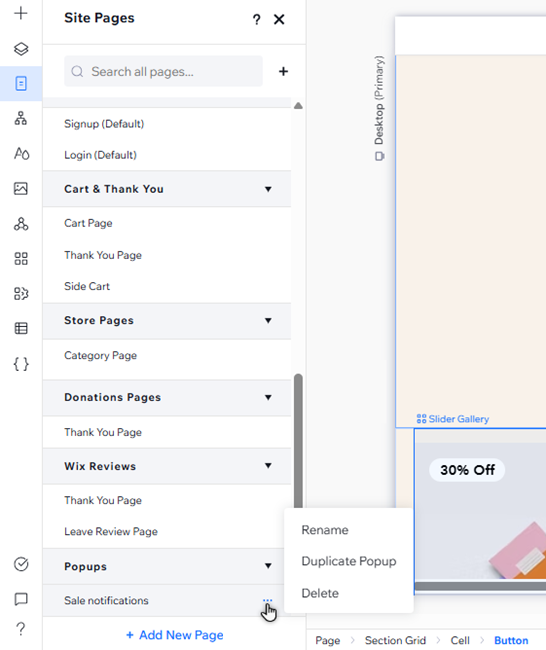
- Click Pages on the left side of the editor.
- Click the More Actions icon
 next to the relevant popup.
 - Choose what to do next:
Rename a popup
Duplicate a popup
Delete a popup