

Studio Editor: Adding and Customizing Text Marquee
4 min
In this article
- Adding text marquee
- Designing the text marquee element
Enhance user engagement effortlessly with text marquee—a running text element that instantly grabs attention, showcases content dynamically, and requires no coding.

Good to know:
- The text and the design settings you choose automatically apply to all breakpoints.
- Visitors can pause / play the effect on the live site by clicking the text. This option is automatically enabled, and cannot be switched off.
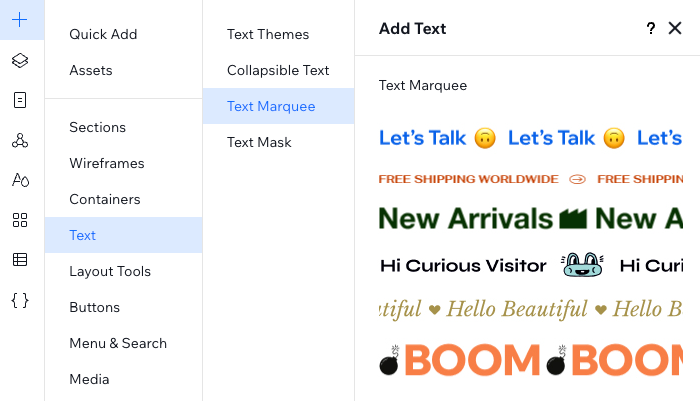
Adding text marquee
Head over to the Add Elements panel to add a new text marquee element to your client's site. After selecting a design, enter your text.
Note:
You can enter up to 450 characters.
To add text marquee:
- Click Add Elements
 on the left side of the editor.
 - Click Text.
- Click Text Marquee.
- Drag a design you like onto your page.
- Enter your text:
- Click Change Text.
- Enter your text under Add your own text.
Tip:
You can add emojis to your marquee text using the relevant keyboard shortcut:
- PC: Windows logo key + .
- Mac: Control + Command + Space
Designing the text marquee element
Customize the way the text marquee looks and moves. Change the text formatting, capitalization and spacing to meet your needs. Fine-tune it even more by adjusting the separator icon, speed and direction.
Tip:
Click the Stretch icon  on the element to make it full width.
on the element to make it full width.To design the text marquee element:
- Select the relevant text marquee element.
- Click the Open Inspector icon
 at the top right of the editor.

- Customize your text marquee using the available options under Design:
Text

Separator
 to change the shape. You can choose from many different designs in the Media Manager, or upload your own SVG.
 to delete the separator.
Movement


