Studio Editor: Adding and Customizing Text on Path
5 min
In this article
- Adding a text on path element
- Customizing the path and movement
- Formatting the text
Add flair to your designs with a text on path element, customizable to fit any creative vision. Choose from preset path shapes or upload your own, and apply a colorful background with adjustable thickness and edges. You can apply movement to the text while customizing its speed and direction to make the element as engaging as it can be.
Adding a text on path element
Head over to the Add Elements panel to add a new text on path element. Select a design you like, drag it onto the page and change the text to whatever this element should say. You can always customize the path shape, movement and design later.
To add text on path:
- Go to your editor.
- Click Add Elements
 on the left side of the editor.
 - Click Text.
- Click Text on Path.
- Drag the desired design onto the page.
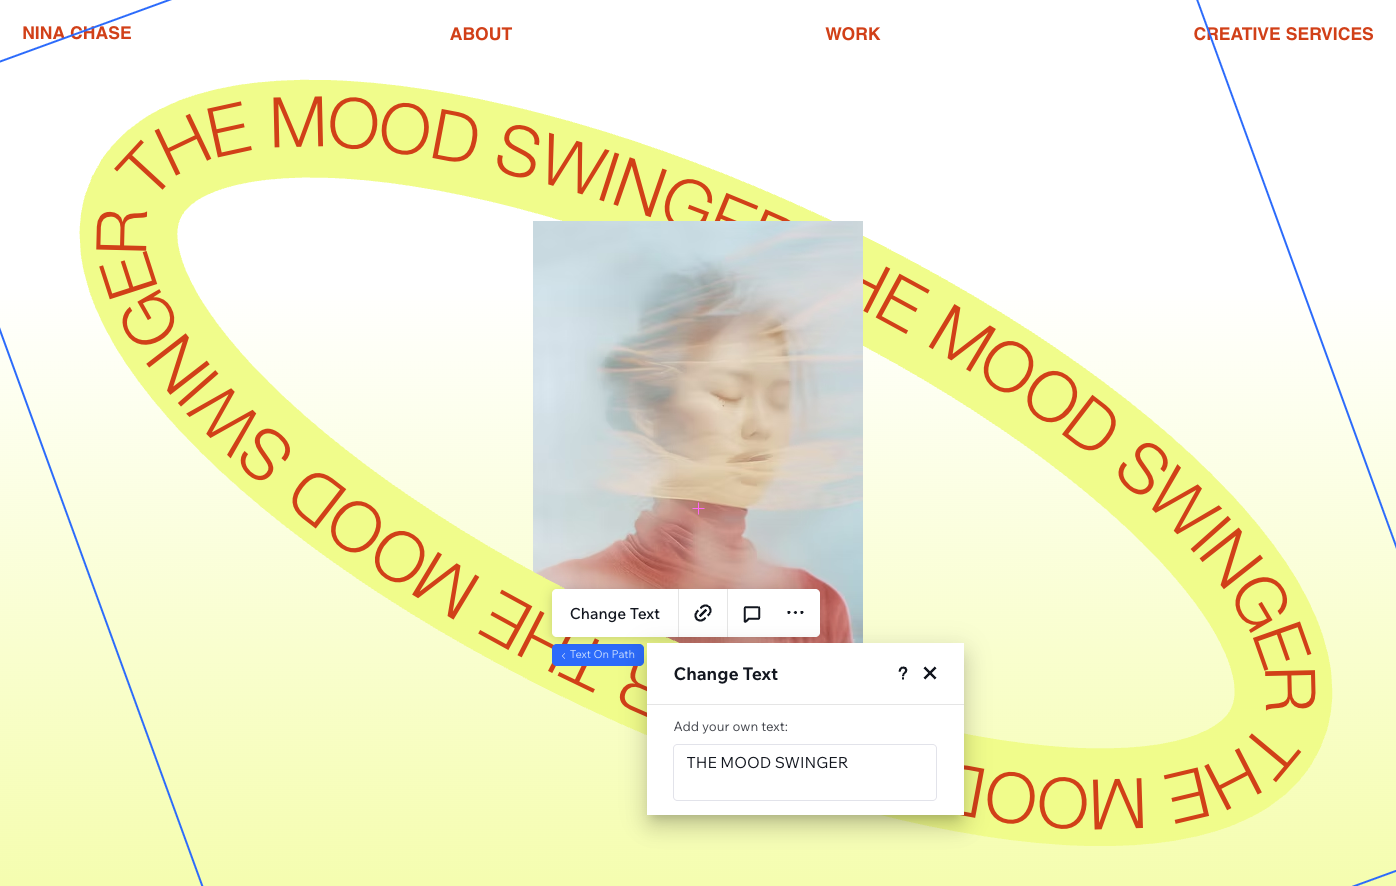
- Change the text:
- Select the text on path element.
- Click Change Text.
- Enter the text you want to appear.
Customizing the path and movement
Design your text on path element in the Inspector panel. Choose a path that reflects your design vision by selecting a preset or uploading a custom shape. Add a background to your path with customizable thickness, color, and edge styles to make it stand out.
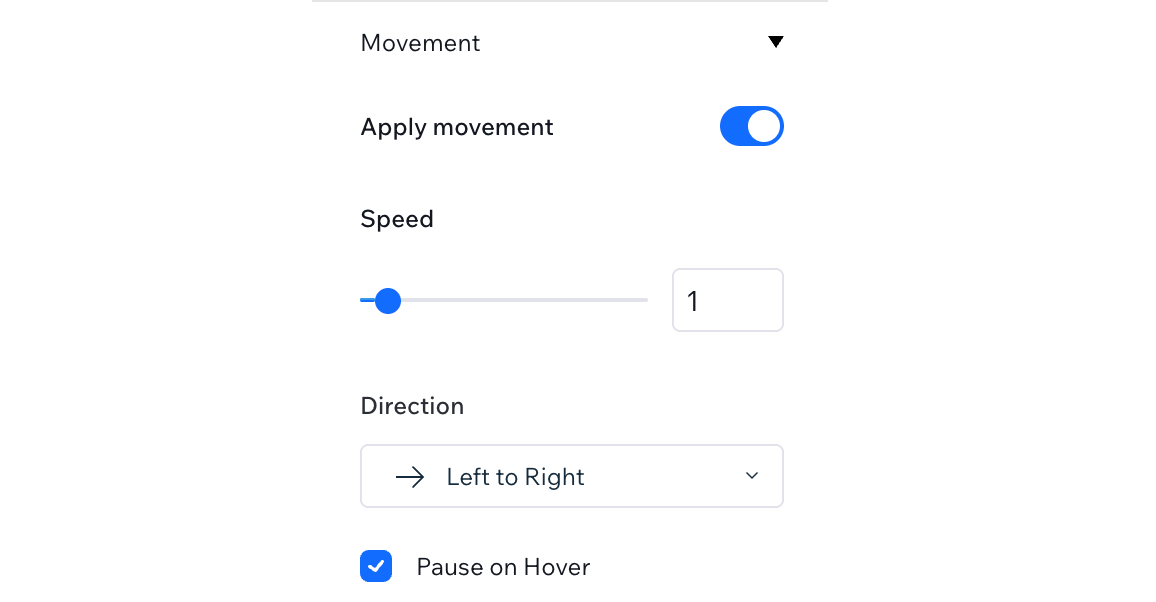
You can also add movement to the text, controlling its speed, direction, and hover behavior for an interactive and eye-catching effect.
To customize the path and movement:
- Go to your editor.
- Select the text on path element.
- Click the Open Inspector icon
 at the top right of the editor.

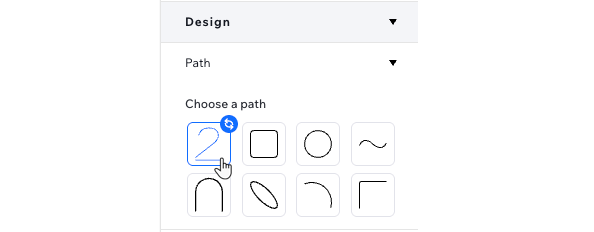
- Under Design, choose how to customize the element:
Choose a different path (preset or your own)
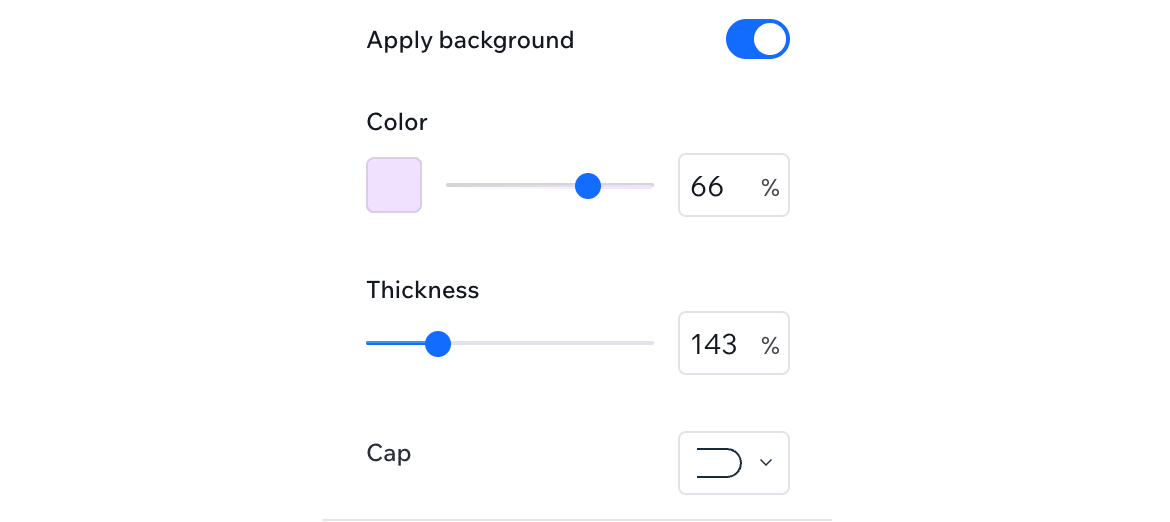
Apply background
Control the movement
Formatting the text
Adjust the font, spacing, alignment, and other formatting settings to ensure your design fits seamlessly into your client’s site.
To adjust the text formatting:
- Go to your editor.
- Select the text on path element.
- Click the Open Inspector icon at the top right of the editor.
- Click Text under Design.
- Adjust the available formatting settings:
- Change the font, color and size. You can also make the text bold or italics.
- Choose how the text fills the path under Text Mode – Fill, Regular or Repeat.
Tip: When the mode is set to Regular, you can decide where the text appears on the path using the Offset slider. - Switch the Capitalization style (e.g. all capital letters, all lowercase, etc.)
- Change the Orientation to 'Top' to make the text face outward along the curve, or 'Bottom' to flip the text inward toward the center of the curve.
Accessibility tip:
If this text on path element is purely decorative, meaning it does not include important information for screen readers, select the checkbox next to Decorative.