


Studio Editor: Adding and Customizing Text Masks
In this article
- Adding a text mask element
- Changing the text on a text mask
- Designing a text mask element
Text masks are a great tool for short pieces of text intended to grab visitors' attention. You can set the text background (fill) to an image, a video or a gradient, so it's much more noticeable on the page.
Go to our
Wix Studio Academy to check out additional Wix Studio webinars, tutorials, and courses.
Adding a text mask element
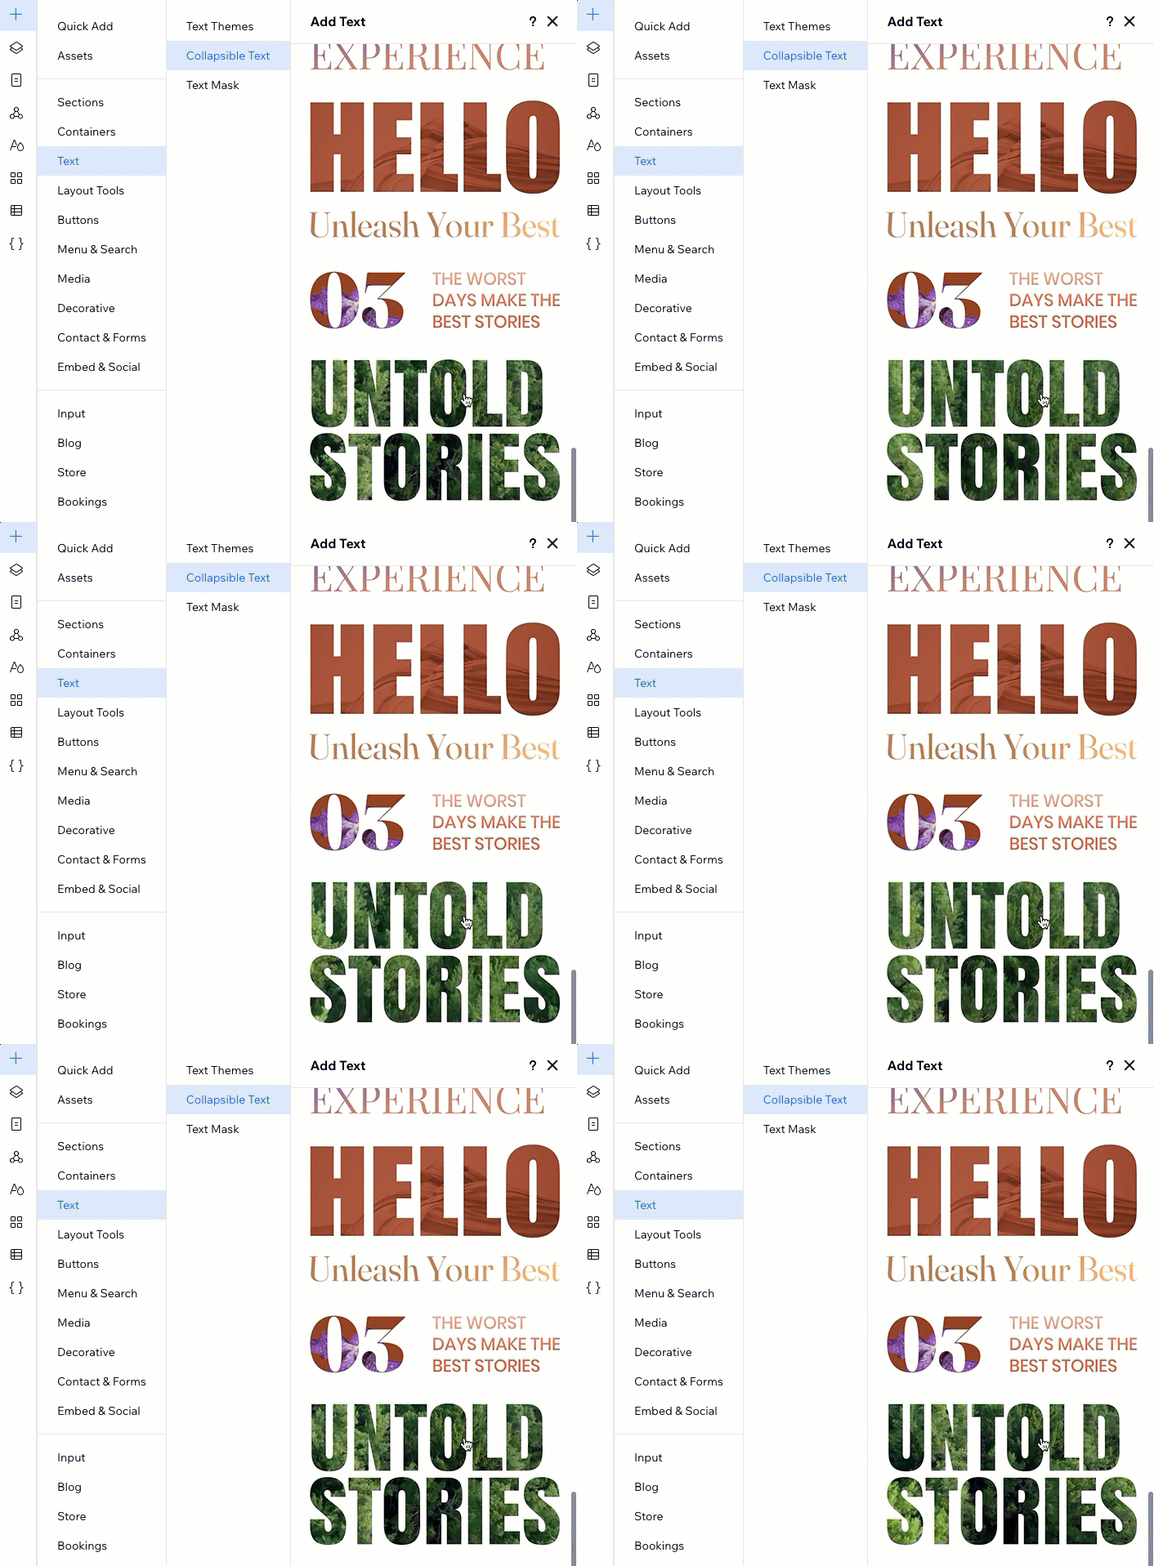
Head over to the Add Elements panel to add a new text mask element. Choose a design you like and drag it onto the page - you can fully customize it later, from the Inspector panel.
Best practice:
We recommend adding up to 10 text masks per page, to ensure the best site performance on mobile.
To add a text mask:
- Click Add Elements
 on the left side of the editor.
 - Click Text.
- Click Text Mask.
- Drag a text mask design you like onto the page.
Tip: Some of our designs include a video background. Hover over a design in the panel to see it in action. - Enter the text that should appear on this element:
- Click the new text mask you just added.
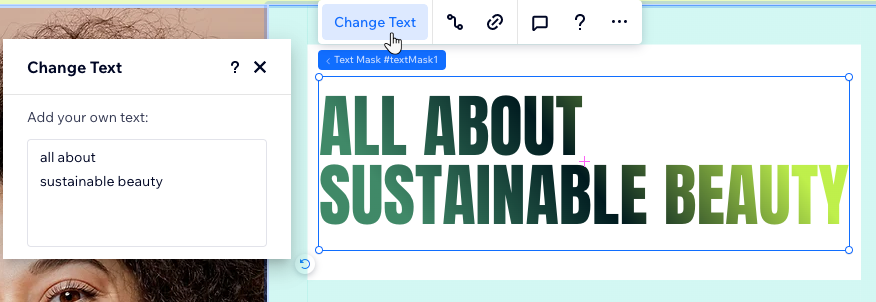
- Click Change Text.
- Enter the text you want to appear.
Changing the text on a text mask
Edit the text that appears on the text mask at any point. Using the Enter key on your keyboard, you can create the amount of rows you need for the text.
To change the text on a text mask:
- Select the text mask element in the editor.
- Click Change Text.
- Enter the text under Add your own text.
Tip:
Control the capitalization of the text from the Inspector panel. For example, you can make the entire text uppercase or lowercase (see "Designing a text mask element" below).
Designing a text mask element
From the
Inspector panel, you can adjust the existing design of the text mask or create one from scratch, based on your needs. You can add an interesting media / gradient fill, change the spacing between letters and rows, and much more.
To design a text mask:
- Select the text mask element in the editor.
- Click the Open Inspector icon
 at the top right of the editor.

- Under Design, choose how you want to design the text mask:
Set an image or video fill

Set a gradient background

 at the top.
  at the top.
Format and align the text
 and characters
  .
.Change the text capitalization
 : The entire text appears in capital letters.
 : The first letter of each word is a capital letter.
 : The entire text appears in small letters.
 : The capitalization goes by the text you enter in the Change Text panel.