

Front Desk Agent: Adding and Setting Up the Front Desk Agent
3 min
In this article
- Step 1 | Onboard the Front Desk Agent
- Step 2 | Access the Front Desk Agent dashboard
- FAQs
Get started using the Front Desk Agent, Juno, your proactive assistant that manages and improves customer engagement. Juno instantly recommends actions to increase engagement, organizes messages by priority and drafts responses, and provides cross-channel business insights.
Follow these steps to add and set up Juno so you can focus on growing your business, while your customer communication runs smarter and smoother in the background.
Before you begin:
Make sure your site is published and you have connected the relevant communication channels, with incoming messages in your Inbox.
Step 1 | Onboard the Front Desk Agent
Begin by onboarding the Front Desk Agent to your site. Juno scans your site and reviews past conversations with customers, so that it can answer visitors' questions more accurately using your site data and gather insights.
To onboard the Front Desk Agent:
Dashboard
Wix app
- Go to the Front Desk Agent in your site's dashboard.
- Click Let's Get Started.
Note:
It may take a few minutes until Juno is done scanning your site.

Step 2 | Access the Front Desk Agent dashboard
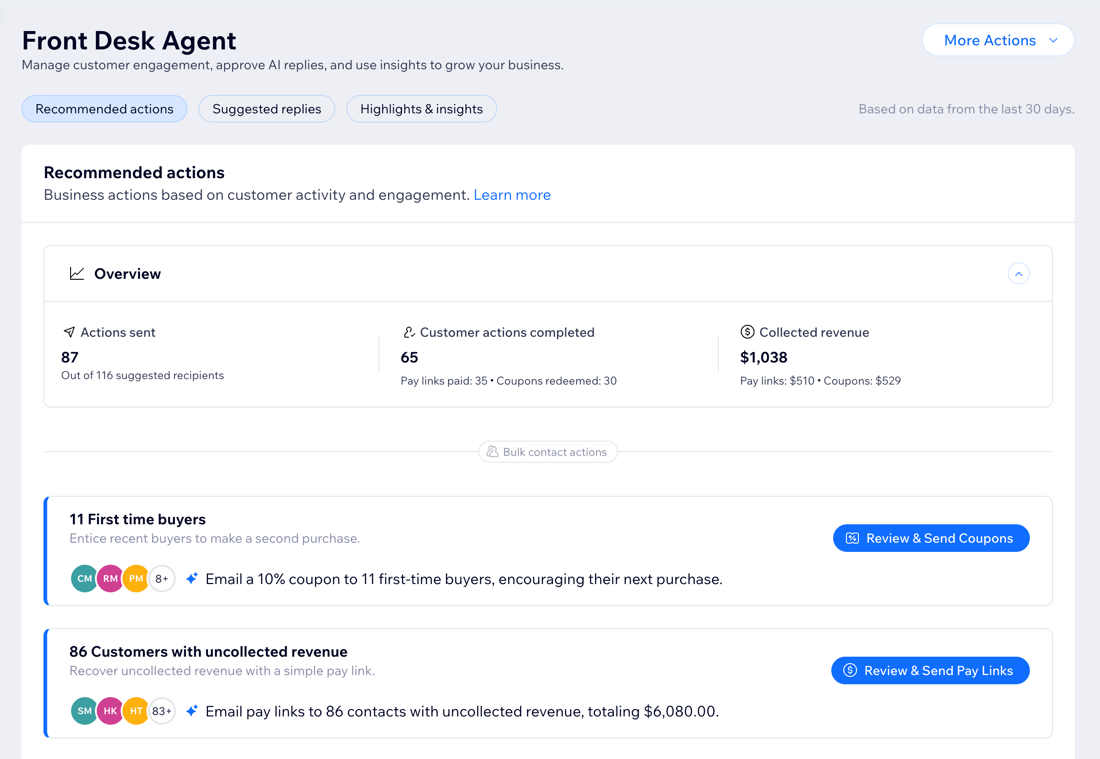
Once you've initially onboarded the Front Desk Agent, you're transferred to the dashboard. This is where you manage your communications with site visitors, customize your agent's tone and voice, and more.
Note:
The first time you enter the dashboard, it will show your conversations from the last 30 days. If you have older messages, head over to your Inbox to respond.
In the dashboard you can do the following:
- Get a full view of your customer activity: Review recommended actions, manage AI-generated communications, and track key trends in customer queries.
- Chat with Juno: Get a summary of your open conversations, ask any question about your contacts, manage your Front Desk Agent settings, and more.
- Customize your settings: Adjust the agent's tone and voice when replying to conversations, create training rules to improve the agent's accuracy, and add priority guidelines.
FAQs
Click a question below to learn more.
Who can access the Front Desk Agent dashboard?
How can I connect more communication channels?
