

AI Marketing Agent: Adding and Setting Up the AI Marketing Agent
7 min
In this article
- Step 1 | Onboard the AI Marketing Agent
- Step 2 | Set up the AI Marketing Agent dashboard
- FAQs
Use AI to boost your marketing efforts and drive business growth. The AI Marketing Agent allows you to optimize and automate tasks for SEO, social media marketing, email marketing, and paid ads all from one place, saving you valuable time and resources.
This tool makes personalized marketing plans for your approval and assists with choosing keywords, writing optimized blog posts, sending email campaigns, coming up with social media strategies, and more.

Before you begin:
To use the AI Marketing Agent, you need AI credits. The AI Marketing Agent uses AI credits to create content and optimize your site. All new Wix Premium plans include AI credits, and free plans receive 30 daily credits (up to 120 per month). Onboarding is free and doesn't use credits.
Step 1 | Onboard the AI Marketing Agent
Begin by onboarding the AI Marketing Agent to your site. The marketing agent analyzes the unique data of your site and creates a marketing plan that includes your business goal, brand voice, key words, and more. Then, decide which marketing services you want to activate.
To onboard the AI marketing agent:
- Go to the AI Marketing Agent in your site's dashboard.
- Click Let’s Get Started.
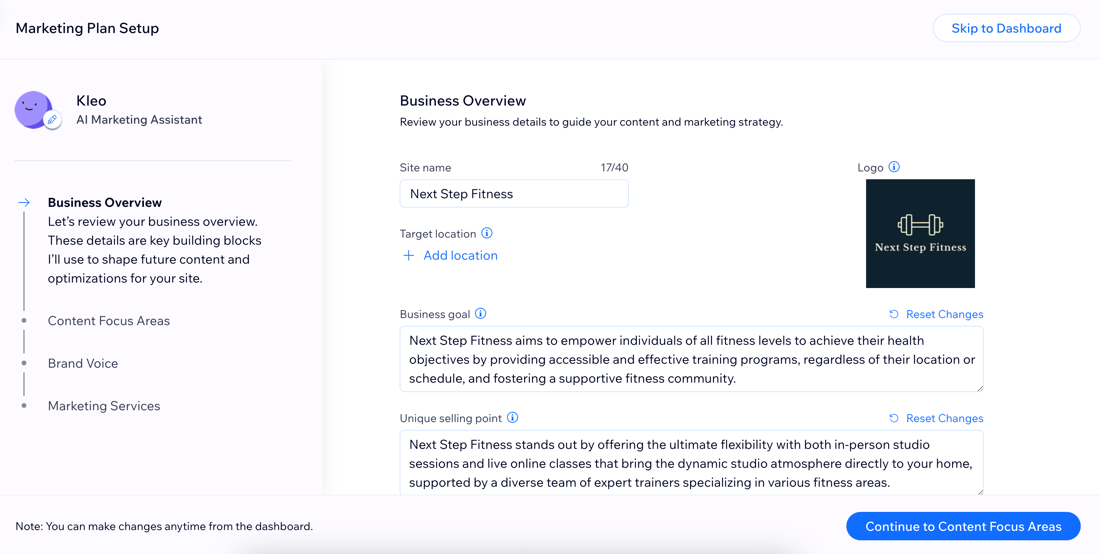
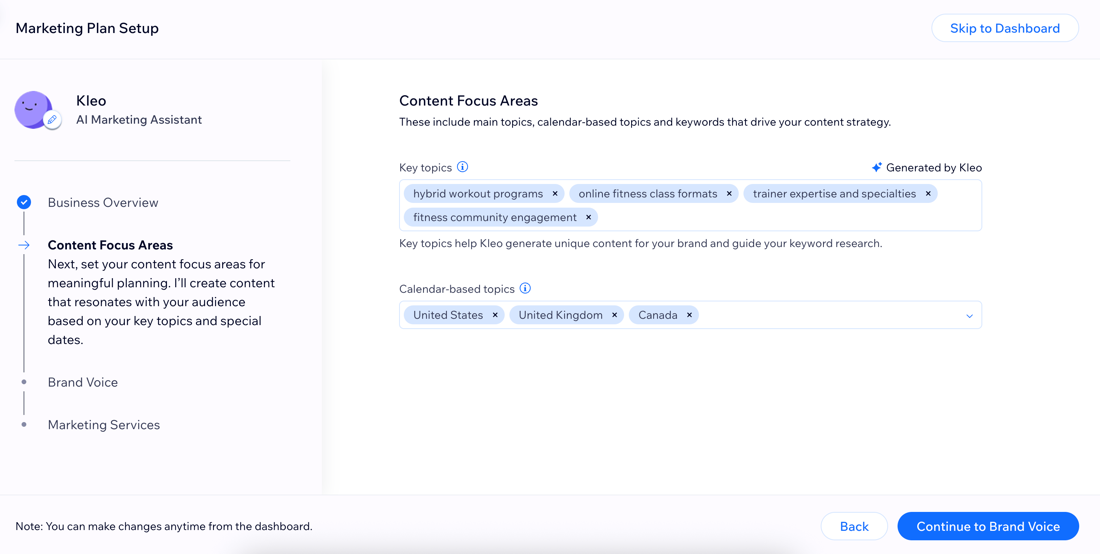
Tip: This makes the AI agent scan your site and create a personalized marketing plan. - Review and edit the plan created by the marketing agent.
Business Overview
Content Focus Areas
Brand Voice

Marketing Services

4. (Optional) Click the Edit icon  at the top left to customize your agent's name and avatar.
at the top left to customize your agent's name and avatar.5. When you're ready, click Launch Marketing Plan.

Tip:
Click Skip to Dashboard to get straight to the marketing agent dashboard without reviewing your business details and marketing services. This automatically enables all services, but you can choose to deactivate them in the dashboard.
Step 2 | Set up the AI Marketing Agent dashboard
Once you're done onboarding the AI Marketing Agent, you're transferred to the dashboard. This is where you manage your marketing services, view tasks pending your approval, and more.
Some marketing services require you to complete all Action Needed tasks in order to activate the service:
- SEO: Set your location, connect to Google Search Console, and turn on site indexing.
- Social media marketing: Connect your social channels.
- Email marketing: Verify your sender address and add subscribers.
- Paid Ads: Create and launch a Google Ads campaign.

What's next?
Review and approve tasks, view your personalized marketing strategy and content plan, and chat with the AI marketing agent to get more information about your marketing efforts. Learn more about managing your tasks and marketing plan.
FAQs
Click a question below to learn more about the AI Marketing Agent.
Who can access the AI Marketing Agent dashboard?
What tasks can the AI Marketing Agent help with?
Can I customize the tasks the AI Marketing Agent generates?

Where can I see the planned content for blog posts, social media posts, and email campaigns?

How do I know when there's a task ready for my approval?
Do I need to upgrade to use SEO, social media marketing, email marketing and paid ads?
