Wix Stores: Creating a Digital Product
6 min
In this article
- Step 1 | Upload your digital file
- Step 2 | Enter the basic product info
- Step 3 | Add a product image, GIF, or video
- Step 4 | (Optional) Add info sections
- Step 5 | Add pricing information
- Step 6 | Set inventory options
- Step 7 | Save your changes
- FAQs
Sell digital, downloadable products, such as music files, ebooks, or images

Step 1 | Upload your digital file
Start by uploading the digital file you want to sell. The following digital file formats are supported:
Digital File Type | Supported Formats | Maximum File Size |
|---|---|---|
Image | .jpg, .png, .gif | 50 MB |
Audio | WAV, FLAC, M4A (Apple lossless, MP3). Audio files must be stereo, not mono. | 100 MB |
Document | .doc, .docx, .xls, .xlsx, .ppt, .pptx, .odt, .odp, .pdf, .epub | 1 GB |
Zip | .zip | 1 GB |
To upload a digital file:
- Go to Products in your site's dashboard.
- Click +New Product.
- Select Digital file.
- Click Upload File and select the type of digital file you want to upload.
Note: File must be uploaded by site owner, not by a site collaborator. - Select or upload the file and click Add to Product.

Step 2 | Enter the basic product info
Add the basic product details, such as the name and product description.
To enter the basic product information:
- Enter the product name (max. 80 characters).
- (Optional) Add a ribbon by typing the ribbon name (e.g. New).
Notes:- You can also select ribbons you previously created. This lets you manage your ribbons as a group. Learn more about ribbons.
- Ribbons appear in the product gallery.

- Enter a description of the product in the Description field. (maximum 8000 characters, including HTML tags).

Tips:
- Click Generate AI Text to get help composing an effective product description.
- When copying and pasting a description from another source, paste the text by pressing Shift +Ctrl + V on your keyboard. This removes any formatting to make sure the text displays correctly.
Step 3 | Add a product image, GIF, or video
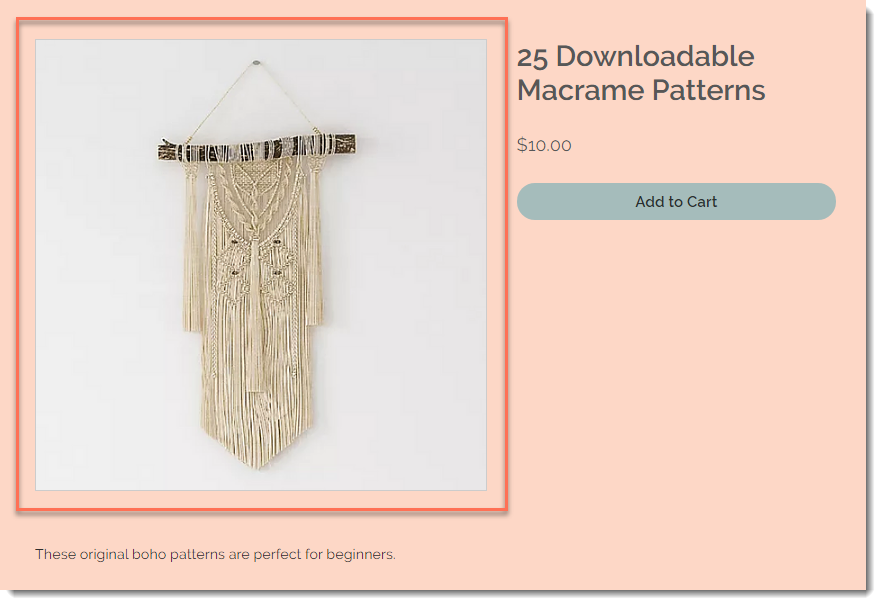
Add a product image, GIF, or video that represents the digital product you're selling.
Important:
If you're selling an image, you can add a watermark.

To add product media:
- Select an option:
- Click Add Images to add images or GIFs.
- Click Add Videos to add a video.
- Click Upload Media to add images, GIFs, or videos and select the relevant media.
- Click Add to Page.
Step 4 | (Optional) Add info sections
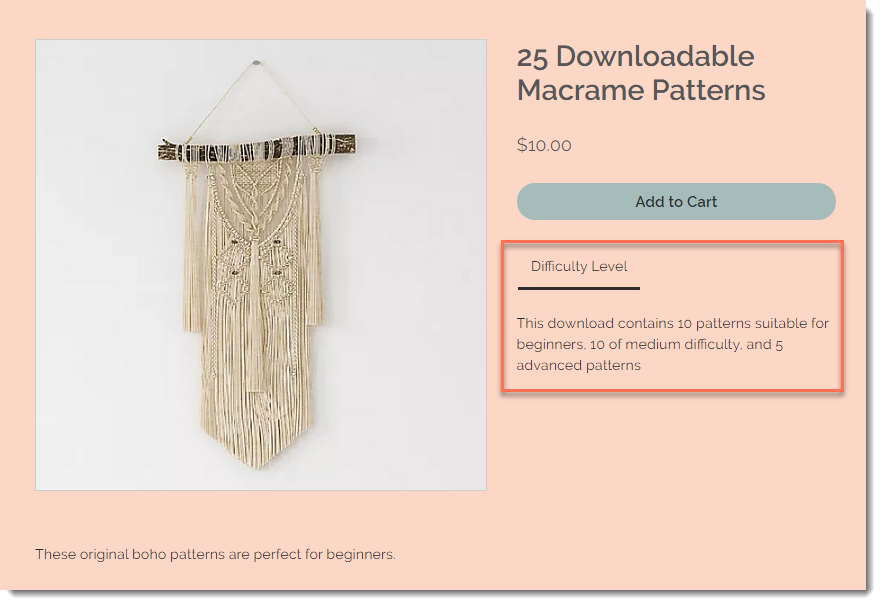
You can add helpful product information that customers can view on the Product Page.

To add an information section:
- Click +Add an Info Section.

- Enter the title.
- Select an option:
- Add text: Enter the relevant information and use the text editing toolbar to format the text.
- Add a table: Click the Table icon
 to add a table.

- Click OK.
Step 5 | Add pricing information
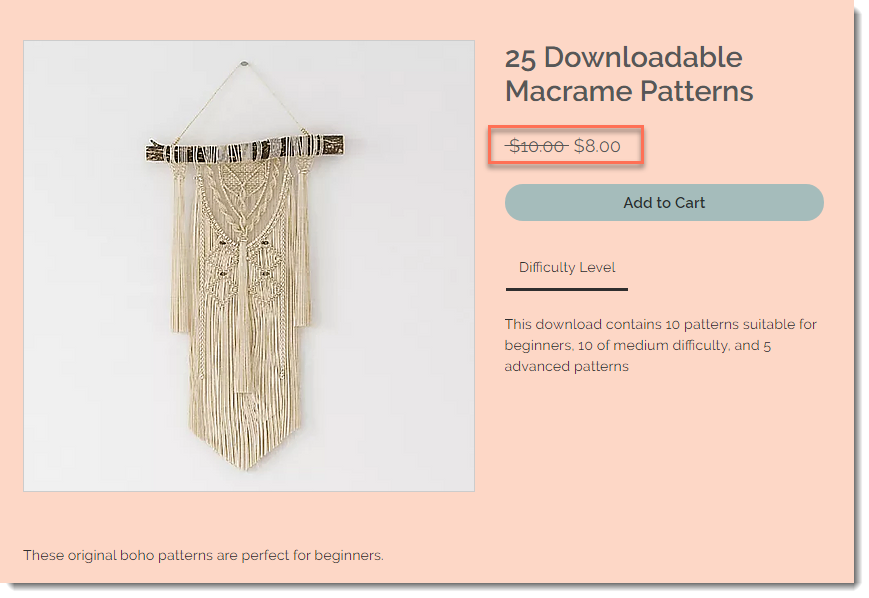
In the pricing section, you can enter the product price and optionally add a sale price.

To add pricing information:
- Enter the product price.
- (Optional) Add a sale to the product:
- Enable the On sale toggle.
- Select an option:
- Click the price icon and enter the amount of the discount (e.g. $10 off).

- Click the percentage icon and enter the discount percentage (e.g. 10% off).

- Enter the sale price directly in the Sale Price field (e.g. enter a $50 discount price).
- Click the price icon and enter the amount of the discount (e.g. $10 off).
- Enable the Price per unit display: Learn more
Tip: Price per unit is usually relevant for physical products.- Enable the Show price per unit toggle.
- Under Total product quantity in units, select the relevant type of unit (e.g. ounces) from the drop-down.

- Under Total product quantity in units, enter the total product quantity in units (e.g. if you are selling a 5 ounce jar, enter "5").
- Under Base units, enter the unit you want to measure by (e.g. enter 1 ounce to display a price per ounce).
- (Optional) Enter the cost of goods.
Step 6 | Set inventory options
Since this is a digital product, you don't need to track specific inventory amounts. You can, however, add an SKU to your product and set the product as "In stock'.
To set inventory options:
- Disable the Track inventory toggle.
- Select In stock from the Status drop-down.
- (Optional) Enter an SKU.
Step 7 | Save your changes
Click Save to display your product online.
FAQs
Click a question below to learn more about selling digital products.
When does my customer receive the digital product they purchased?
Can I resend a digital product to a customer?
Can I sell multiple files together as one digital product?
How can I protect my digital products?
Do I need to collect tax for the sale of digital products?


