

Wix Photo Albums: Adding Watermarks to Your Photos
2 min
In this article
- Adding a watermark to your photos
- FAQs
Important:
- It is no longer possible to add Wix Photo Albums Store to your site (as of February 2023). As an alternative, you can add Wix Stores to your site and connect it to Printful to sell your photos.
- As of April 2024, it is also no longer possible to add the Wix Photo Albums app to your site. If you already have Wix Photo Albums installed, you can still use the app as normal.
Watermarks help to protect your images from theft. Add watermarks to your photos or thumbnails at any time. You can choose to upload your own watermark so your own branding is attached to your images.
Adding a watermark to your photos
Enable and customize watermarks for your photo albums directly from your site's dashboard. You can adjust the watermark's appearance, size, position, and transparency to suit your needs.
To add a watermark:
- Go to Photo Albums in your site's dashboard.
- Click Manage Album next to the relevant album.
- Click the drop-down in the Watermark section to expand it.
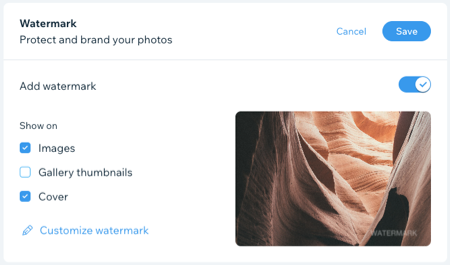
- Enable the Add watermark toggle.
- Choose where your watermark is displayed: on Images, Gallery thumbnails or Cover.
- (Optional) Click Customize watermark and choose how you'd like your watermark to look:
- Upload Watermark: Click the button to upload an image file from your computer.
- Opacity: Drag the slider to change the transparency of the watermark.
- Size: Drag the slider to change the watermark's size.
- Position: Use the grid to set where on an image your watermark appears.
- Click Save.
- Click Save, next to Protect and brand your photos.
FAQs
Click a question below to learn more information about watermarks.
Is there a limit to the size of the watermark file I can upload?
Why does my album display broken thumbnails in some places?
Can I add a Photo Album store to my site?
What happens when a client purchases or downloads a high-resolution image?
