

Wixel: Adding and Setting Up an Online Form
13 min
In this article
- Step 1 | Create a form
- Step 2 | Add and customize form fields
- Step 3 | Design your form
- Step 4 | Adjust your form settings
- FAQs
This article refers to the new Wixel, released in December 2025. If you're unsure whether you’re using the new or previous Wixel, view more information here.
Build and customize an online form that matches your brand and goals such as a lead capture form, application, or survey. You can customize the fields, rules, and design of the form. When it's ready, share your form and manage responses all from one place.
Visitors can complete the form through a guided, conversational chat or they can fill it out manually. They can switch between modes, picking up where they left off in either version.
Note:
Actions that involve generating and editing an online form with AI use AI credits.
Step 1 | Create a form
Kick off your form by choosing how you want to start: describe what you need and create it instantly with AI, pick a ready-made template, or build a form from scratch.
To create a form:
Desktop browser
Wixel app
- Go to your project in Wixel.
- Choose how you want to create your form:
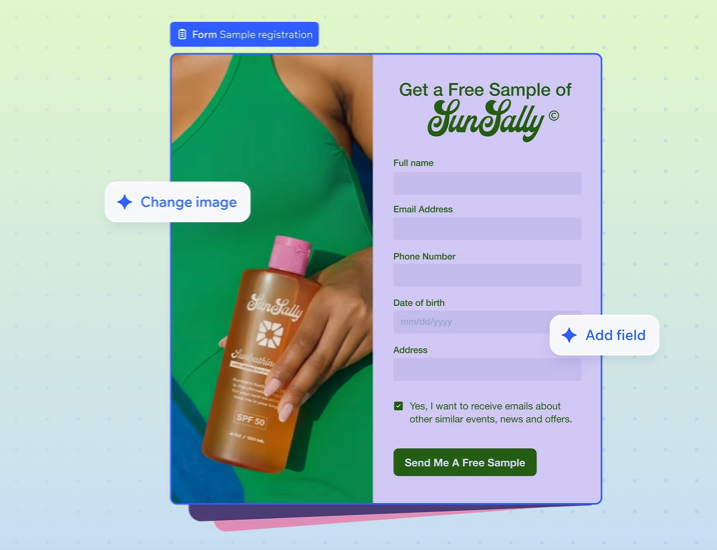
- Design with AI: Describe the form you want to create (e.g. "Surf camp registration form") and let Aria draft the form's layout and fields for you.
- Template: Pick a ready-made template for your goal (e.g. registration, application, feedback). Click Add Design and select a template in the Forms tab.
- Blank: Start from scratch and add fields manually. Click Add Design and select Start with a blank frame in the Forms tab.
Step 2 | Add and customize form fields
Make your form fillable by adding and customizing fields for any piece of information you want to collect. Use rules to show or hide fields based on your visitor’s answers. Any fields that you add to your form will also appear in the AI chat view. Learn more about managing form fields.
To add and customize form fields:
Desktop browser
Wixel app
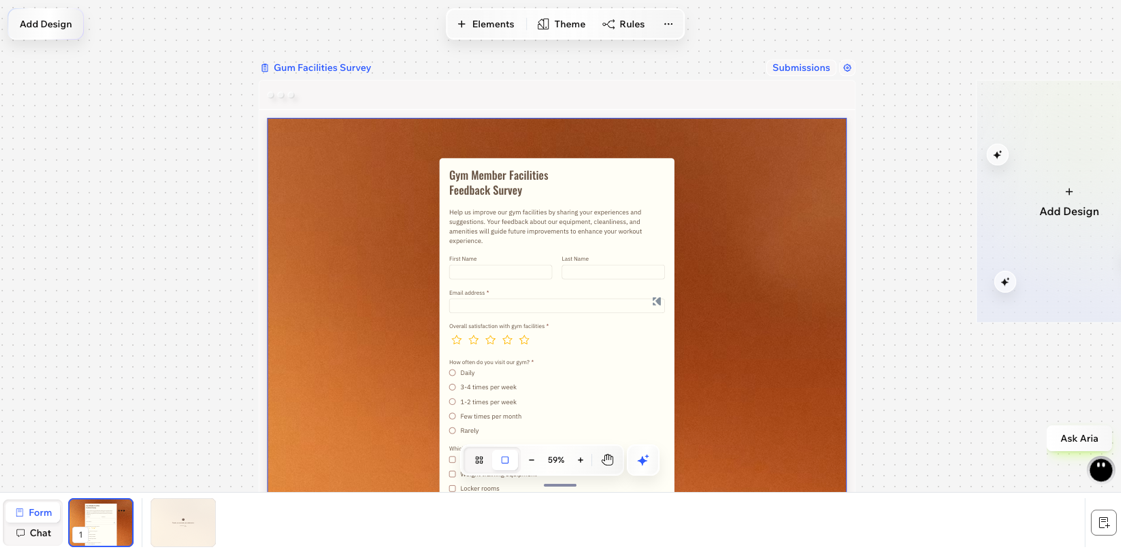
- Go to your project in Wixel.
- Select the relevant form in your project.
- Choose how to add new fields:
- Chat with Aria to add fields for you (e.g. "Add a phone number field").
- Click + Elements on the action bar to add form fields. Drag fields onto your form, or click to add.
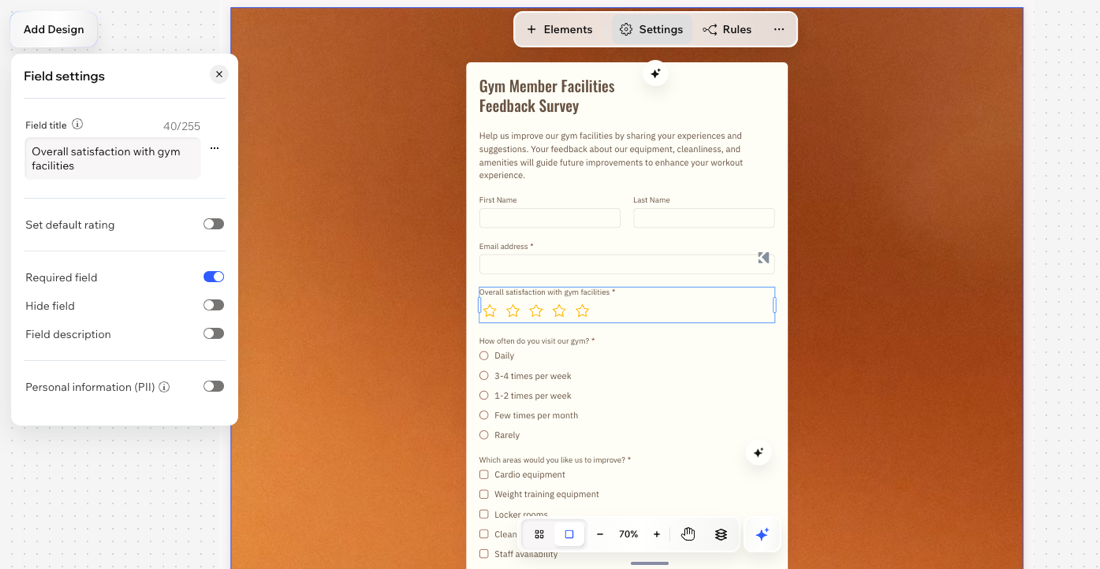
- Click the new field and choose what to do next:
- Click Settings on the action bar to edit the field title, make it a required field, enter placeholder text and more. Learn more about managing form fields.
- Click the More Actions icon
 on the action bar for options like moving the field's placement or duplicating it to add a similar field.
- (Optional) Add conditional rules to the form. This allows you to set that a visitor's input in the field will determine if another field should be shown, hidden, required or optional.
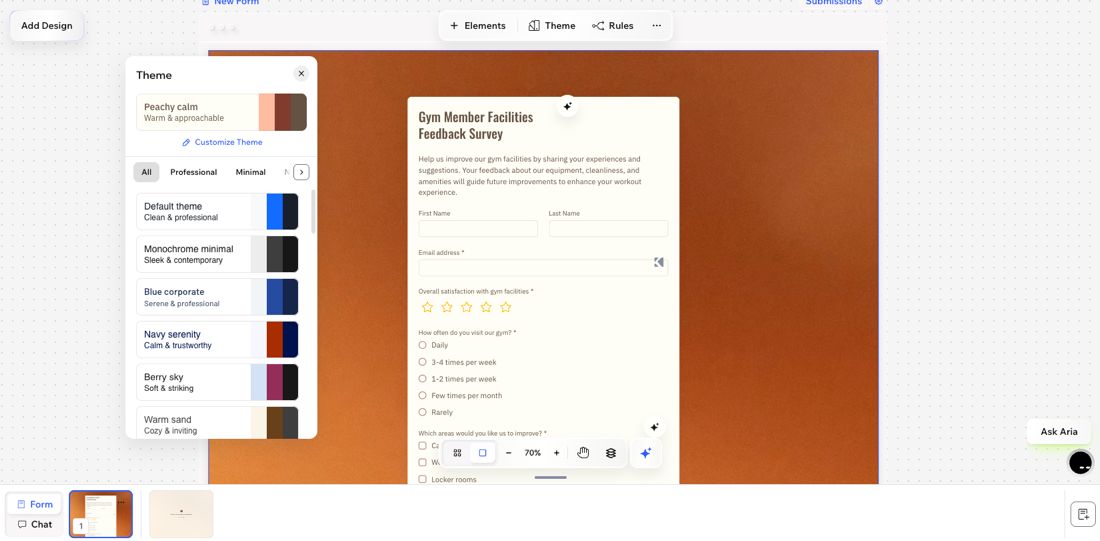
Step 3 | Design your form
Customize the look and feel of your form by applying a theme and adding more pages to turn it into a multi-step form. Any changes to the form's design apply to both the form and chat views.
To design your form:
Desktop browser
Wixel app
- Go to your project in Wixel.
- Select the relevant form in your project.
- Choose what to do:
Apply a theme
 to add it to your form.
Add pages
 in the Pages panel at the bottom. Then, add the relevant form fields to the new page.
Reorder pages
Remove pages
 on the relevant page and click Delete.
 Customize the settings of the AI Chat view
Step 4 | Adjust your form settings
Fine-tune how your form works and what happens when visitors submit responses.
To adjust your form settings:
Desktop browser
Wixel app
- Go to your project in Wixel.
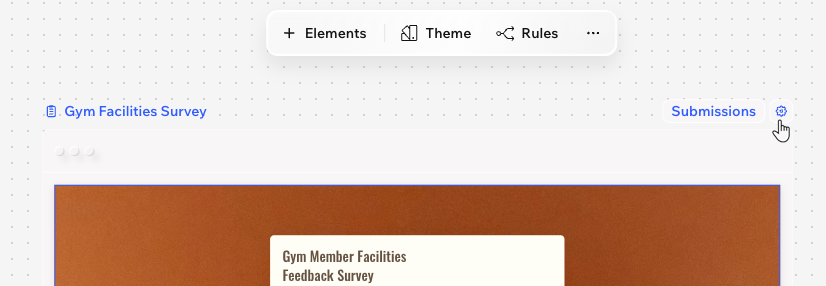
- Click the Settings icon
 above the form.
 - Click the relevant tab to customize the settings:
Confirmation message
Form status
Required fields
FAQs
Click a question below to learn more about Wixel forms.
What's the difference between a Wixel form, Wix form, and standalone form?
Can I customize the AI chat and form views separately?
How can I test both experiences?
 at the top right.
 How can I disable AI chat on my form?
 on the action bar.