

Wix Vibe: Setting Up Online Payments
3 min
In this article
- Setting up your site to accept payments
- FAQs
Start accepting payments directly on your Wix Vibe site. Whether you're selling products, booking appointments, or renting equipment, you can simply ask the AI to generate a secure checkout flow tailored to your needs.
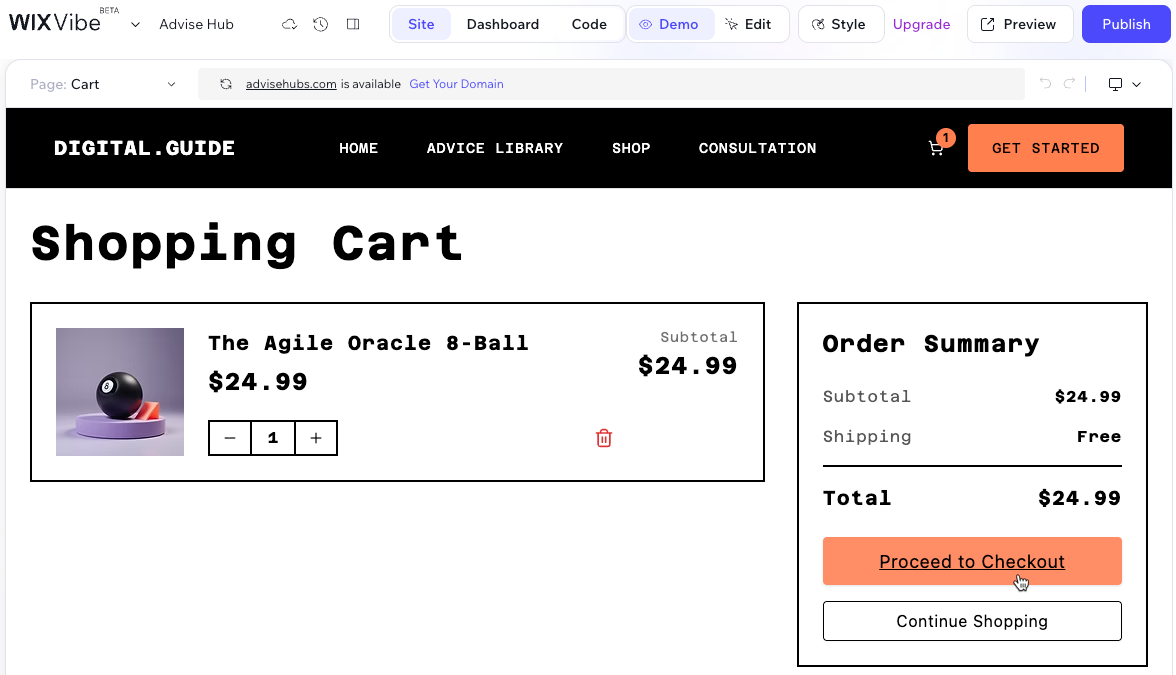
Wix Vibe uses the Wix Headless approach to build your site's infrastructure. This means that site elements, such as product pages and cart flows, are generated by AI specifically for your individual site and may look different from similar pages in other Wix editors.
Important:
Wix Vibe currently supports online payments for services, rentals, and digital items. Shipping rates and delivery options for physical products are not available yet. You can still accept orders for physical items and arrange delivery directly with customers.
Setting up your site to accept payments
To get your site ready for business, start by asking the AI to generate your checkout pages and product collections. Then, head to your dashboard to complete the setup by connecting a payment method and configuring your store settings. Once you're ready to accept payments, make sure to upgrade your site to the Core plan or higher.
To set up your site for online payments:
- Go to your editor.
- Tell the AI chat that you need a checkout process:
- New sites: In your initial prompt, mention that you need to accept payments (e.g. "Create a car rental site where customers can book and pay online.").
- Existing sites: Open the chat and ask the AI to add selling capabilities (e.g. "I want to start selling t-shirts on this site.").
- Check your CMS collections to ensure they include the products or services you are selling, along with their prices.
Tip: You can ask the chat to add items for you, or manage your CMS collection content manually. - Go to Accept Payments in your site's dashboard and connect a provider (e.g. Wix Payments, PayPal). Learn more about accepting payments on your site.
- Set up your tax rules:
- Go to Settings in your site's dashboard.
- Click Tax and add your tax locations, tax settings and tax groups (optional). Learn more about collecting taxes.
- Upgrade your site to a Core plan or higher.
- Click Publish at the top right of the editor when you're ready to go live.
Tip: Connect a domain to your site for a custom web address.
FAQs
Click a question below to learn more about selling with Wix Vibe.
Can I add a checkout flow to a site I already created?
Do I need a specific plan to sell on Wix Vibe?
Can I utilize all Wix apps on my Wix Vibe site?
Can I use Wix Vibe to sell subscriptions?
Can I set up shipping for physical products with Wix Vibe?
