

Wix Multilingual: Adding and Setting Up Wix Multilingual
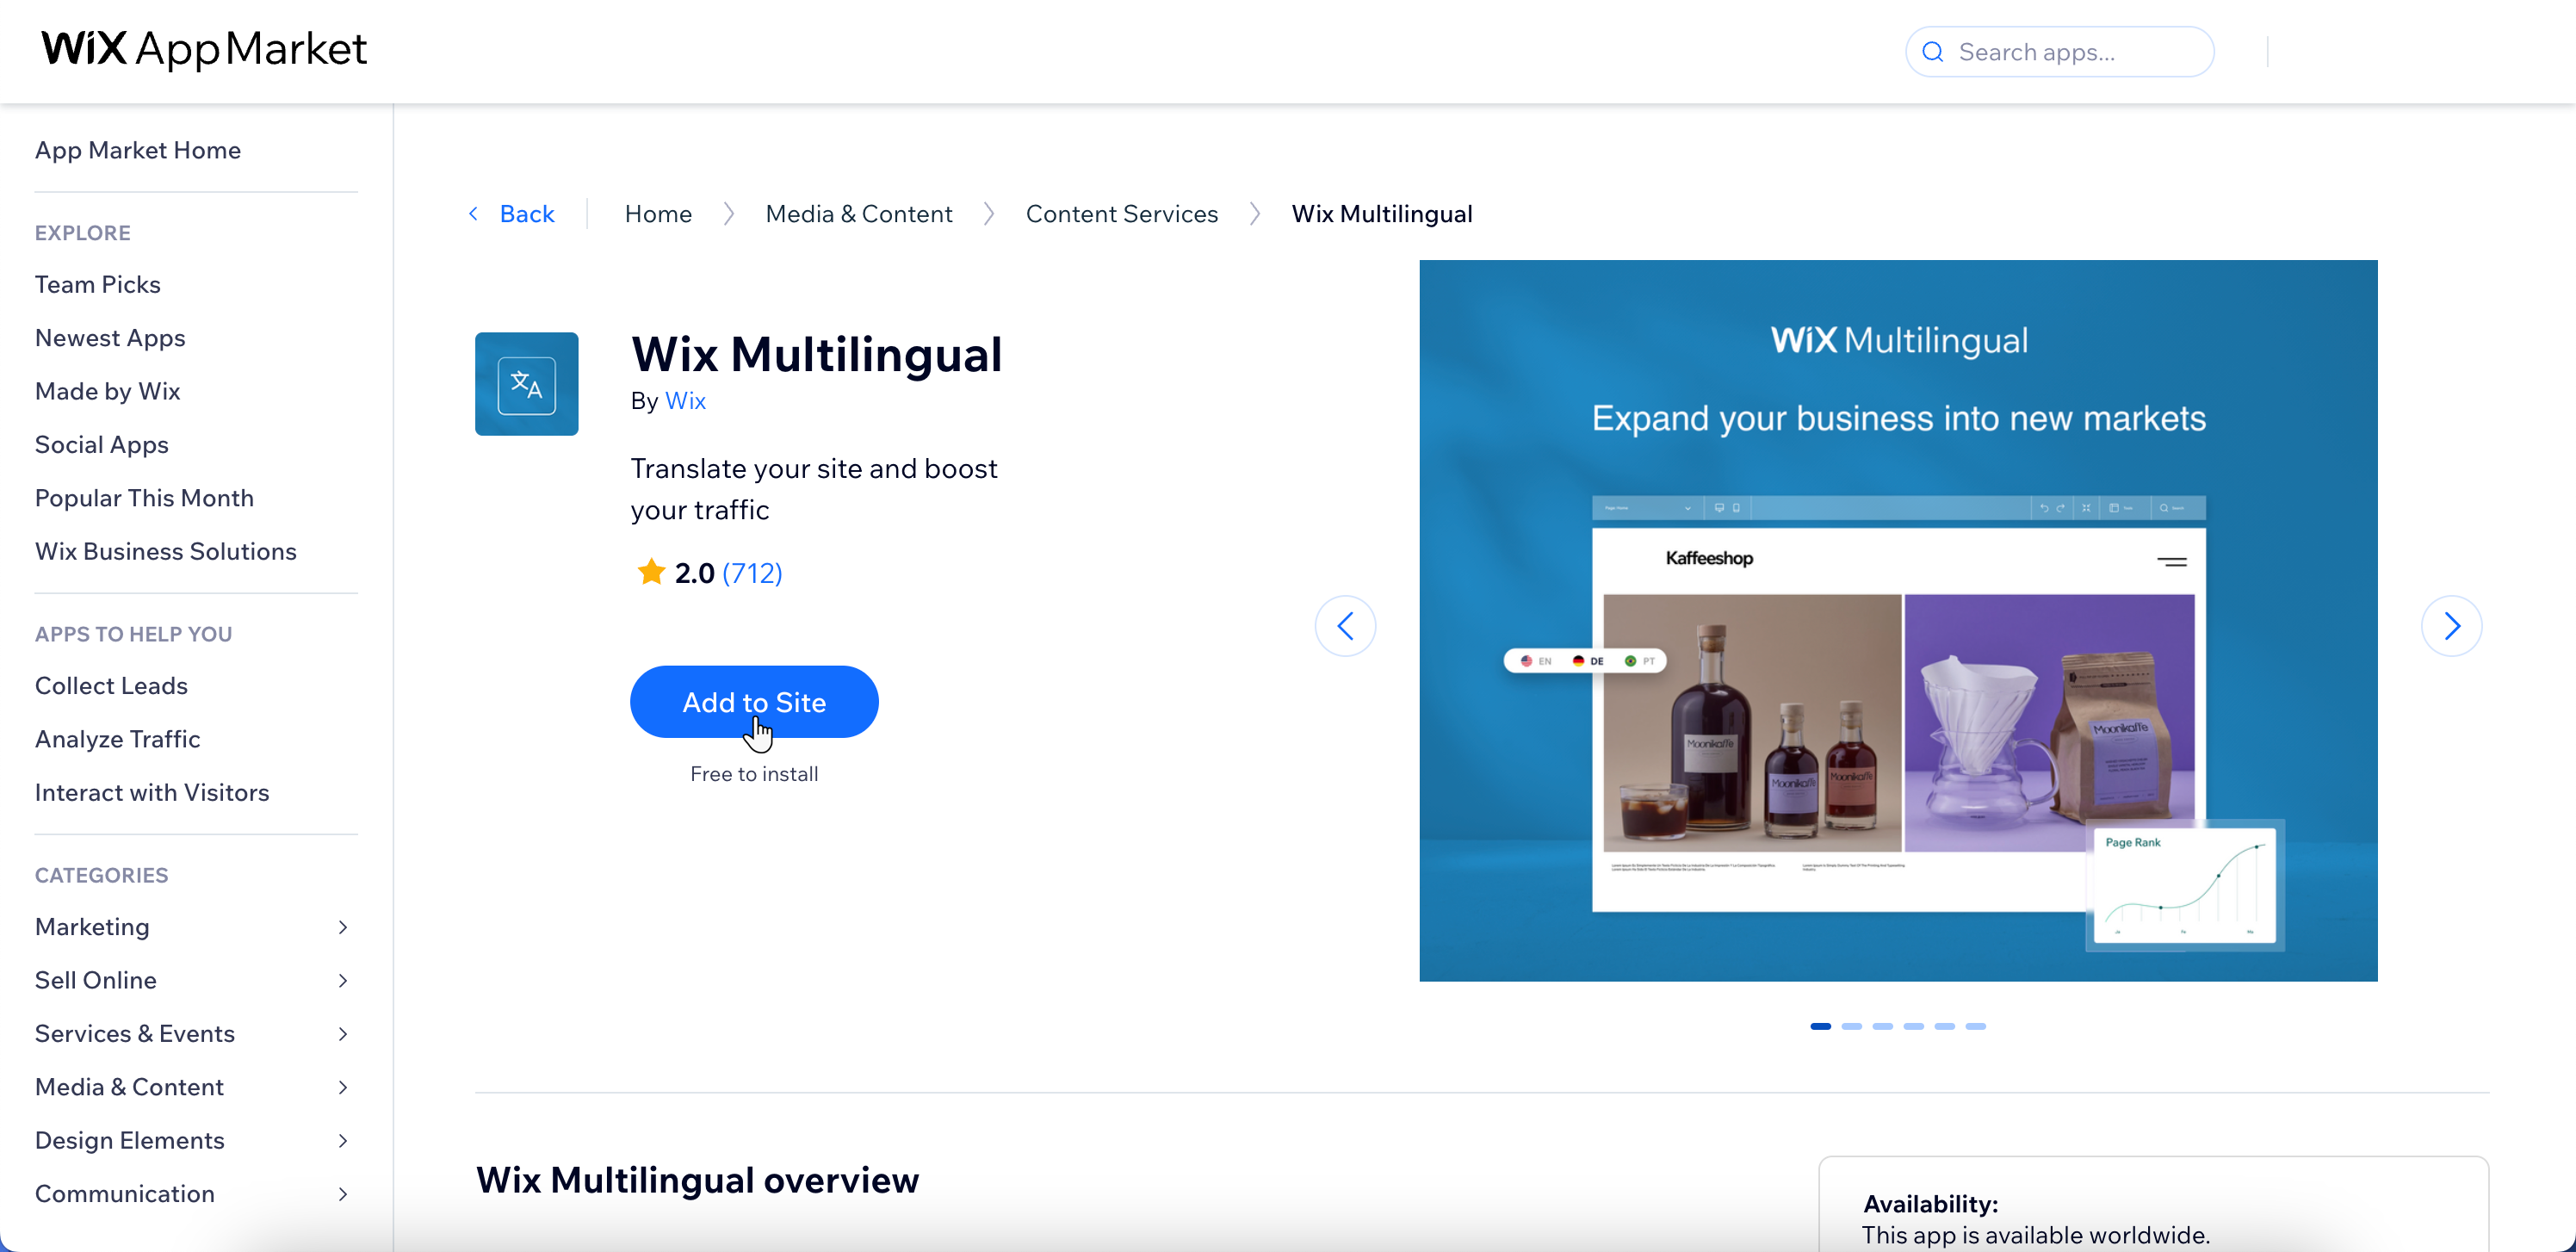
- Step 1 | Add Wix Multilingual
- Step 2 | Set up the app
- FAQs
- Once you've selected your site's main language, you cannot change it to a different language. If this is something you'd like to see in the future, you can vote for that feature.
- We recommend reviewing our list of translatable content before translating your site.
Step 1 | Add Wix Multilingual
- Go to the Wix App Market in your site's dashboard.
- Type 'Wix Multilingual' in the search box.
- Select Wix Multilingual.
- Click Add to Site.
Step 2 | Set up the app
Go to Multilingual in your site's dashboard.
Click Start Now.
Confirm your site's main language, or change it.
Note: Your main site language is the default language for visitors viewing your site. This cannot be changed after selection.Select a flag to represent the language on your site.
Add your secondary language:
Click + Add Language.
Select the relevant language from the Language dropdown.
Tip: You can add more languages later.Select the relevant flag from the Flag dropdown.
(Optional) Enable the Locale toggle.
Important: Only set a locale if you're targeting a specific region, for example, Portuguese for Brazil. Using a locale when you do not need one may affect your site's SEO.Select How do you want to start translating:
Manual translation: Add the translations yourself.
Generate translations: Use AI to translate your site content automatically. You can review and edit the translation before publishing.
Note: You get 5,000 words for free to start.
From the Make site in [language] visible right away? dropdown, select when the site in this language becomes visible to visitors.
Yes, make it visible right away: Visitors will be able to see your site in your secondary language (once you publish). You can also do this later if you're not ready yet.
No, keep it hidden for now: Your secondary language is hidden until you are ready to display it on your live site.
Click Add Language.
FAQs
 next to the relevant language.