Wix Mobile POS: Setting Up Tap to Pay
6 min
In this article
- Step 1 | Download the Wix app
- Step 2 | Create a Wix Payments account
- Step 3 | Set up Tap to Pay
- FAQs
Important:
Wix Mobile POS allows you to make sales from your phone while on the go. To process payments in a physical store, learn more about Wix POS Register.
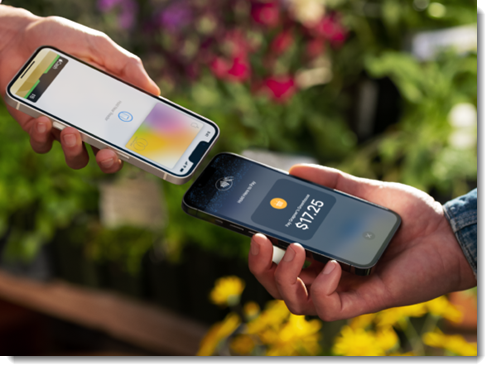
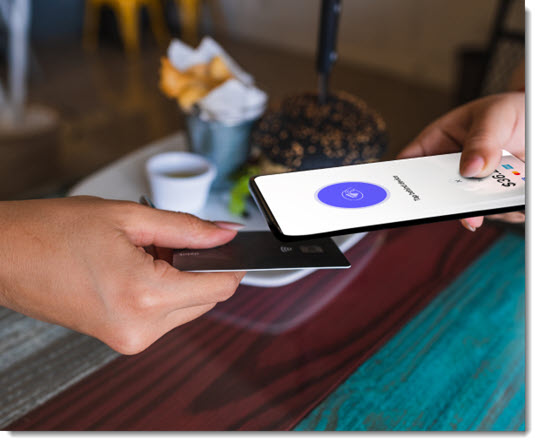
Tap to Pay lets you accept payments on your phone without connecting any external hardware. Customers can either tap a credit/debit card directly on your phone or use their own phones to pay you.

Requirements:
- Location: Tap to Pay is currently available in the US and UK.
Note: The customer’s location is determined by the business location you entered on the Business Info tab in your site's dashboard. - iPhone:
- The 15.5 operating system or higher
- The iPhone XR model or later
- Android: Android 11 or later
Step 1 | Download the Wix app
To start accepting payments from your mobile device, download the Wix app.
To download the Wix app:
- Go to the Apple App Store (on iPhone) or Google Play (on Android).
- Type 'Wix app' in the search field.
- Click Get or Install to download the app.
Step 2 | Create a Wix Payments account
If you don't already have one, start by creating and verifying a Wix Payments account.
Step 3 | Set up Tap to Pay
After your Wix Payments account is verified, you can set up Tap to Pay in your site's dashboard and in your phone.

To set up Tap to Pay:
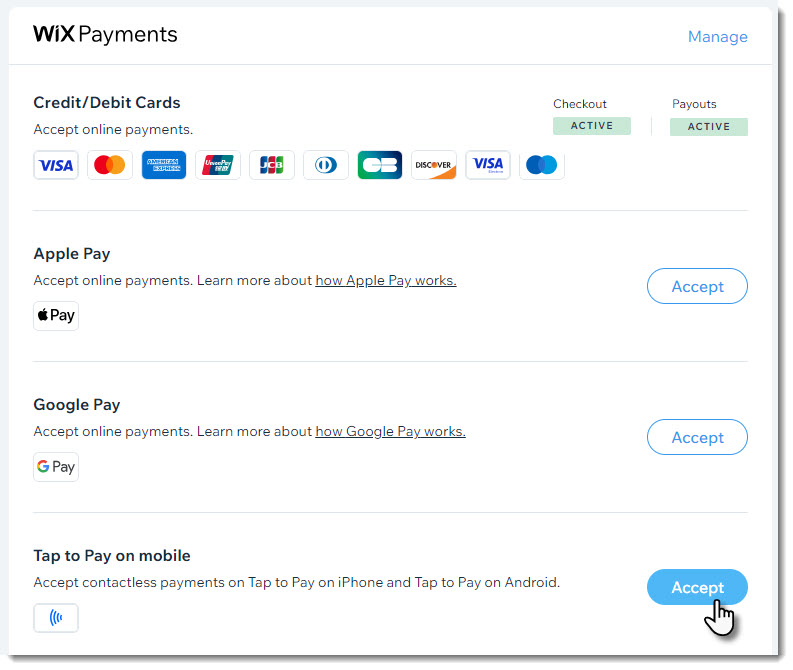
- Go to Accept Payments in your site's dashboard.
- Click Accept next to Tap to Pay on mobile.

- Go to your site in the Wix app.
- Tap Manage
 at the bottom.
 - Tap Getting Paid and select Point of Sale.
- Tap the Connect icon
 at the top right.

- Click Continue.
- Select an option:
Complete set up on iPhone
Complete set up on Android
FAQs
Click a question below to learn more about setting up a POS.
What is NFC and why does it need to be enabled for Android phones?
What are the processing fees for Tap to Pay?
After setup, how can I accept payment?
Where on my phone should customers tap?
Can I offer a refund for a payment received through Tap to Pay?
Can I collect tax at a POS?
I have a card reader and also have Tap to Pay set up on my phone. Can I use both?
Does a customer need the same type of phone as I have so they can pay?


