

Wix Editor: Customizing Your Site's Theme and Design
4 min
In this article
- Choosing your site's theme
- Adding themed elements
- Setting your page background
- Applying page transition effects
With just two panels in the editor, you can change your entire site's look, feel, and aesthetic.
Use the Site Design panel to choose your color and text theme, and change your page backgrounds and transitions. You can then add themed elements from the Add Elements panel to reinforce your site's look throughout.
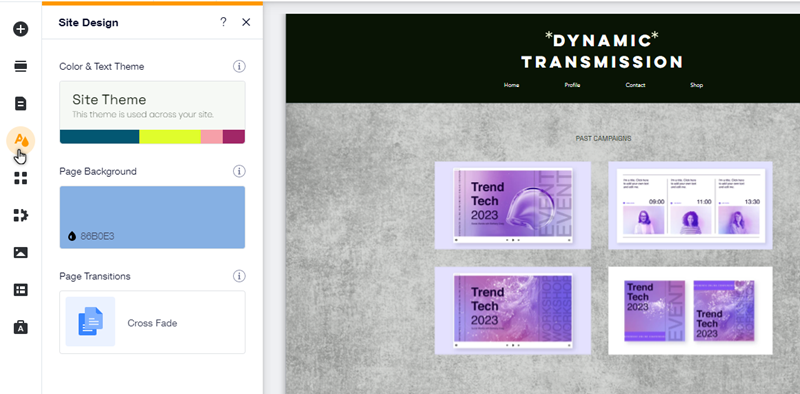
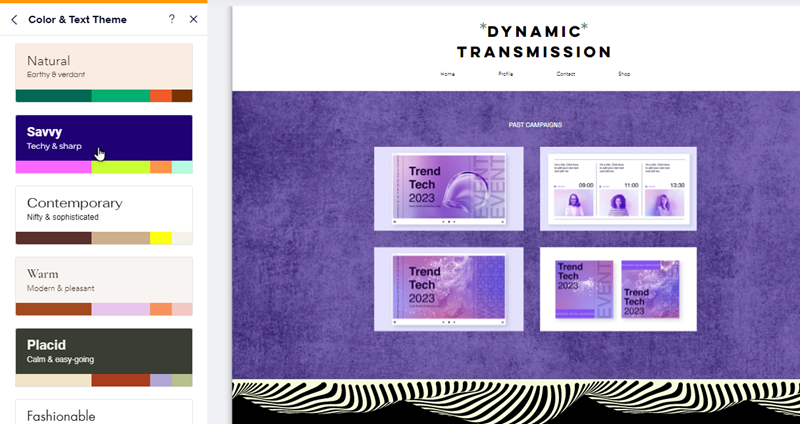
Choosing your site's theme
Your site theme includes all the colors and text styles on your site. There are a variety of suggested styles to choose from, and you can click through them to see how your site changes with each one.
After picking a theme you like, you can then customize the text and colors to further personalize it to your needs.
To choose and customize a site theme:
- Go to your editor.
- Click Site Design
 on the left side of the editor.
 - Click Change Theme.
- Select a theme from the list.
- (Optional) Customize the theme's fonts and colors:
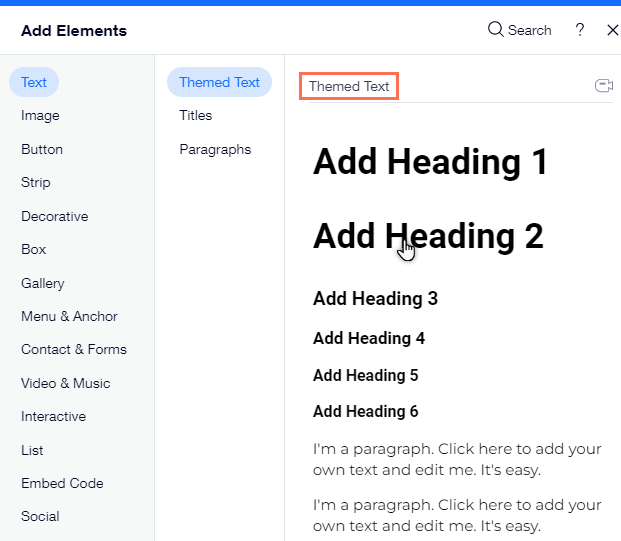
Adding themed elements
Add themed elements to ensure your site's design is consistent throughout. These elements have been handpicked for you, as they match your chosen color and text styles.
Since themed elements are tied in to your site's theme, they automatically update if you choose a new theme from the Site Design panel.
To add themed elements to your site:
- Go to your editor.
- Click Add Elements
 on the left side of the editor.
 - Click the themed section (e.g. "Themed Text").
- Click an element to add it, or drag it to the relevant location.
Note:
Not all elements in the Add Elements panel contain themed versions.
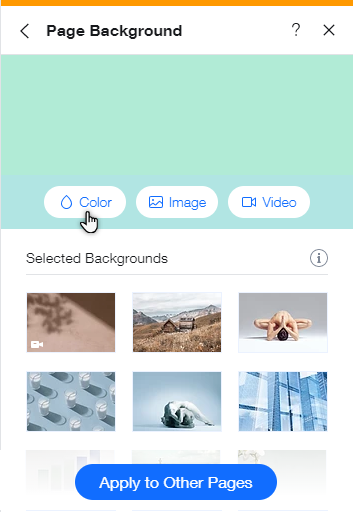
Setting your page background
From the Site Design panel, you can change the background of the page you are on in the editor. Choose between a color, image or video background and adjust it to suit your design needs.
To choose your page background:
- Go to your editor.
- Click Site Design on the left side of the editor.
- Click Page Background.
- Select the background type you want for your page:
- Color background: Select a color from your site colors, or add a new one to your page background.
- Image background: Choose from a range of free and priced stock images to add to your page background, or upload your own.
- Video background: Choose from a variety of high-quality stock footage to set as your page background, or upload your own video for that personal touch.
Tip:
Set a background for multiple pages on your site by clicking Apply to Other Pages at the bottom.
Applying page transition effects
Choose how your pages transition when your site visitors navigate between them. This can create a fun and lively navigation experience for your visitors, which encourages them to keep exploring.
To apply a transition effect to pages:
- Go to your editor.
- Click Site Design on the left side of the editor.
- Click Page Transitions.
- Select a transition for your pages from the available options.

Looking for additional design inspiration?
The Wix design hub is a great resource for ideas and website design trends.
