Wix Bookings: Starting a Quick Sale from Your Booking Calendar
3 min
In this article
- Adding a quick sale
- FAQs
Charge your clients on the spot by creating a new quick sale from your Booking Calendar. You can add booking services, products, gift cards, or custom charges to one checkout, then make any last-minute updates before collecting payment.
Adding a quick sale
Start a quick sale when you're ready to create an order and collect payment right away. You can add multiple items to the same checkout, then update the order before choosing how your client pays.
To create a new quick sale:
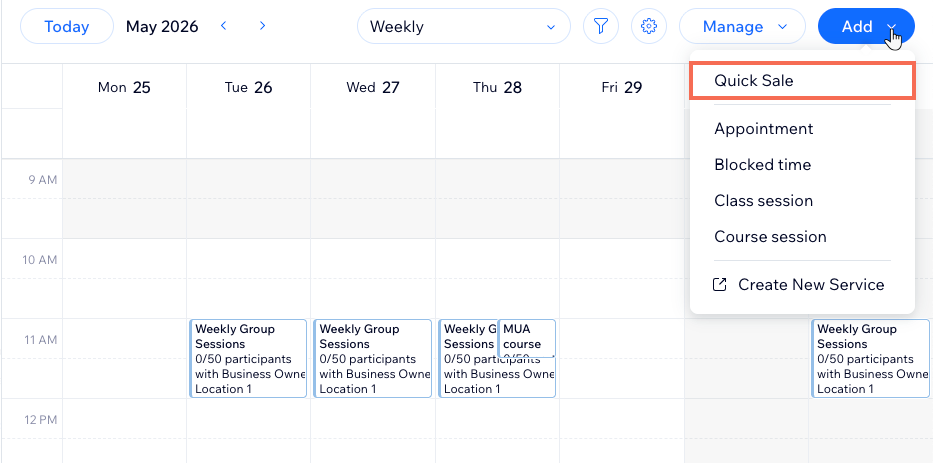
- Go to Booking Calendar in your site's dashboard.
- Click Add at the top right and select Quick Sale.
- (If relevant) Choose a location, then click Apply.
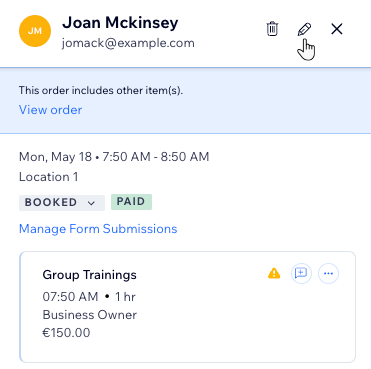
- Add a new client or choose an existing one.
- Click the relevant tab and choose what you want to add:
- Appointment: Select the relevant service to add an appointment or schedule multi-service appointments.
- Class: Select the relevant class session and date.
- Course: Select the relevant course session.
- Product: Select the relevant product(s).
- Custom charge: Add a custom item that is not in your catalog. Write the reason for the charge, enter additional info if needed and add the price.
- Gift Card: Sell a gift card that your client to use for purchases on your site.
- Click Apply.
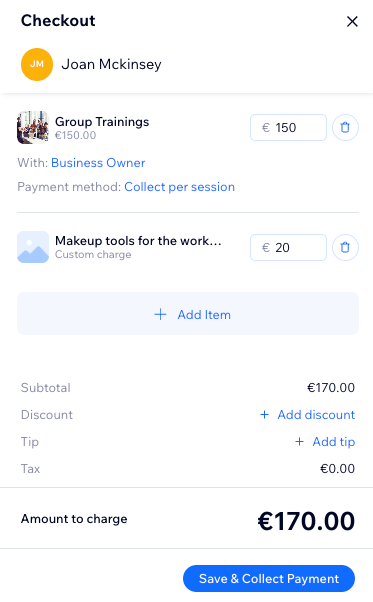
- (Optional) Customize your client's order even further:
- Add more items: Click + Add Item, choose the relevant item (e.g. appointment, custom charge, etc.) and click Apply.
- Add a discount: Click + Add discount, enter the discount reason and the amount.
- Add a tip: Click + Add tip, select the tip amount and click Apply to confirm. If you have multiple staff members, you can click Manage tip distribution to decide how to split the tip.
- When ready, click Save & Collect Payment.
- Choose how to collect the payment: Mark as paid, Cash, Send Paylink, Charge with Invoice, etc.
Note: The available options depend on the payment providers you connected to your site.
FAQs
Click a question below to learn more.
Can I add multiple items to the same quick sale?
I added an appointment to a quick sale, why was it scheduled for today?
 at the top right.